This week's stories: Using Lensbaby on Micro Four Thirds to create shallow depth of field, what's going on with Nik Software, a look at Drobo warranty and technical support, and what's coming up this week.
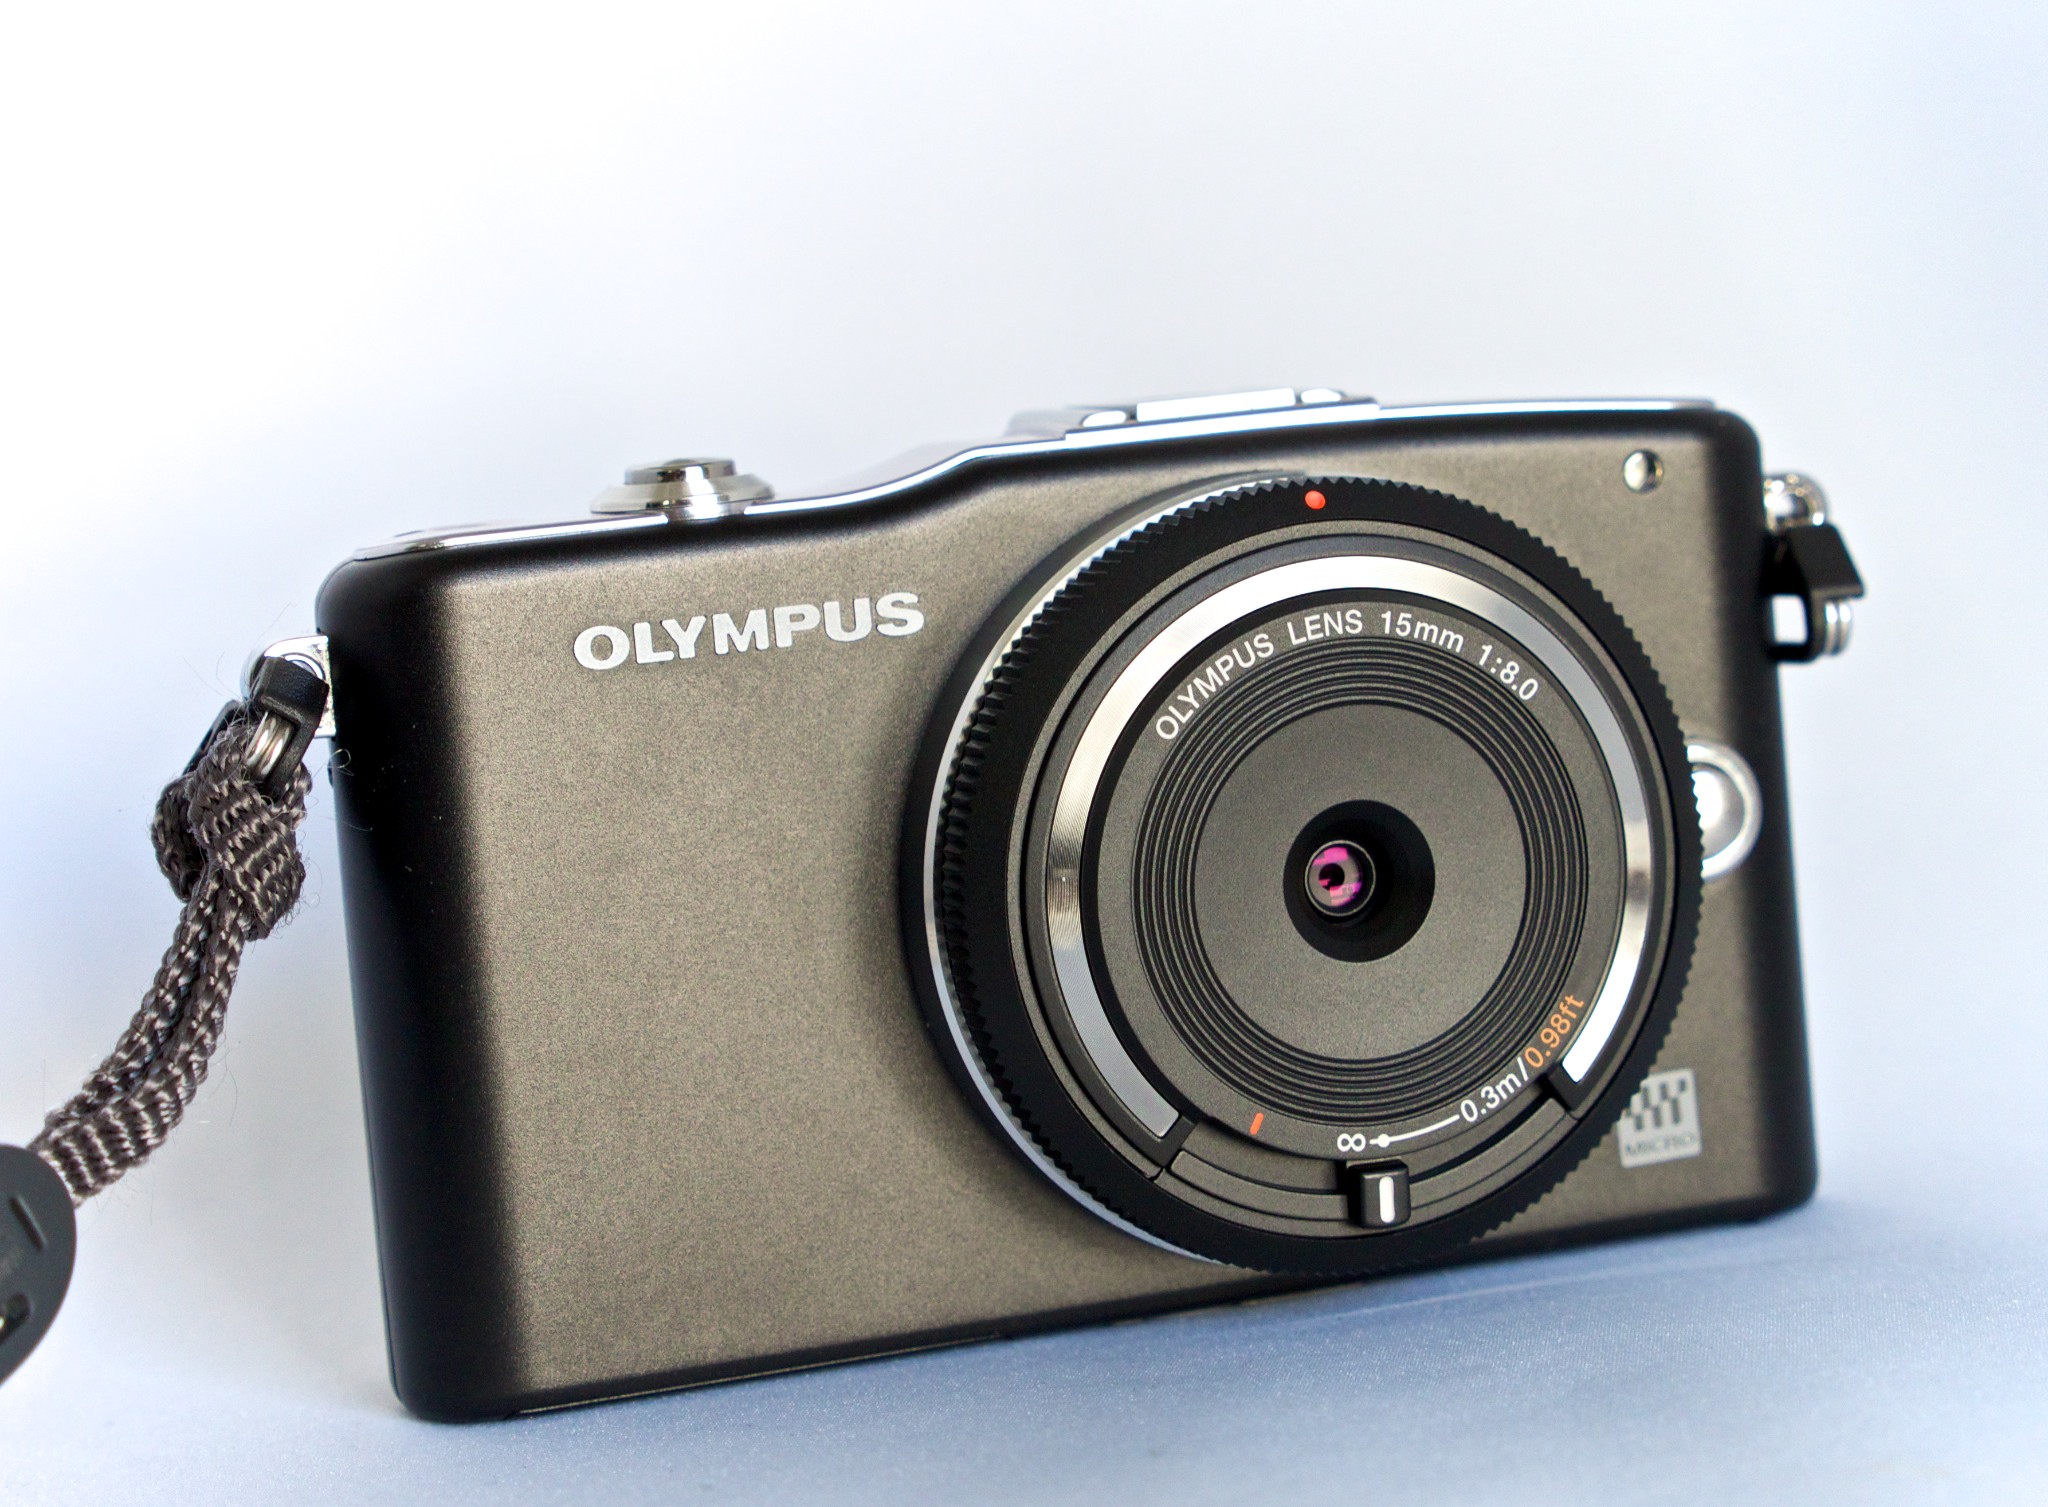
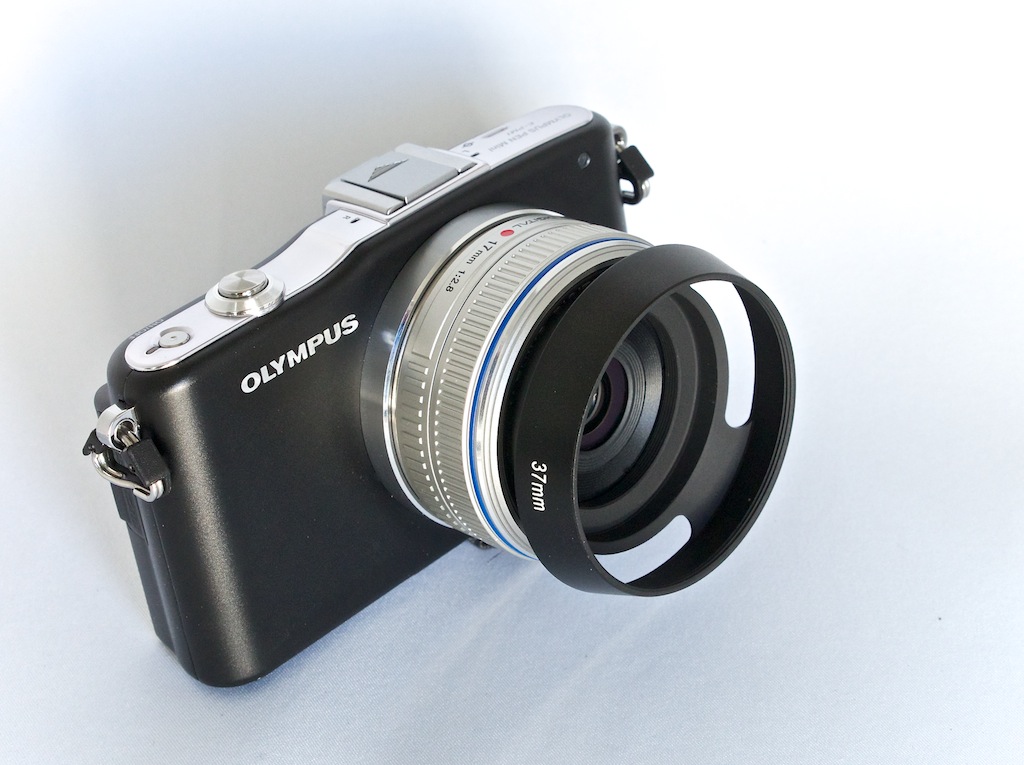
Story #1 - Lensbaby Composer Pro for Micro Four-Thirds cameras - One of the few drawbacks to shooting with micro four thirds cameras is that their images display a greater depth of field. For many shoots, this isn't a problem, and it's often a blessing.
But for those occasions when I want very shallow depth of field, I've experimented with the Lensbaby Composer Pro for micro four thirds. This $300 accessory has a focal length of 50mm and tilts from zero to 17.5 degrees.
You manually focus the Lensbaby using its well-dampened focusing ring, then alter the shallow depth of field effect by adjusting the metal swivel ball. Because you do have to manually focus, I recommend using the Lensbaby with an electronic viewfinder. For the first time ever, I can get radical shallow depth of field with a micro four thirds camera.
BTW: The Lensbaby Composer Pro is available in many mounts, including Canon and Nikon too.
Story #2 - What's going on with Nik Software? I noticed this week that Nik Silver Efex Pro 2 was not available for sale on B&H Photo or Amazon. Wondering is this is a result of the purchase of Nik by Google. If you know something about this, please post a comment in the Show notes.
Story #3 - Drobo Support and Warranty - The Drobo 5D comes with a 2 year warranty and 90 days of technical support. As you end the 90 day period, you can purchase Drobo Care for $169 a year. That includes 24x7 technical support, can be renewed for one year period as long as the product is still being sold, and advanced replacement - when you call, we'll send your hardware replacement same day.
If you choose not to buy Drobo Care, then you have the standard hardware replacement for 2 years (Hardware repair or exchange - when we receive your Drobo unit, we'll either repair it or send you a replacement) and no 24x7 technical support.
I haven't made a decision on what I'm going to do yet.
Story #4 - Just a reminder that I'll be at Macworld/iWorld this coming Thursday afternoon at Moscone West in SF. Best way to connect will be at the Digital Photography Panel Discussion (on main stage, I believe) led by Macworld Editor Jackie Dove at 2pm on Thursday.
Listen to the Podcast
You can also download the podcast here (28 minutes). Or better yet, subscribe to the podcast in iTunes. You can support this podcast by purchasing the TDS iPhone App for only $2.99 from the Apple App Store.
Monthly Photo Assignment
The January 2013 photo assignment is Self Timer.
More Ways to Participate
Want to share photos and talk with other members in our virtual camera club? Check out our Flickr Public Group. And from those images, I choose the TDS Member Photo of the Day.
Podcast Sponsors
Red River Paper -- Keep up with the world of inkjet printing, and win free paper, by liking Red River Paper on Facebook.
Make Your Photos Sizzle with Color! -- SizzlPix is like High Definition TV for your photography. Special Offer! They're offering a 14% discount for Valentine's Day gifts to significant others, spouses, children ... pix of pets, etc. Valentines day is a month from now, Feb. 14. Orders received by January 30 shipped in time. Just add TDS to the comments field to receive your discount.
Need a New Photo Bag? Check out the Lowepro Specialty Store on The Digital Story and use discount code LP20 to saven 20% at check out.