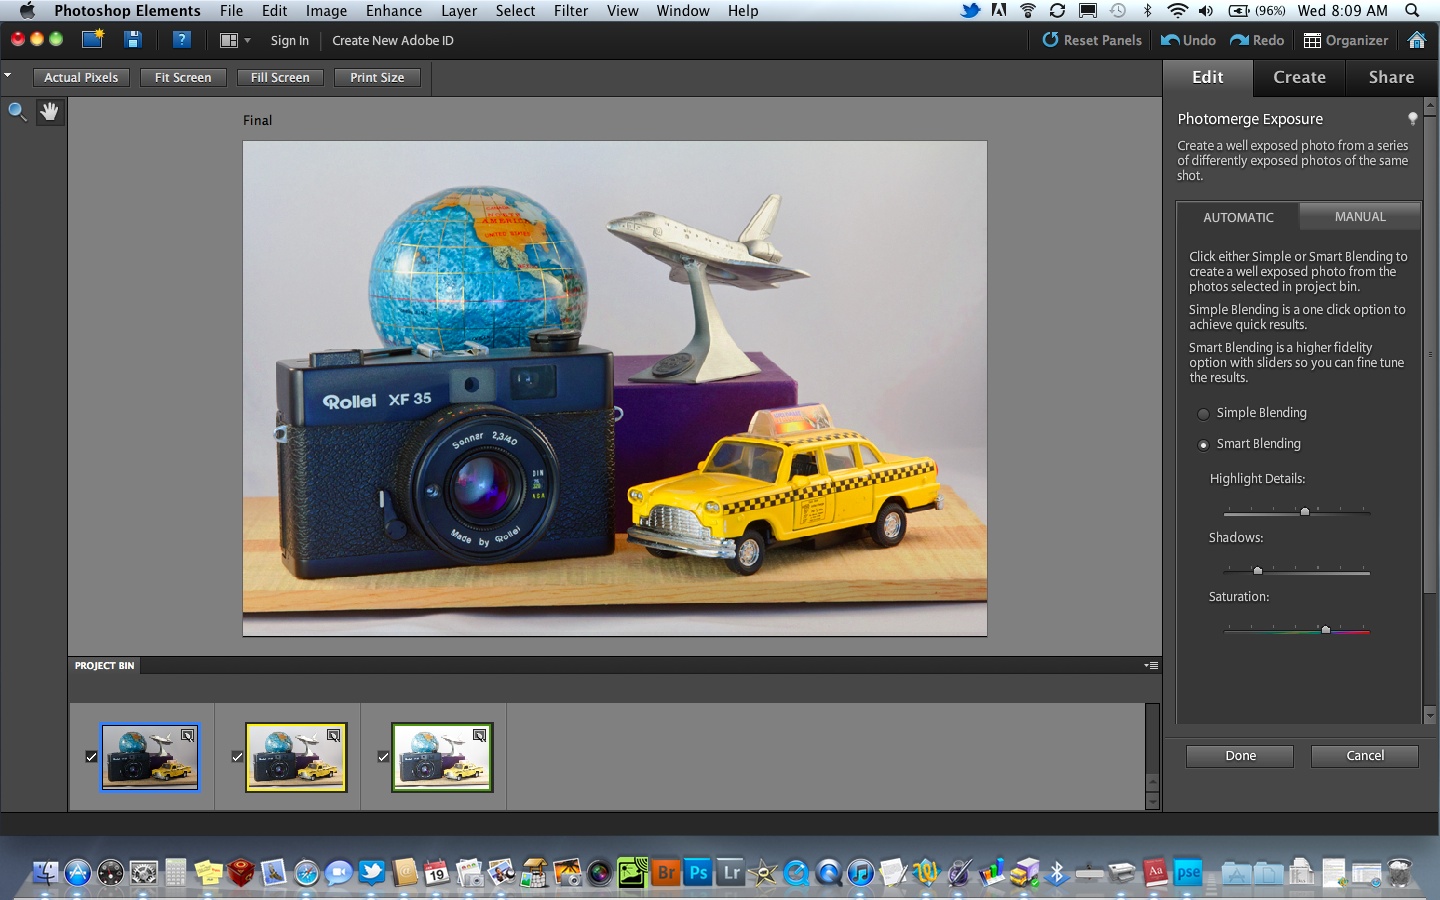
One of the most creative tools I use in Aperture isn't in the Adjustments panel. It's Versions. I make virtual copies of a selected image, then I play with the different looks until I end up with something I like.
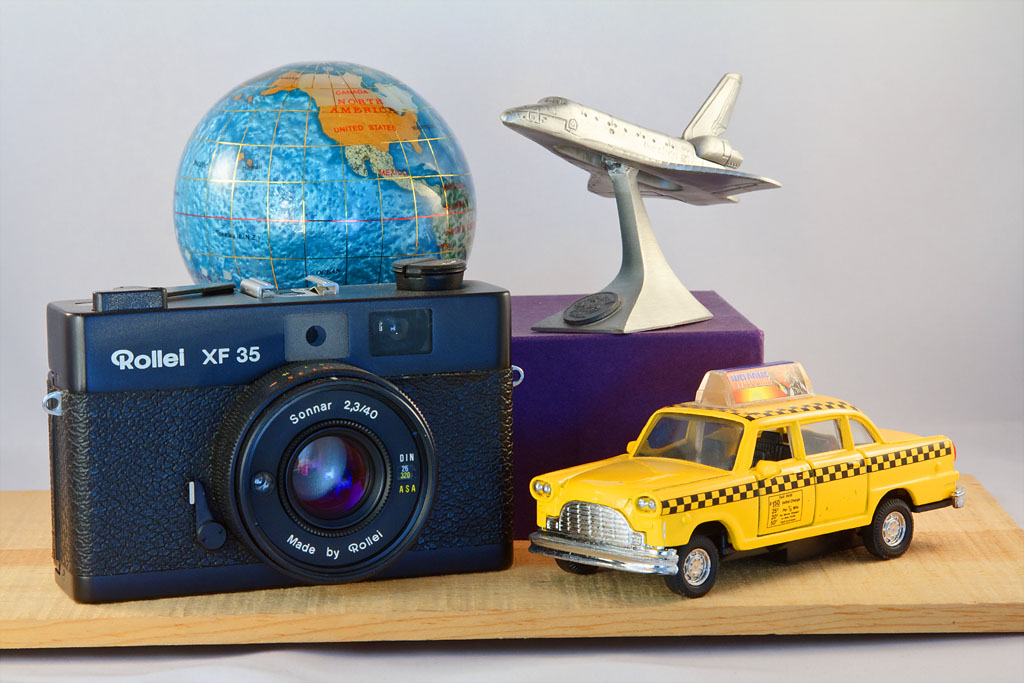
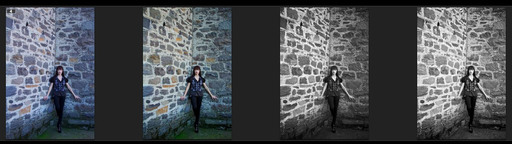 Original image on far left, then using versions to work toward final image on far right. Click on image for larger view.
The process is simple. Click on an image, then go to Photos > Duplicate Version. Even though the new image looks and behaves like a full copy of the original, it's only bits of metadata. You're adding virtually no file space to your hard drive.
At this point, I like to put my versions in a Stack by selecting them and choosing Stack > Stacks or CMD-K. I think they are easier to manage this way. Then after some image play, I might create another version and do something else with it.
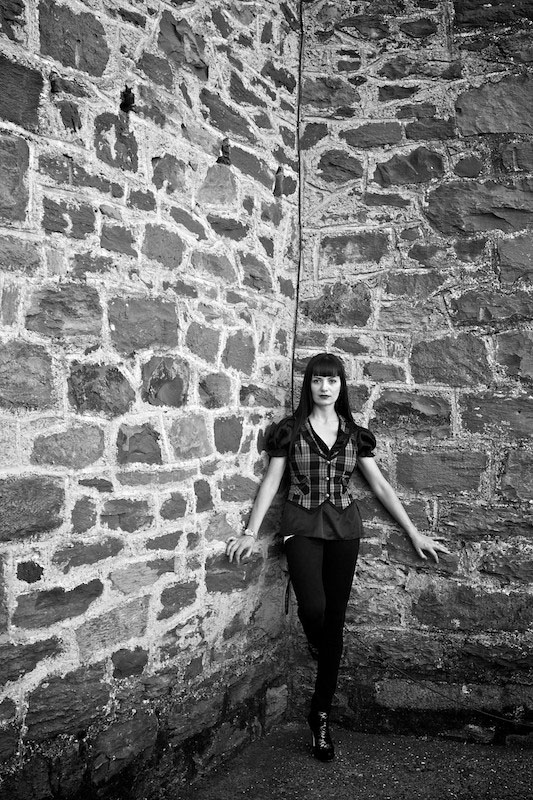
 Final version of the photo using the Black and White adjustment brick in Aperture 3. Click on image for larger view.
Once you have a version the way you like, you can move it to the top of the Stack (Stacks > Pick), then close the Stack by clicking on the little number icon in the upper right corner. You can open the Stack at any time for more play by clicking on the number icon again.
More Aperture Tips and Techniques
My next Aperture Workshop is May 23, 2011 in Santa Rosa, CA. write me if you're interested in attending.
To learn more about Aperture 3, check out my Aperture 3 Essential Training on Lynda.com. Also, take a look at our Aperture 3 Learning Center. Tons of free content about how to get the most out of Aperture.
 Follow me on Twitter