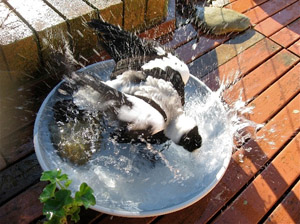
I wanted to put the HD video capture of the Olympus PEN E-P1 to the test, so I took it to an AAU basketball tournament where I had to work under buzzing mercury vapor lights with fast moving boys.
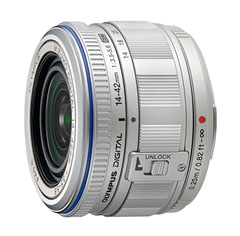
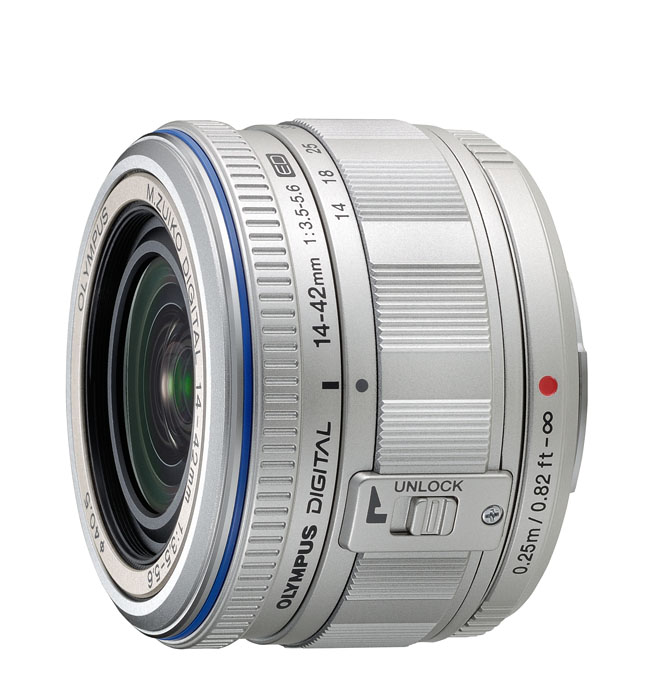
I used the 14-42mm lens and hand held the camera. The ISO had been set to 1600 and the white balance to auto for the stills I had been shooting, so I just left those settings as is and moved the mode dial to Movie. (Make sure you have HD selected in the menu so you're capturing at the resolution you want.)

One of the first things you'll notice with the E-P1 is that you can zoom during video capture. But I suggest that you use restraint with this function and stick to "zooming out" because the camera doesn't automatically refocus when you change focal length. You can refocus using the AFL button, but it's not ideal because, well, it looks bad during recording.
The sensor-based image stabilization works great for video. Handheld capture will never be as steady as a tripod-mounted camera, of course, but because of the good stabilization, it works just fine for casual movie making. I also thought that the auto white balance was admirable in the artificial lighting -- the auto exposure was good too.
What you end up with is a 1280x720 AVI video file at 30 fps with 16-bit, 44.100 KHz stereo audio. I've posted a set of movies from the E-P1 on the TDS Flickr site. I didn't adjust them, and I'm not sure what Flickr does behind the scenes when I upload the movies. I wanted you to be able to see what comes out of the camera without any editing. The nice thing about 1280x720 resolution is that it's the preferred HD format for both Flickr and YouTube.
As for the audio, well, you have to live with the onboard stereo mics. They are what they are. I much prefer to have an external mic jack so I can move the audio capture device away from the recording unit, but very few cameras provide this. I will say, however, that for onboard recording, the stereo capture with the E-P1 is good. Just remember not to mumble to yourself while the red light is flashing.
A 30-second clip takes up 124 MBs worth of file space. Because of the AVI format, you have a 2 GB limit per recording, which should give you about 7 minutes in HD. In all honesty, the 7 minute limit doesn't bother me because I usually shoot scenes anyway, then stitch them together into a movie. But I do wish Olympus had gone with a MPEG-4 format that has more efficient compression.
Overall, I thought the HD video function adds a great dimension to the E-P1. Not everyone likes to shoot movies with their digital camera, but some events just translate better with moving pictures. And it adds value to the E-P1. Now you have a compact device that shoots great still photos and captures HD video too.
More Articles on the Olympus E-P1
If you're interested in the Olympus E-P1, check out my ISO Comparison post. I run at series of photos from the camera staring at ISO 100 all the way up to ISO 6400. I also have a podcast covering the features of the E-P1. I also have a First Look at the Olympus E-P1 article at Macworld Magazine. Another helpful tip is the Olympus E-P1 "Please Check the Status of Your Lens" Message. I have a nice collection of street shots with the E-P1 in the article, Early Morning on the Beijing Streets. If you're interested in the 17mm lens for the E-P1, take a look at A Closer Look at the Olympus 17mm f/2.8 Lens for the E-P1.
 Follow me on Twitter
-