This is The Digital Story Podcast #819, Nov. 30, 2021. Today's theme is "2021 - My Most Challenging Year of Photography." I'm Derrick Story.
Opening Monologue
In large part, 2021 seemed like a year of talking about photography rather than actually taking pictures. But just like with any important relationship, anything that you can do to keep the embers glowing is worthwhile. Today I'll take a look back at the past 11 months and look forward to what could be different in 2022. I hope you enjoy the show.
Digital Photography Podcast 819
Tune-In Via Your Favorite Podcast App!

Apple Podcasts -- Spotify Podcasts -- Stitcher
Podbean Podcasts -- Podbay FM -- Tune In
2021 - My Most Challenging Year of Photography
I just spent some time looking back over my calendar for 2021. There was a lot of recording, 3 LinkedIn Learning titles, many Zoom meetings, and very few photo shoots.
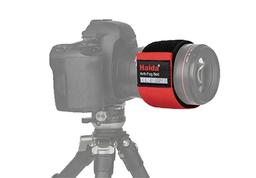
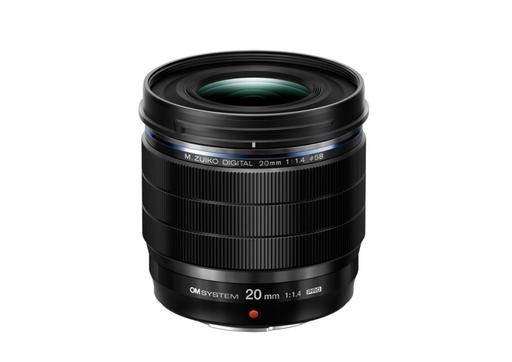
I didn't buy any new cameras in 2021, nor new lenses either. I did purchases lots of accessories, in part because the photography took on more of a personal DIY approach. So I bought things like IR filters and lens adapters.
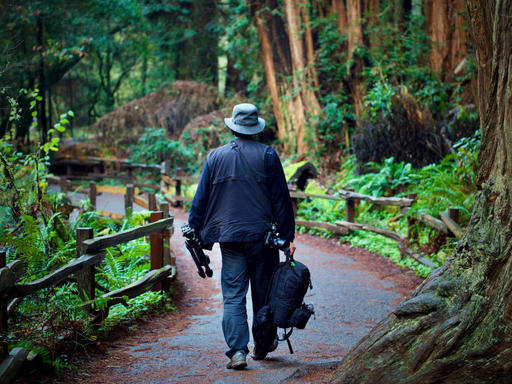
To stay motivated for my own personal work, I embraced infrared and black & white photography. Most of my photo shoots were local, inside Sonoma County, and often within walking distance from my house or studio.
I also noticed that I broadened my interests outside of photography. I became very involved in learning about electric vehicles. My music listening shifted to more Jazz. I bought vinyl records and relished the tactile experience of handling album jackets and putting the records on the turntable. I watched a lot of Netflix, Hulu, and Apple TV. And there were many home improvement projects including thinning out and cleaning two garages.
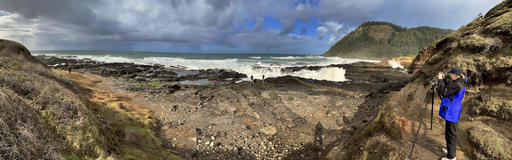
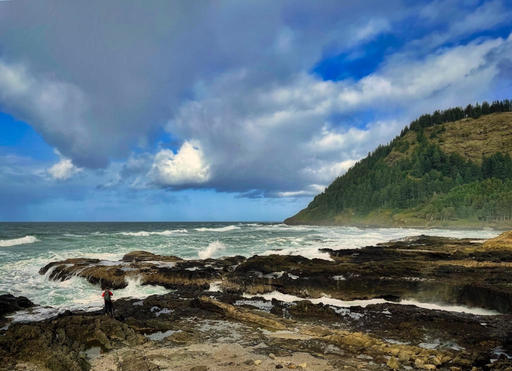
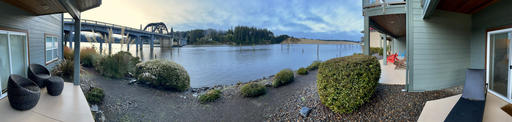
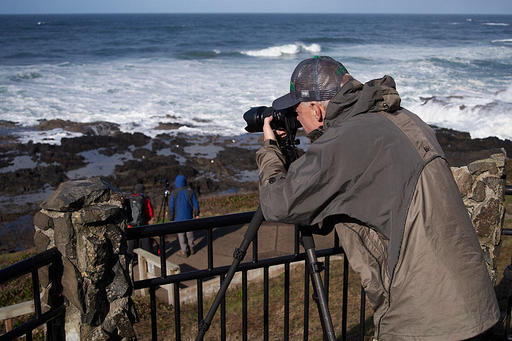
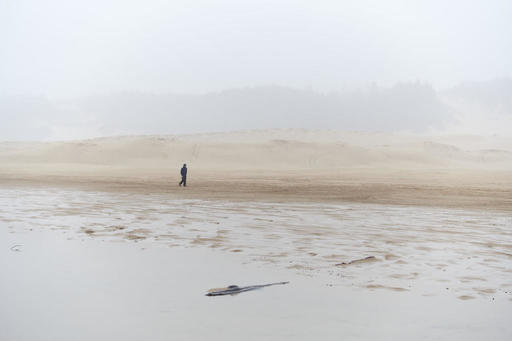
In late summer, the tide began to change a bit. I had sold the VW Vanagon and replaced it with the new VW ID.4. I was able to go camping again. Some of my physical photo work returned and I pulled gear out of mothballs to shoot commercially. And best of all, the Oregon Coast Workshop was right around the corner, my first physical event in 20 months.
Now, as I sit here in December looking toward the new year, I have some clarity about what has happened, and what I may expect in 2022. I thought you might be interested in those observations.
- Photography is a diamond with many facets. When we can't do what we normally love with it, explore other areas that are available to us.
- Zoom turned out better than I thought it would. I have been pleasantly surprised at how personable and connective our online workshops have been. Zoom has been a lifesaver in 2020.
- Gear and activity really are tied together. I've noticed that as I am shooting less, my desire to acquire new equipment has really decreased.
- My appreciation for the iPhone has grown. I've always like mobile photography, but my iPhone 12 Pro Max has become my favorite back up camera.
- We still need the physical events mixed in with the online classes. The Oregon Workshop in early November clearly demonstrated that we need a balance of events to keep our community happy and healthy.
This leads us to a very interesting 2022. Our core activities will continue to be the foundation of the community - weekly podcast, Inner Circle, and Facebook group. We will continue to explore the different facets of photography through our online classes. And we are going to have physical workshops as well, knowing that we can conduct them safely, even as the pandemic drags on.
I'm OK with all of this. I've come to terms that my portrait room is now a zoom studio, and that it probably will never go back. I realize that I will have to seek out more personal projects to help fill the gaps of my commercial work.
And once again, it's clear to me that adaption and reinvention will be the keys to a successful 2022 for our community.
Digital Camera Demand Booms in China as 'Live Commerce' Explodes
You can read the entire article on PetaPixel
Buying a new camera is about to get even harder, as exploding demand in China led by "live commerce" has led to increased supply issues on a system that already cannot meet demand.
Exports out of China have slowed due to the ongoing Coronavirus pandemic and, as a result, domestic sales through what is called "live commerce" have exploded. To support it, the need for better quality cameras has followed suit.
Live commerce is the practice of demonstrating or selling products through live-streamed social media such as TikTok or Instagram. Mostly dominated by influencers who sell cosmetics, clothing, and bags, the method is now being leveraged by factory employees who sell anything from housewares to cars.
Typically, live commerce does not require significant effort to be put behind the quality of footage and generally relies on the front-facing cameras on smartphones. However, because certain products have fine textures that smartphones can't render properly or items simply look better in streams when a higher quality camera is used, dedicated digital cameras are growing in popularity. Most live commerce content creators realize that better footage has a direct impact on better sales. Nikkei reports that demand for cameras has leaped 20% in 2021 over the previous year, and manufacturers have not been able to keep up with demand -- an unfortunately familiar story.
In the West, camera availability has been a sore subject in 2021. Manufacturers have been struggling to keep cameras on shelves amid a boom in demand that coincided with the chip shortage that has brought most of the tech industry's ability to manufacture down to a trickle. With huge demand now growing in China and with that market expected to command hundreds of billions of dollars, it is very likely that camera companies will shift their focus to meet that demand given the potential profit to be made. While good news for the camera industry, it's not necessarily so for those who have been hoping to see cameras become more widely available.
Mastering Capture One Pro Online Workshop - Jan. 12, 2022
Jan 12 - Feb. 2, 2022
Are you ready to move to one of the best RAW processing digital asset managers available today? If yes, then this online workshop is for you.
Over the course of four sessions, you will learn to organize, process, enhance, and share your images with Capture One Pro 22, the state-of-the-art photo management platform for professionals and serious enthusiasts. This application runs on both Mac and Windows platforms, with an iPad version scheduled to be available in January as well.
You will also have access to our online workshop community, DerrickStoryOnline, where you can ask questions, share techniques, and show off your work. Your membership to our online community extends pass the workshop itself, so you can continue to share notes with those who share your particular interests.
Our weekly meetings during the workshop itself are via Zoom, with AM and PM sessions available so you can match this event to your busy schedule. Plus, we record each session and make them available to participants future reference.
This is exactly the type of learning environment that will accelerate your mastery of this powerful application. I hope you can join us!
You can sign up today at TheNimblePhotographer.com.
Virtual Camera Club News
Inner Circle Members: A big thanks to those who support our podcast and our efforts!
My Writing on Medium.com: I now have 46 published articles on Medium.com. And if you haven't visited the site, and enjoy good writing on a variety of topics, I suggest that you may want to take a look. You can just go to the home page and enter "Derrick Story" in the search field. And if you like what you read, then follow me!
The New Donation Kit for Carefree Shipping of Found Film Cameras - If you've discovered a film camera that's no longer being used, our new Donation Kit makes it easy to pack and ship. Just visit the Contact Form on thenimblephotographer.com, click the box next to Donating a Film Camera, and let me know what you have. In your note, be sure to include your shipping address.
Affiliate Links - The links to some products in this podcast contain an affiliate code that credits The Digital Story for any purchases made from B&H Photo and Amazon via that click-through. Depending on the purchase, we may receive some financial compensation.
Red River Paper - And finally, be sure to visit our friends at Red River Paper for all of your inkjet supply needs.
See you next week!
Product Links and Comments
There are product links in this article that contain affiliate tags. In some cases, depending on the product, The Digital Story may receive compensation if you purchase a product via one of those links. There is no additional cost to you.
You can share your thoughts at the TDS Facebook page, where I'll post this story for discussion.
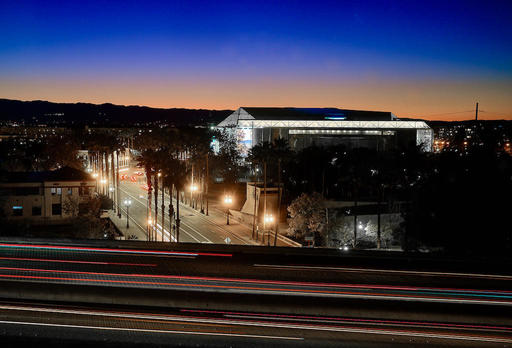 San Jose at Twilight - Fujifilm X100V, ISO 160, Aperture Priority at f/4, Exposure 2 seconds. Photo by Derrick Story.