This is The Digital Story Podcast #734, April 14, 2020. Today's theme is "Project Productive - Digitize Family Memories." I'm Derrick Story.
Opening Monologue
Most of us have at least another month indoors. So I've designed a 4-week online course that I think most photographers will find extremely satisfying - finally getting to those shoeboxes of family photos that need to be organized, digitized, and cataloged. We are going to embrace Shelter in Place in a most productive way. I hope you enjoy today's show.
Project Productive - Digitize Family Memories
By now, we've accomplished many of the "low hanging fruit" projects. We've organized our camera gear, caught up on paperwork, and maybe even have cleaned a closet or two.
But the 800-pound gorilla that's lurking beneath many of our beds is that box of slides and snapshots that we've been meaning to tackle. Why haven't we done so yet? To be honest, the project can feel overwhelming. There are so many aspects to it, it's hard to know where to begin.
Well, now you have a starting point: my Digitizing Family Memories online course that begins Monday, April 20. And the best news is - if you're an Inner Circle Member, the class is absolutely free.
What We're Going to Do
First of all, you'll have structure. Each class will outline a specific set of steps that you have one week to accomplish. Then, the next week, we build on that progress with new techniques and assignments. By the end of the four weeks, you will have an organized digital archive of your most valuable family images.
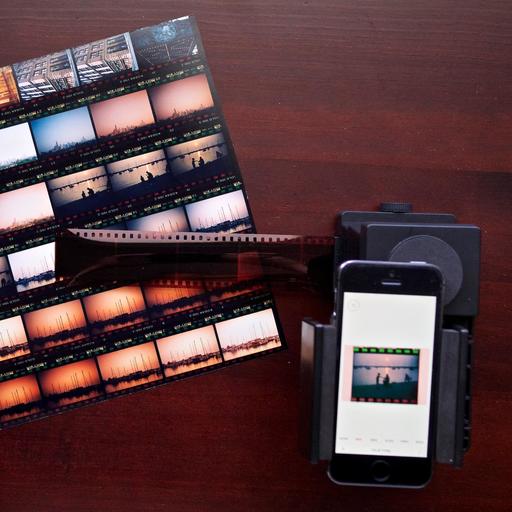
The approach is to break the project into smaller parts. Everything we do will be easy to understand and implement. When it comes to digitize, you'll learn techniques that are as simple as using the camera on your smartphone, or as sophisticated as tapping a dedicated film scanner.
I will show you techniques that will help you research, organize, digitize, add metadata, and catalog. We'll also discuss retouching and mending damaged photos.
Every Monday during the class, I will post an instructive video on Vimeo for you to watch. You can watch it whenever you wish, but don't let too much time go by, because there are assignments associated with it. There will also be handouts that you receive via email. And you can comment or ask questions via the comments section on Vimeo.
Patreon members can sign up for free on the Patreon site. I have a post there for you. All you have to do is comment that you want to join us. If you're not a Patreon member, you can sign up at the Inner Circle level for $5 a month and become instantly eligible for the course.
Non-Patreon members can also sign up for the course by visiting the Workshops page on The Nimble Photographer. The course fee is a reasonable $45.
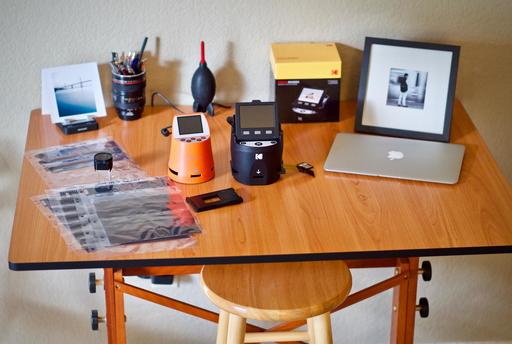
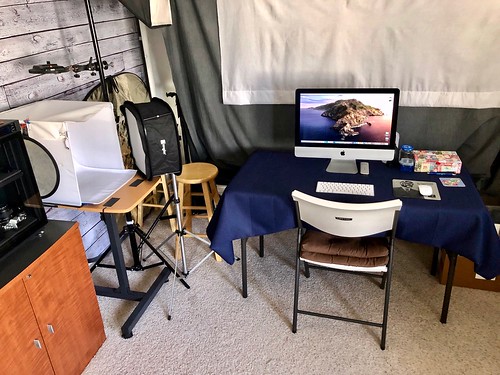
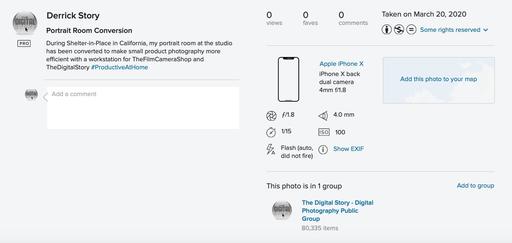
Start preparing now. The first step is to find a dedicated work area where you can leave the project spread out on a table for the duration of the course. You don't want to waste time setting up and breaking down each time you want to work on an assignment. That's the kind of stuff that discourages us from working on these things in the first place.
Next, begin your search for family snapshots, slides, and negatives. You don't have to do anything with them yet, just find as much as you can, and put it on your worktable. If you want, you can start enjoying some of the pictures and reminiscing, but don't begin the project until you've watched the first installment of the course.
I hope you can join us for this online workshop. I think you will find it extremely rewarding!
Do You Have a Film Camera that Needs a Good Home?
Over the last year, I've received donations from TDS members who have film cameras that need a good home. What I do is inspect the items, repair and clean as I can, then list them in TheFilmCameraShop where I can find a good home for them. If you're interested in donating, please use the Contact Form on TheNimblePhotographer site. And thanks for you consideration!
LaCie 8TB 2big 2-Bay USB 3.1 Type-C RAID Review
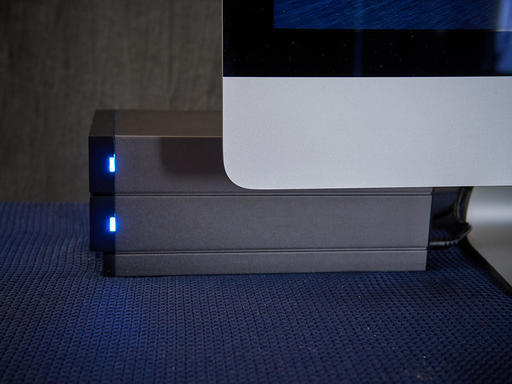
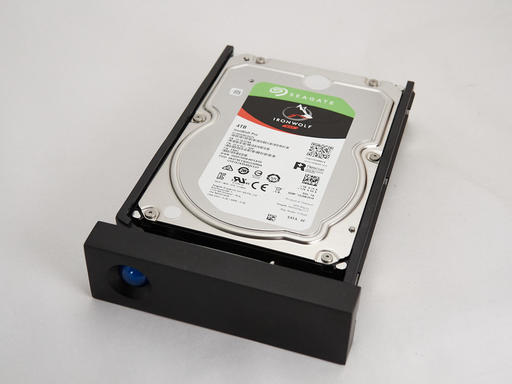
Photographers interested in enterprise-caliber backup storage, housed in handsome easy to use hardware, should definitely take a look at the LaCie 8TB 2big 2-Bay USB 3.1 Type-C RAID Array. It looks great sitting next to your desktop computer, is surprisingly quiet, and is a joy to use.
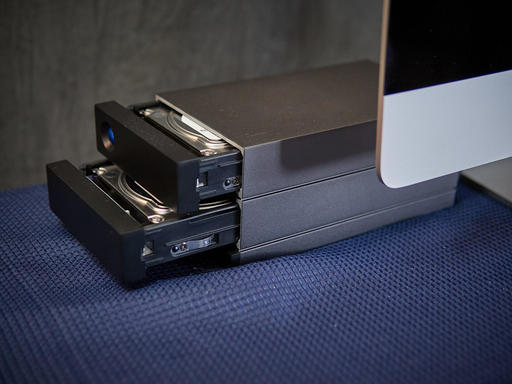
Inside the stylish enclosure are two Seagate IronWolf Pro NAS 4 TB hard drives. They are easily accessible through the front of the enclosure via the spring-opening doors. The 7200 rpm SATA 3 drives are hot-swappable, although I haven't had the guts to try that yet. I've powered down the unit the examine the internals. But the documentation says hot-swappable works just fine. (OK, I'm a chicken, I admit it). And after a month of testing with a RAID 1 configuration, I am very pleased with their performance.
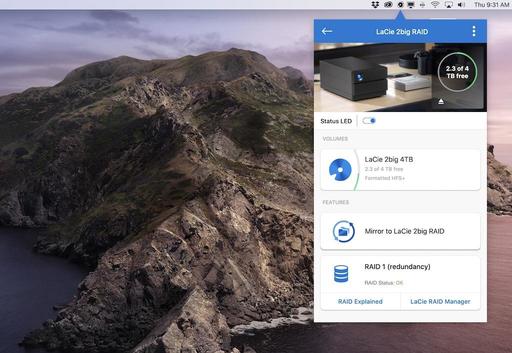
The LaCie 2big works great for both Mac and Windows computers right out of the box. Just plug it in and go. But most will want to configure the unit for their particular workflow, and for that, LaCie provides the excellent Toolkit software to format the drives and choose the RAID configuration that you want.
The first option is RAID 0, which provides the best performance and gives you 8 TBs of storage. The two hard drives work together to ensure the fastest data transfer possible.
The second option, RAID 1, is what I'm using. In this scenario, the drives mirror one another to provide an extra level of protection from drive failure. If one goes down, all of your content is still available on the other. The downside to RAID 1 is that your total storage is 4 TBs, and performance is a bit slower than with RAID 0.
And finally, if you're a willy-nilly kind of guy or gal, there's the JBOD option, short for just a bunch of disks. Two drives appear on your desktop with 4 TBs available for each. All of this is configured with Segate Toolkit.
In all honesty, the 2big checks all the boxes for me. I have an enterprise RAID device that looks like industrial artwork sitting on my desk. I can feel like a smart system admin when all I'm really doing is just checking a couple boxes in the easy to use Toolkit app. And the read/write performance has been similar to a standalone HDD. What more could I ask for?
You can purchase the LaCie 8TB 2big for $451. There's also a 4 TB version for $349, and a 16 TB option for $649. At the moment, I'm quite happy with my 8 TB model. And I highly recommend the 2big to photographers and videographers who want reliable enterprise backup enclosed in a handsome hunk of hardware.
Update for the TDS 2020 Photography Workshop Season
Those of you on the registration list for the Humboldt Redwoods Workshop, I'm looking to reschedule the event, and I have a note in your inbox to discuss this.
If you have questions about Humboldt or the other workshops, feel free to drop me a line using the Contact Form on www.thenimblephotographer.com.
The summer and fall workshops are looking less tentative at the moment. If you're interested in either, jump over to our 2020 Workshops Signup Page and place a $100 deposit to secure your place. Only participants on the Reserve List who have placed a deposit will be eligible to register for a workshop. If you have questions or need more information, fill out the "Send Me Info!" request form. I'll get back to you asap.
- Lassen Volcanic Park Photo Workshop - July 16-18, 2020 - 2 Seats Remaining -- We'll convene at a spacious cabin at Lake Almanor that serves as our HQ. From there we explore the stunning Lassen landscape, peaceful shores of Lake Almanor, and the magnificent mountain night skies. This hands-on photo workshop is limited to 8 participants and is a wonderful blending of experience, camaraderie, and artistry. Limited to just 8 participants, you can reserve your spot and learn more about this event here.
- The Eastern Sierra Photography Workshop - Oct. 1-3, 2020 - 2 Seats Remaining - Our event is headquartered at the Silver Maple Inn in Bridgeport, CA - gateway to Bodie, Mono Lake, and June Lake. We'll take advantage of the magical morning light to photograph some of the most unique landscape in North America. We'll photograph the sparkling night skies of the Sierra and explore rustic urban environments. Limited to just 9 participants, you can reserve your spot and learn more about this event here.
Updates and Such
Inner Circle Members: A big thanks to those who support our podcast and our efforts!
How to Watch Photos for macOS Catalina and iPadOS - Learn everything you need to know about Photos for the Mac and iPad by checking out my latest course on LinkedIn Learning and on lynda.com. This course is perfect for Mac and iPad based photographers who shoot with iPhone, Mirrorless, and DSLR cameras. It covers both photography and movies. And if I say so myself, it's a lot of fun.
B&H and Amazon tiles on www.thedigitalstory. If you click on them first, you're helping to support this podcast. (The Digital Story is supported by its audience. When you purchase through links on our site, we may earn an affiliate commission.) And speaking of supporting this show, and big thanks to our Patreon Inner Circle members:
Affiliate Links - The links to some products in this podcast contain an affiliate code that credits The Digital Story for any purchases made from B&H Photo and Amazon via that click-through. Depending on the purchase, we may receive some financial compensation.
And finally, be sure to visit our friends at Red River Paper for all of your inkjet supply needs.
See you next week!
More Ways to Participate
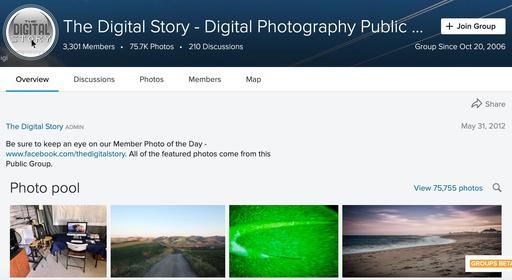
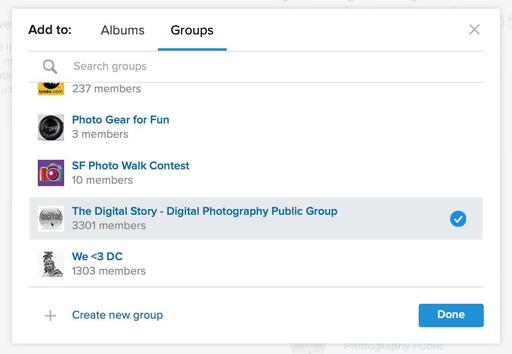
Want to share photos and talk with other members in our virtual camera club? Check out our Flickr Public Group. And from those images, I choose the TDS Member Photo of the Day.
Podcast Sponsors
Red River Paper - Keep up with the world of inkjet printing, and win free paper, by liking Red River Paper on Facebook.
The Nimbleosity Report
Do you want to keep up with the best content from The Digital Story and The Nimble Photographer? Sign up for The Nimbleosity Report, and receive highlights twice-a-month in a single page newsletter. Be a part of our community!
Want to Comment on this Post?
You can share your thoughts at the TDS Facebook page, where I'll post this story for discussion.