One of the best parts of photokina is that it's in Germany. During my stay here, I've had the opportunity to visit with many German photographers, artists, and businessmen. In this week's podcast, recorded in Cologne and Munich, I visit with two very interesting people.
First, we hang out in Munich at the Boinx Software headquarters and visit with my friend Oliver Breidenbach. Oliver started this software company for creatives back in the mid 1990s. And they've created great tools such as Fotomagico. They also created BoinxTV that powered the FotoTV production at photokina. I visit with Oliver and we talk about Germany, business, and software for photographers.
Next on the show is an interview from the show floor at photokina. There I talk to photographer Guido Seitz. He specializes in wedding and engagement portraits. Our conversation focuses on the art of effective wedding photography and the business differences between Germany and North America. I think you'll enjoy.
Listen to the Podcast
You can also download the podcast here (43 minutes). Or better yet, subscribe to the podcast in iTunes. You can support this podcast by purchasing the TDS iPhone App for only $2.99 from the Apple App Store.
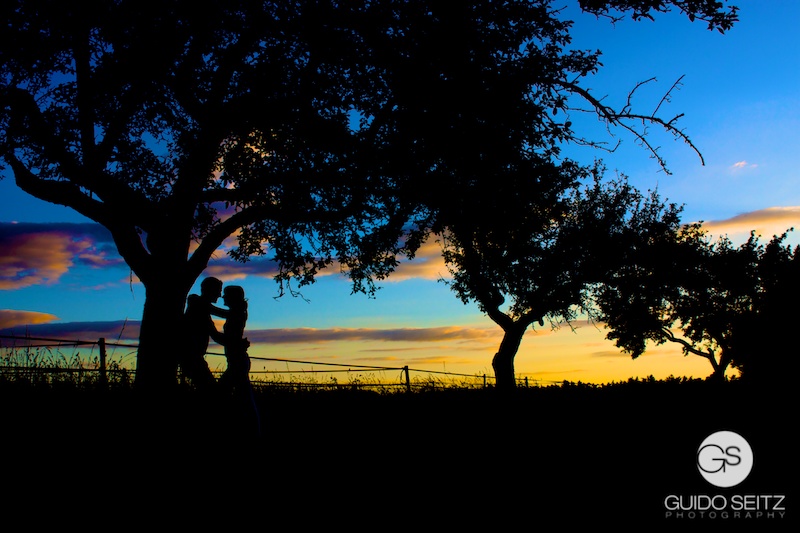 Guido Seitz Photography
Monthly Photo Assignment
Saturation is the September 2010 Photo Assignment. You can read more about how to submit on our Member Participation page. Deadline for entry is Sept. 30, 2010.
TDS Autumn 2010 Photography Workshop
The next TDS Photography Workshop will be Oct. 16-18, 2010. The event is sold out. But, you can place your name on the reserve list for the next workshop. Just drop me a line.
More Ways to Participate
Want to share photos and talk with other members in our virtual camera club? Check out our Flickr Public Group. It's a blast!
Podcast Sponsors
Red River Paper -- Try the $7.99 Sample Kit.
Make Your Photos Sizzle with Color! --
Technorati Tags:
digital photography, podcast, technique, Technology, The Digital Story, tips