![]()
Starting this month, I'm available for speaking at SMUGs (SmugMug User Groups). I'm looking forward to meeting with other photographers who share the same passion for making great images and enjoy the process while doing so.
Currently I have five talks available:
- "Efficient Aperture for Busy Photographers" (Apple's Photo Management Software)
- What's in My Bag" (How to pack light yet have everything you need)
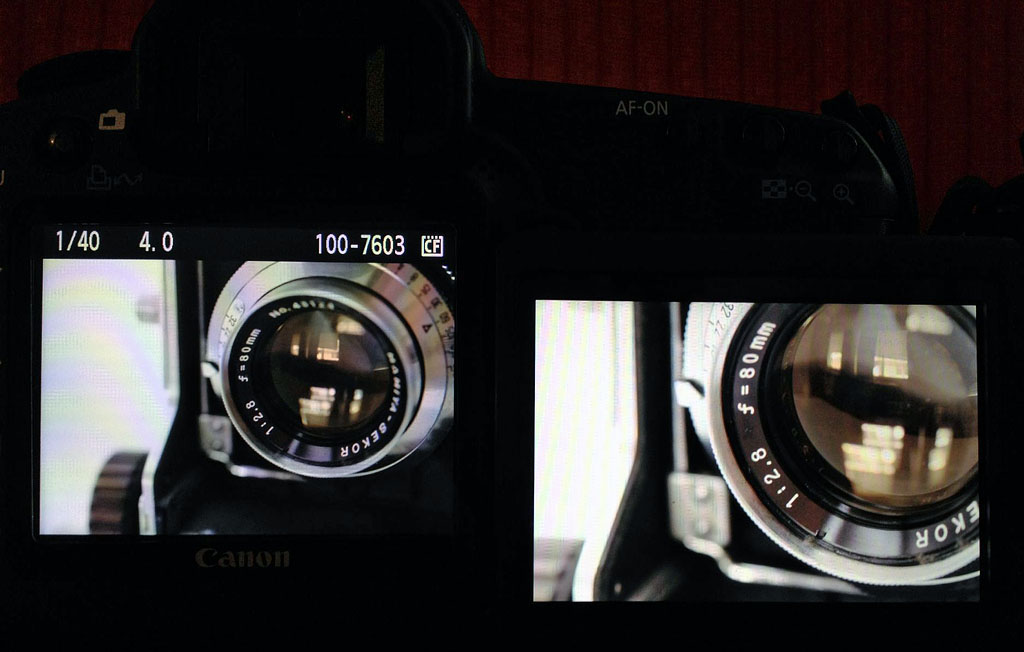
- "Getting Started with Macro Photography" (Sometimes, the closer the better)
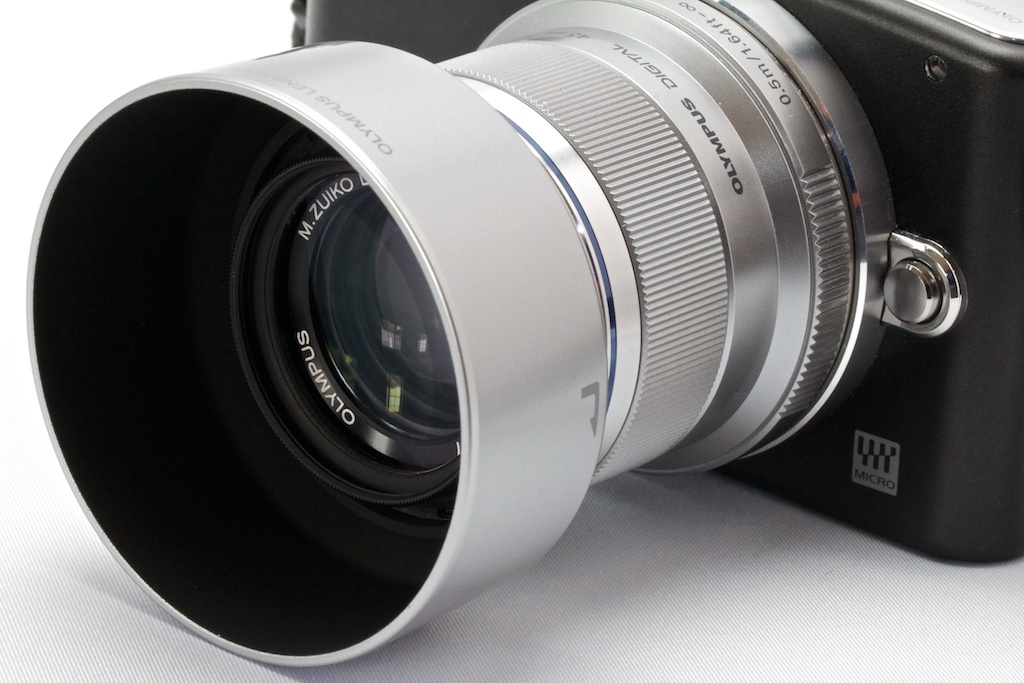
- "Compact System Cameras Are Here to Stay" (And they might be right for you)
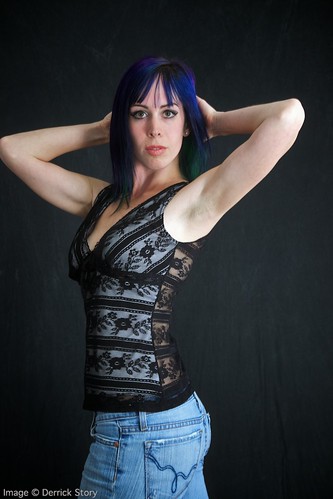
- "Flash Photography for Event Photographers" (Lots of fun modifiers for this one)
Plus, Lowepro is also behind this project, which means there will always be gear giveaways at my speaking engagements. How cool is that?
My SmugMug Bio
Derrick Story is a professional photographer, writer, teacher and photography evangelist for Lowepro. He has authored several digital media books, including, The Photoshop CS4 Companion for Photographers and The Digital Photography Companion (O'Reilly Media, publisher).
Derrick is a Senior Contributor for Macworld magazine where he writes a digital photography column, and he's a regular presenter on the popular training site, lynda.com.
Online, Derrick has formed a virtual camera club called The Digital Story that's open to all photography enthusiasts. The site features weekly podcasts, daily posts, training videos, and reader-submitted photos.
How to Contact Me
If you interested in having me speak at your SMUG, my contact information is listed on the TDS Members page. I hope to see you soon!
The Digital Story on Facebook -- discussion, outstanding images from the TDS community, and inside information. Join our celebration of great photography!