What a day of announcements on Tuesday. If I were a rich man, I'd have an entire new post-production rig. Here's what's tempting me.
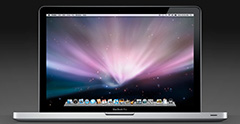
Apple created the new MacBook Pro 15" that's carved out of a solid piece of aluminum. Reports are that it's super sturdy and a testament to machine engineering. It supports a 15-LED display. I have one of those on my 17" MacBook Pro, and I can tell you they are great for photographers. They warm up instantly so you can get right to color-managed image editing.
The configuration I'd want for the 15" MacBook Pro would include 2.8GHz Intel Core 2 Duo, 4GBs Ram (that comes standard), and the 250GB Serial ATA hard drive that spins at 7200 RPM. Price: $2,749 US.
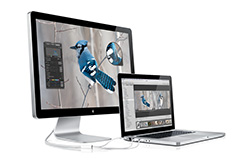
Along with the new MacBook Pro, Apple released the 24" LED Cinema Display that incorporates the same cool LED technology plus has a built-in iSight camera, speakers, and integrated MagSafe connector for charging your laptop while you have it connected to the monitor. Price: $899 US.
Don't forget Aperture 2, preinstalled. When you buy the MacBook Pro, you can get Aperture 2 (Apple's pro level photo management software) installed on the hard drive for $199 US. I'd definitely include this.
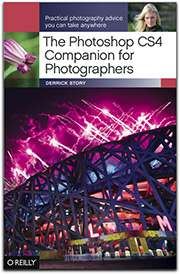
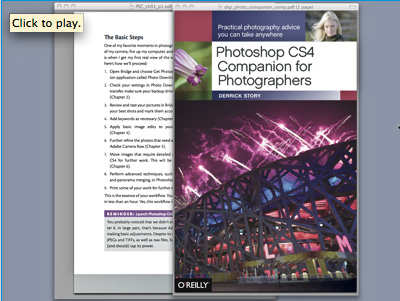
Then, at 9pm last night, Adobe announced that is was now shipping Photoshop CS4. This is the application that I've been raving about for the last few weeks. It performs smoothly with new features such as fluid canvas rotation, OpenGL zooming, new adjustment panel, improved Bridge, amazing ACR, and much more.
You can upgrade to Photoshop CS4 for $199 US. Along with Aperture, CS4 rounds out the photographer's workbench providing you with everything you would need.
So bottom line price for the whole she-bang? A mere $4,046 US. But what a set up! I better get to work and line up a few more jobs.
Technorati Tags:
Adobe Photoshop, Derrick Story, digital photography, Technology, The Digital Story