I recently had lunch with Don Sherman of SizzlPix fame, and then we visited the Aurora Art Studios in San Rafael to see the works of photographer Alan Plisskin. Why were we so interested in Alan's work? In part because he's a very good shooter. But we also wanted to see the SizzlPix that Alan had hanging in the gallery.
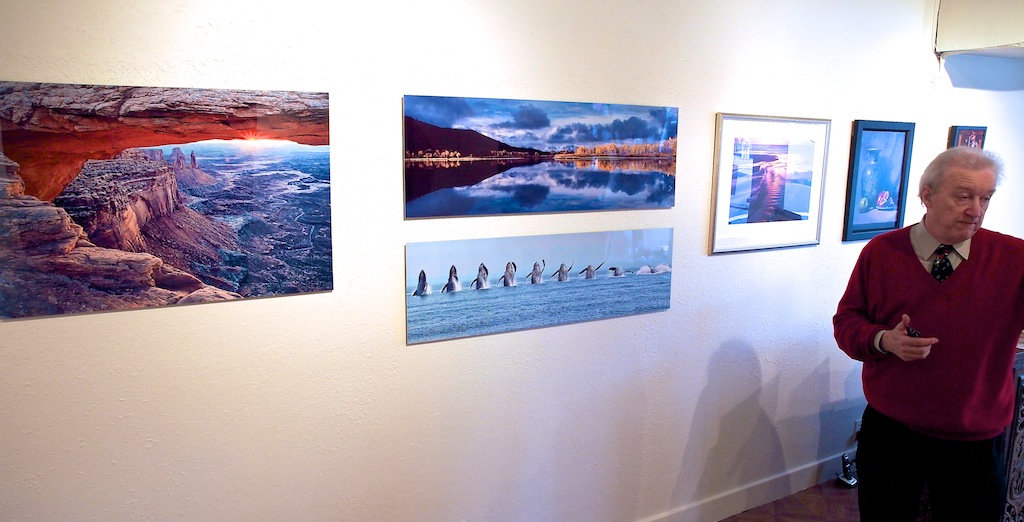 Inside Aurora Art Studios with Alan Plisskin's work on display and the curator talking about Alan's work.
If you have a SizzlPix in your own gallery, you'll understand the next thing I'm going to say... Those images jumped off the wall. They were quite impressive. We chatted with the gallery owner about reactions to these unique photographs. He said that they weren't for everyone, mainly because some people are looking for traditional framed prints to go with their existing decor. But for those who liked the SizzlPix, they really liked what they saw.
I think Alan Plisskin is on to something here. Photographers often look for ways to distinguish their work from others. He's certainly done that at Aurora Art Studios.