This is The Digital Story Podcast #751, August 11, 2020. Today's theme is "Has the Pandemic Killed Your Creative Mojo?." I'm Derrick Story.
Opening Monologue
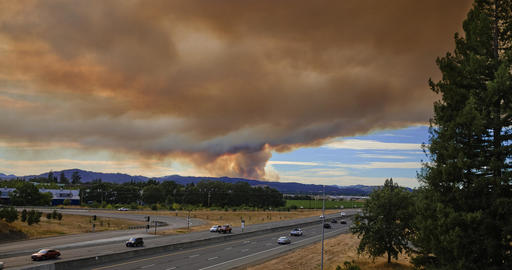
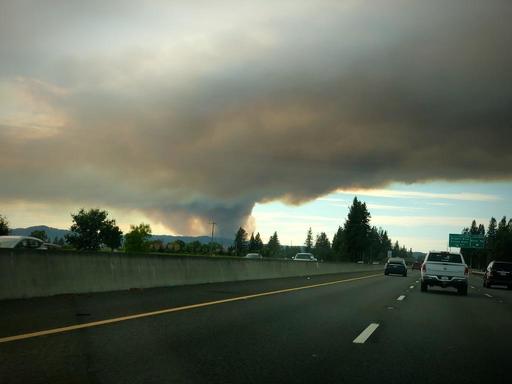
In the last two months, I've shot 2 rolls of film. And if it wasn't for Comet Neowise, the same would apply to my digital production as well. It's not that I don't want to take pictures. It's that all of my normal prompts have been put on ice. And now I'm searching for new inspiration to increase my production. I talk about this ongoing challenge, and the realization I had about it, in this week's TDS podcast.
Has the Pandemic Killed Your Creative Mojo?

When I was 15 years old, I had a job at a gas station in my home town. I learned a lot about myself during that time. For example, there would be stretches of time with no customers. The slower traffic was, the slower I became to the point where I didn't feel like doing anything.
Then I would get a rush of cars, and I would work like crazy and feel totally energized. Time would pass quickly, and I really enjoyed my work.
The thing I've noticed about all versions of shelter in place, including those that have cancelled all of my photo jobs and workshops, is that it's a momentum killer. I become focused on making ends meet, trying to cut costs, stay in contact with friends, and in all honesty, just get through the day as safely as possible.
None of this seems good for creativity. And the more that I'm stuck inside my studio, the less motivated I am to venture out to take pictures of the world coping with a pandemic. Maybe that's it. We're just so single topic these days, the topic itself feels old and tired.
So I devised a plan to battle back and to combat the gas station blues. Here's what this week's strategy looks like.
- Monday: Ride my bike to Jeremiah's to pick up some processed film and look for pictures along the way. Write and record the podcast. I didn't get any pictures, but I did have an epiphany.
- Tuesday: Start recording my new training title on "How to Play, Digitize, and Enjoy Vinyl Records". Prepare for and watch the Perseid (Per - See - id) meteor shower that night.
- Wednesday: Continue recording my new training title How to Play, Digitize, and Enjoy Vinyl Records. Process the images that I captured the night before. Make sure one walk or bike ride.
- Thursday: Another day of recording my new training title on Enjoying and Digitizing Vinyl Records. Be sure to get in a long walk or a bike ride.
- Friday: Mini road trip for a meeting, but pack camera and spend a little extra time taking pictures before returning home. Try to find a photo subject that isn't COVID.
What I've discovered is that these activities do help me feel better. And that's definitely half the battle. But I'm still not feeling as creatively powerful as I would like. I think part of that is because I'm using a lot of my creative juices to problem solve the challenges in business and life. I should give myself credit for that. (And you should as well.)
And that's when the lightbulb finally went on for me. It's not that we've lost our creativity. It's that we're having to use it for other things, namely problem solving during a pandemic. The pandemic didn't kill our mojo. It redirected it. And it will be stronger than ever when we get to tap it again for our photography, writing, painting, and music.
So for right now, just do the best you can every day. Meet those challenges head on. Give yourself credit for using your problem solving capabilities to help your friends, family, community, and country.
And continue to check in here. Because if anyone knows what you're going through, it's us.
Can You Tell the Difference Between Digital B&W and Film?
A common remark I hear from photographers is that there's no need to shoot B&W film because it's so easy to convert digital files to monochrome. Why take on the extra work?
Generally speaking, I think that's a fair comment. We can make very, very nice B&W images on our computers choosing from a variety of tools and film simulations. And yet, film is still a bit different. Maybe it's the randomness of the silver crystals compared to organized patten of pixels, maybe it's something else.
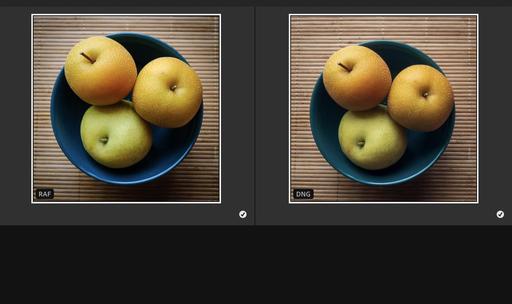
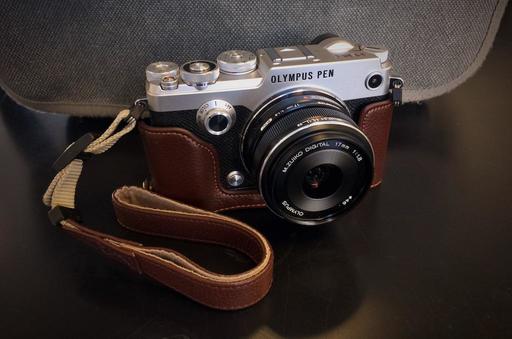
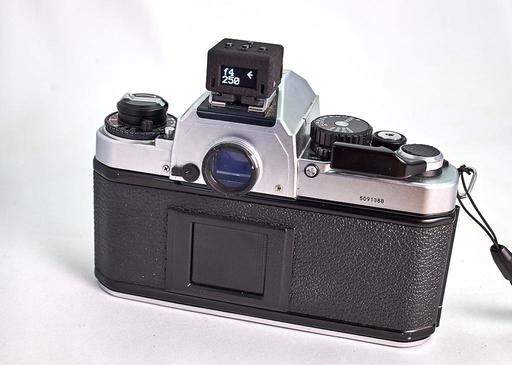
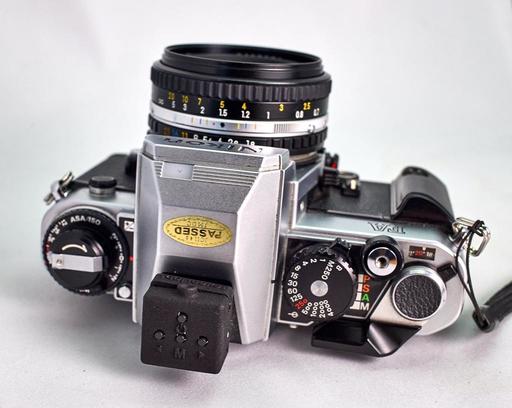
So I thought we'd have a little fun with this. Here are two images. Both shot with a Nikon and a 50mm f/1.8 lens. One is digital, and the other is Tri-X film that I processed at the studio and scanned on a $160 Kodak Scanza. Which one is the digital, and which one is from Tri-X?
And the answer is: Photo A is digital captured with a Nikon D700 and Nikon 50mm f/1.8 lens. Photo B is analog, recorded with a Nikon FA with a 50mm lens and Tri-X film.
As of this morning, the correct answer was leading 3:1 on our Inner Circle site and Facebook page combined.
Using the NPF Rule for Photographing Night Skies
You can read the entire article here on F-Stoppers.
Because we know the amount of rotation in 24 hours, we can easily calculate the distance a star will move each second. This leads to the Rule of 600. By dividing the number 600 by the focal length of the lens you are using, you will end up with the maximum amount of seconds an exposure may last. That's easy to remember, and easy to use.
The Rule of 600 originates from the days of analogue photography. That is why the focal length has to be a 35mm equivalent. If you are using a crop sensor, just multiply the focal length by the crop factor. Still, not every image with a shutter speed that is calculated by the Rule of 600, will produce real stars. There is something not right with this rule.
Nowadays, our digital sensors have more resolution than analogue film. It means, motion blur will be visible much sooner compared to analogue film. That is why the Rule of 600 is often changed into the Rule of 500, or even the Rule of 400. It compensates the increased resolution up to a certain point. Still, it is not easy to get the exact maximum shutter speed. Especially because the resolution of digital sensors is getting larger with almost every new camera. That is why you have to take resolution into account, and for that you can use the NPF rule.
The NPF rule originates from Frédéric Michaud from the Société Astronòmique du Havre. It is a complex rule that takes sensor resolution into account. The NPF stands for
N = aperture (it's the official notification of aperture in optics),
P = pixel density, the distance between the pixels on the sensor, also called pixel pitch,
F = focal length.
The app PhotoPills will calculate the NPF rule for you.
I'm Now Writing on Medium
I've started publishing articles on Medium.com as @derrickstory. Posts that aren't anywhere else include: "How IBIS Saved the Day, er, The Night," "From LA to San Francisco, 61 Days in a Different World," and "My 10 Years with Olympus Cameras." If you're interested in these topics, I'm posting an article a week. You might want to stop by and follow.
After mentioning this last week, I was thrilled so see that many of you from our TDS audience were hanging out on Medium last week. Thank you so much for chiming in. I think this is going to be an excellent complement to the work we're doing on TDS.
The New Donation Kit for Carefree Shipping of Found Film Cameras
We have more time around the house than ever. And you finally dove into that bedroom closet that's been begging for some organization.
If you found a film camera that you're no longer using, our new Donation Kit makes it easy to pack and ship. Just visit the Contact Form on thenimblephotographer.com, click the box next to Donating a Film Camera, and let me know what you have. In your note, be sure to include your shipping address.
If it's a camera we can use for the shop, I'll send you a Donation Kit that includes a USPS Priority Mail shipping box and prepaid label. All you have to do is tape it up, insert the camera, and add the label. USPS will pick up your shipment from the front door of your house during their regular mail delivery. It's that simple!
Your donation help get analog gear in the hands of aspiring fine art photographers, and the proceeds help support this podcast.
The Essential Steps to Impressive Video Conferencing
If you want to learn more about looking and sounding great for your next online interaction, then I think you'll very much enjoy my latest online workshop, The Essential Steps to Impressive Video Conferencing.
This 1-hour deep dive focuses on the 3 major areas of successful online interaction: Audio, Video, and Environment. During the course, I walk you through a variety of techniques that range from simple using gear that you already have, to improving your chops through a few inexpensive purchases.
The course is currently available for free to our Inner Circle Members on Patreon. Members, just go to our Patreon site, and all the information will be there. If you're not already an Inner Circle Member, you can join us for $5 a month.
The course is also available on our Nimble Photographer Workshop Page for $14.95.
I have tons of great tips and techniques waiting for you there. If you want to get serious about how you come across during online meetings, classes, interviews, and family interactions, then you definitely will want to watch this course.
Digitizing Family Memories Course Now Available Online
Each of the four classes will outline a specific set of steps for you to accomplish. By the end of the course, you will have an organized digital archive of your most valuable family images.
You can sign up for the course by visiting the Workshops page on The Nimble Photographer. The course fee is a reasonable $39 (on sale right now). It includes the 4 class videos, class notes, and access to the class forums that are a part of each movie.
Updates and Such
Inner Circle Members: A big thanks to those who support our podcast and our efforts!
How to Watch Photos for macOS Catalina and iPadOS - Learn everything you need to know about Photos for the Mac and iPad by checking out my latest course on LinkedIn Learning and on lynda.com. This course is perfect for Mac and iPad based photographers who shoot with iPhone, Mirrorless, and DSLR cameras. It covers both photography and movies. And if I say so myself, it's a lot of fun.
B&H and Amazon tiles on www.thedigitalstory. If you click on them first, you're helping to support this podcast. (The Digital Story is supported by its audience. When you purchase through links on our site, we may earn an affiliate commission.) And speaking of supporting this show, and big thanks to our Patreon Inner Circle members:
Affiliate Links - The links to some products in this podcast contain an affiliate code that credits The Digital Story for any purchases made from B&H Photo and Amazon via that click-through. Depending on the purchase, we may receive some financial compensation.
And finally, be sure to visit our friends at Red River Paper for all of your inkjet supply needs.
See you next week!
Product Links and Comments
There are product links in this article that contain affiliate tags. In some cases, depending on the product, The Digital Story may receive compensation if you purchase a product via one of those links. There is no additional cost to you.
You can share your thoughts at the TDS Facebook page, where I'll post this story for discussion.
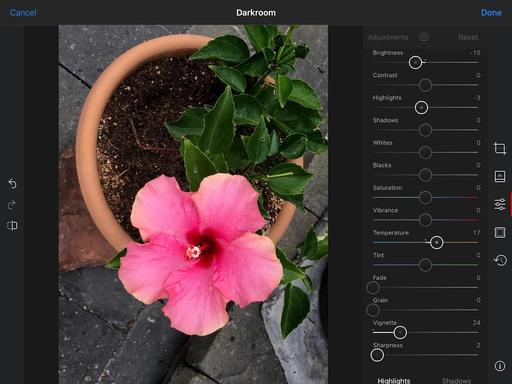 The Adjustments panel in Darkroom.
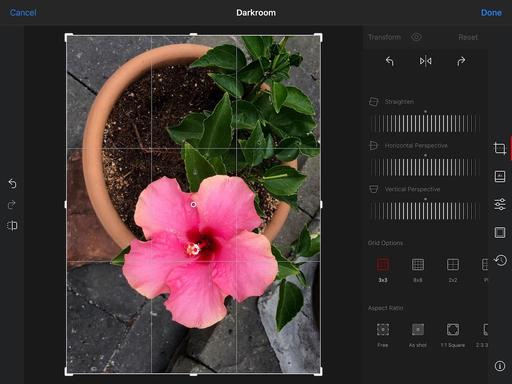 The Cropping tool in Darkroom.
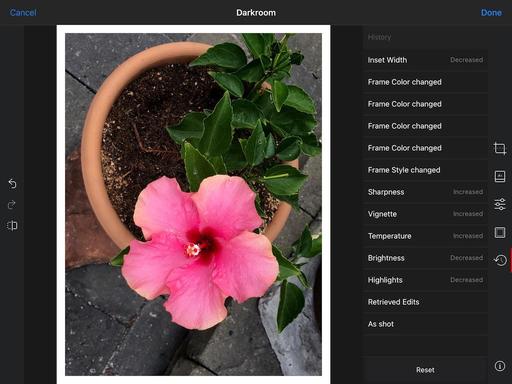 The History interface in Darkroom.