Editor's Note: I had a conversation on Twitter with Kip Beatty about the difficultly of editing HD video from the Canon 5D Mark II in Apple's iMovie '09. Kip said he had researched a solution, and I want to share his findings with our readers. Here's what Kip Beatty wrote.
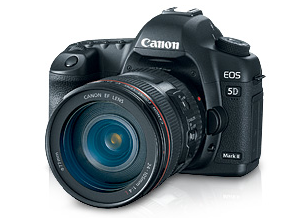
The Canon EOS 5D Mark II shoots stunning 1080p 30 fps video. However, if you're using iMovie '09 to edit your movies, you'll find using anything but a Mac Pro to edit the native .264 files from the camera will bring iMovie to its knees. In fact, Apple recommends using the "Large" (960 x 540) setting when importing movies from the 5D Mark II. Even if you don't encounter the unexpected quits mentioned in the support document, you'll likely encounter a lot of stutters, pauses, and sluggishness. A simple workaround is to convert the .264 files to iMovie's preferred AIC (Apple Intermediate Codec) format using the free MPEG Streamclip.
Copy your movie files from your CF card to your computer (you can, if you prefer, convert them directly from the CF card). Open MPEG Streamclip and open the movie you want to convert. From the File menu choose Export to Quicktime... (CMD-E). At the top drop down menu, change the compression to Apple Intermediate Codec and slide the quality slider to 100 percent. You may also wish to open up the Adjustments options and bump brightness, contrast, and saturation just a bit to get an exact match, but be very conservative with any changes to these sliders (I'd suggest running a couple of tests on a small file to get the look you like). Click Make Movie and you're done with MPEG Streamclip.
You'll find the resulting file, once imported, plays much more nicely with iMovie, especially on a MacBook Pro or iMac. Unfortunately, you'll also find the resulting file is much larger than the original .264 version. In my tests, it's almost twice as large. This is the main drawback to using AIC. Nonetheless, if iMovie is choking on your native files, it's a worthwhile tradeoff. If you're going to do a lot iMovie editing with AIC converted files from the EOS 5D Mark II, you'll need a lot of storage space. Look at it this way, it's a great excuse to pick up a DroboPro.
-
Technorati Tags: Canon 5D Mark II, Technology, The Digital Story, iMovie