This week on The Digital Story photography podcast: Canon EOS 70D Review, a new podcast player, and Know Your Lens! - All of this and more on today's show with Derrick Story.
Story #1 - The Canon EOS 70D improves on one of my favorite DSLRs of all time (60D) in a fascinating number of ways. The headliner is the Dual Pixel CMOS AF that finally brings real autofocus to live view on a DSLR.
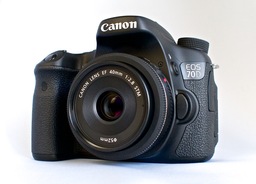
Speaking of AF, the entire system is improved. I'm enjoying taking any type of picture with this camera. The 19-point all cross-type AF system (including a high-precision f/2.8 dual cross-type AF center point) is a blast. There are not too many AF points, but plenty to handle just about any situation. The AF selection button next to the shutter button makes choosing the right pattern a snap.
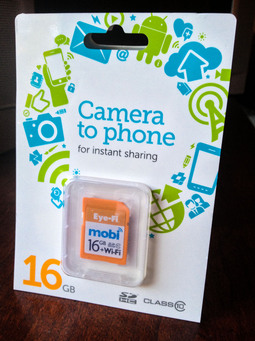
I also cover the built in WiFi, HDR, multiple exposure, video snapshot, and more in this hands-on review.
Story #2 - A New (and very cool) Podcast Player for our weekly podcasts. I've been searching for a podcast player that will let us listen to the weekly shows on mobile devices and computers alike. We found a great solution and worked hard to implement it. You can now play the weekly shows right off the web page regardless of the device you're using at the moment. I explain in the second segment of the show.
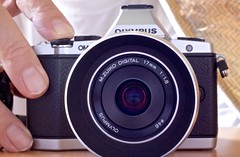
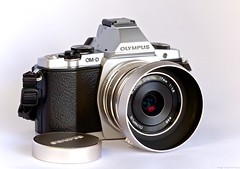
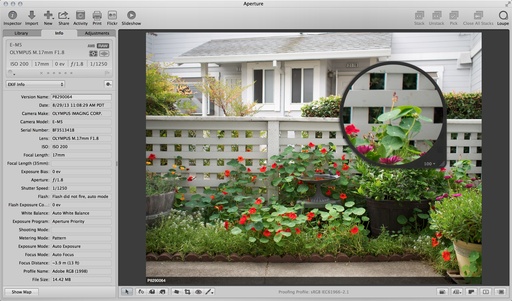
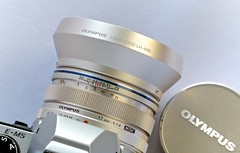
Story #3 - Know Your Lens. Reading test reports are good, but do you really know how your favorite lenses perform on your camera and the way you shoot? It's easy to find out, and in my opinion, well worth the time investment.
Listen to the Podcast
In addition to subscribing in iTunes, you can also download the podcast file here (36 minutes). You can support this podcast by purchasing the TDS iPhone App for only $2.99 from the Apple App Store.
Monthly Photo Assignment
The September 2013 photo assignment is Grab Shot.
More Ways to Participate
Want to share photos and talk with other members in our virtual camera club? Check out our Flickr Public Group. And from those images, I choose the TDS Member Photo of the Day.
iPad for Digital Photographers
If you love mobile photography like I do, then you'll enjoy iPad for Digital Photographers-- now available in print, Kindle, and iBooks versions.
Podcast Sponsors
Red River Paper -- Keep up with the world of inkjet printing, and win free paper, by liking Red River Paper on Facebook.
Make Your Photos Sizzle with Color! -- SizzlPix is like High Definition TV for your photography.Special Summer Sale! Just add "TDS: in the comments space of your SizzlPix! order, and you will get 20 percent off the entire order. Sale ends Sept. 21. Take advantage now.
Need a New Photo Bag? Check out the Lowepro Specialty Store on The Digital Story and use discount code LP20 to save 20% at check out.
Want to Comment on this Post?
You can share your thoughts at the TDS Facebook page, where I'll post this story for discussion.