I've always had a fondness for luster finished papers and had been looking forward to trying Red River's 75 lb Arctic Polar Luster. This was going to be a dual test actually, because I had a new HP Photosmart Pro B8850 Printer sitting in my studio full of ink and ready to output. Why not test both at once?
First thing I did was download the color profile from the Red River site. They had the Arctic Polar Luster profile for the HP B9180, and I knew it would work fine in the B8850 since it's really the little brother to the B9180. I downloaded the profile and used the "Add Custom Paper" option in the Paper Type/Quality dialog box to add my profile. Now I was ready to print.
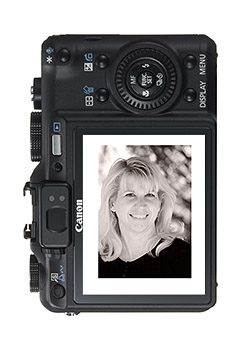
I first output a test print on HP Advanced Glossy Photo Paper so I would have a control image to compare against. I then loaded up the Artic Polar Luster and printed the same image.
I compared both images to the picture on my calibrated Apple Cinema Display. The colors were almost identical in both prints to what I was seeing on the screen. I say almost identical because the HP paper is slightly warm and the Red River is slightly cool. This had a mild impact on the rendering of the colors.
The tones were more saturated on the Artic Polar and the image was slightly darker. Not so much darker in a bad way, but very rich. I made a second print slightly increasing the gamma in the print dialog box. The colors were still quite luxurious, but the tones were about the same as my test print on the HP glossy.
Holding the prints brought to light a bigger difference between the stocks. The 75 lb Artic Polar Luster was substantial and felt like artwork in the hands. I couldn't set it down. And the finish is exactly what you'd expect from a premium luster stock: less reflection with rich tonality.
I did a little price comparison to see how much the Red River stock would cost me. A box of 50 sheets of 13"x19" Arctic Polar Luster runs $85.95. On the HP side, a box of 25 sheets of Professional Satin Paper runs $62.99. So the Red River runs about $1.70 a sheet compared to about $2.50 a sheet for the HP Satin. The Red River is 13 mil thick compared to 11.4 mil for the HP Satin. So it doesn't look like you have to pay more for this terrific luster stock.
As for the HP B8850 printer, it's output was every bit as beautiful as the B9180 I use often. It seemed a little slower however, and I'm going to continue testing and will post a follow up report. But the print quality was outstanding on both paper stocks tested in this report.
Technorati Tags:
HP B8850 Printer, Derrick Story, digital photography, Technology, The Digital Story, Red River Arctic Polar Luster