This is The Digital Story Podcast #604, Oct.3, 2017. Today's theme is "The Joy of LED Lighting." I'm Derrick Story.
Opening Monologue
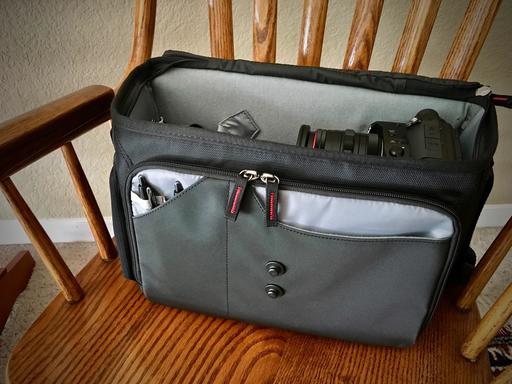
I'm working on a series of studio portrait shoots for a project, and have been leaning heavily on my LED lights. They have been serving me well both in the studio, and on location, and I thought now would be a good time to revisit this affordable, versatile, lighting solution.
The Joy of LED Lighting
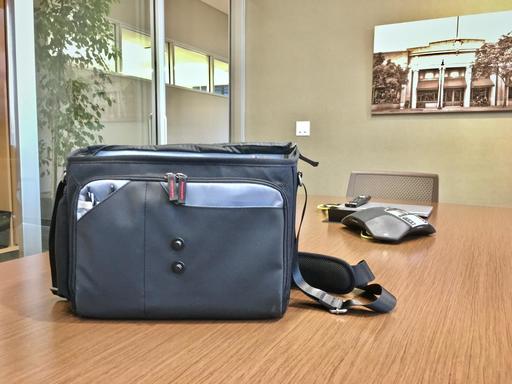
My current favorite LED light is the Genaray LED-7100T 312 LED Variable-Color Light for $189. The kit includes the light, two batteries, a diffusion panel, a charger, and a nice case.
It's portable enough for location shoots, yet powerful enough to use in a studio softbox. So I thought I would share five reasons why I'm preferring the LED array to traditional strobes.
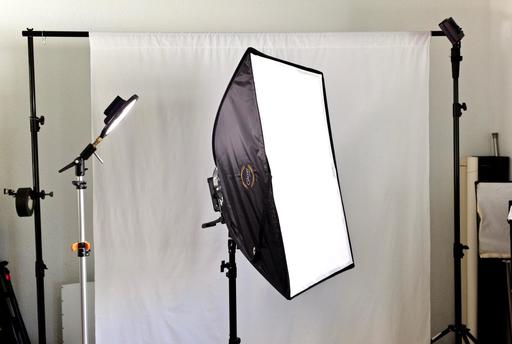
- Continuous Lighting with a Broad Source - What you see is what you get. And the bigger panel with diffuser means I don't always need modifiers.
- Color Adjustable - All I have to do is turn a know to adjust the temperature of the output. And it's so easy to calibrate them to the ambient lighting in the scene.
- Long Battery Life - I charge the set of duo batteries before the shoot, and they last for the entire session without having to change them.
- Cool to the Touch - Even though the lights are always on, the room doesn't heat up.
- More Affordable than Most Strobes - A dedicated flash can cost $350 or more. These LED panels are less than 200, including batteries.
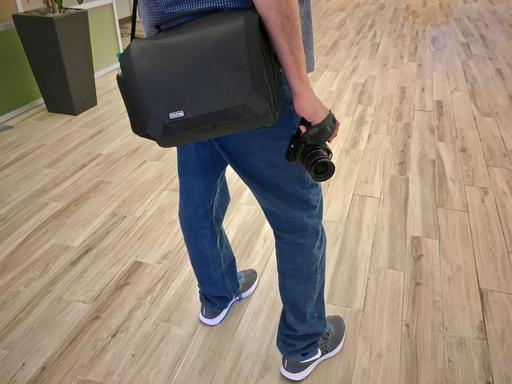
I still carry a flash in my camera bag with an extension cord. Because there are those times when I need the power or portability. But given a choice, I tend to reach for my LED lights whenever possible. And I love them!
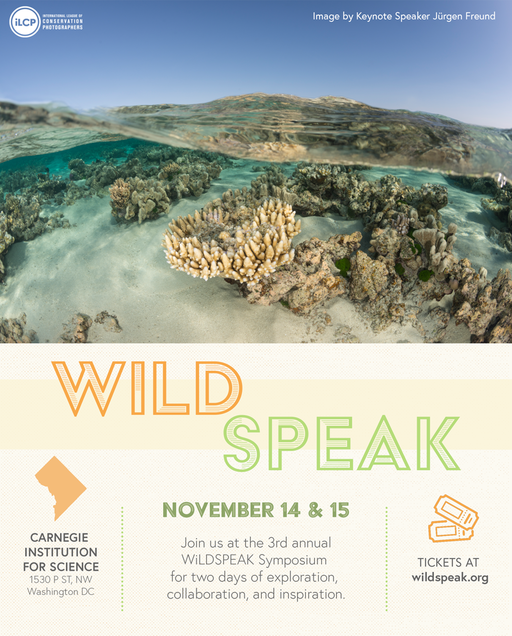
ILCP WildSpeak Coming in November
Conservation photographers from all over the world will gather again at WildSpeak 2017 in Washington D.C. I covered this event last year, and it was one of the most important conferences I've ever attended.
WildSpeak will once again take place at Carnegie Institution for Science on November 14 and 15. Presenters include top naturalists, biologists, and nature photographers who have been immersed in their particular specialities. They share their findings in a series of presentations over the two days of the event.
Plus, you'll learn how you too can participate in the world of conservation photography. Be sure to allow enough time during your visit to explore places in D.C. such at National Geographic headquarters and the Museum of Natural History at the Smithsonian.
You can learn more and register by visiting the WildSpeak site. I'll be there again this year. If you plan on attending, be sure to let me know so we can say hello.
How to Shoot an Annie Leibovitz-style Group Portrait with Affordable Gear
Petapixel published this article that explains how to create amazing big group shots by breaking down the subjects into smaller groups, then compositing them together.
One way portrait photographers like Annie Leibovitz light large-scale group photos is by lighting smaller groups by themselves and then compositing everyone together into a large group. Photographer Barry Harley recently employed this technique with relatively affordable gear for a group photo with friends while on vacation.
Harley, his wife, and a group of friends were on a week-long vacation at Duns Castle in Scotland. The ancient site was the perfect location for an epic magazine-style group photo.
In Harley's camera bag was an older Canon 5D Mark II DSLR (~$600 used these days), two Yongnuo YN-560 II flashes (which currently cost about $75), a PocketWizard, and a 43-inch Westcott bounce umbrella (~$20).
The group had brought along outfits specifically for the photo shoot, and upon arrival, Harley decided to shoot the portrait on the main entrance stairway of the castle.
The article walks you through all of the steps with photos. It's really kind of amazing.
Updates and Such
Big thanks to all of our Patreon members!
B&H and Amazon tiles on www.thedigitalstory. If you click on them first, you're helping to support this podcast. And speaking of supporting this show, and big thanks to our Patreon Inner Circle members.
And finally, be sure to visit our friends at Red River Paper for all of your inkjet supply needs.
Texas-based Red River Paper recently announced a new fine art paper, Palo Duro Etching. The new paper is a 100 percent cotton rag paper and is free of optical brightener additives. The paper is designed to offer warm white tones, deep blacks and a subtle texture to accurately recreate traditional darkroom fine art prints.
See you next week!
More Ways to Participate
Want to share photos and talk with other members in our virtual camera club? Check out our Flickr Public Group. And from those images, I choose the TDS Member Photo of the Day.
Podcast Sponsors
Cascable - Cascable is the best tool available for working with your camera in the field.
Red River Paper - Keep up with the world of inkjet printing, and win free paper, by liking Red River Paper on Facebook.
The Nimbleosity Report
Do you want to keep up with the best content from The Digital Story and The Nimble Photographer? Sign up for The Nimbleosity Report, and receive highlights twice-a-month in a single page newsletter. Be a part of our community!
Want to Comment on this Post?
You can share your thoughts at the TDS Facebook page, where I'll post this story for discussion.