This is The Digital Story Podcast #682, April 9, 2019. Today's theme is "Spark Joy by Organizing Our Camera Gear." I'm Derrick Story.
Opening Monologue
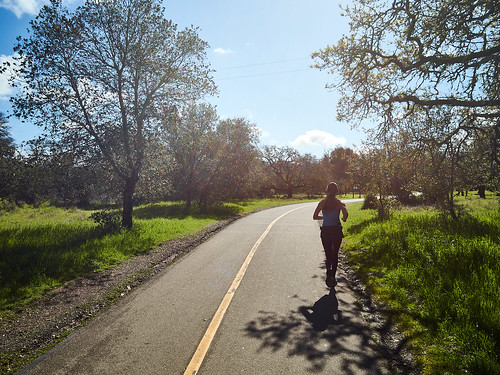
Marie Kondo is a best-selling author who hosts a show on Netflix titled Tidying Up. Her mission is to spark joy through cleaning and organizing using the KonMari Method. She attacks clutter by organizing a home into 5 categories: clothing, books, paper, komono, and sentimental items. As photographers, our gear falls into the komono category, and that is the focus of today's TDS podcast.
Spark Joy by Organizing Our Camera Gear
Even though I've never seen Marie address photography gear directly, her systems lends itself well to our challenges, which I see as two-fold: 1) Avoiding redundancy in cameras and lenses, and 2) providing organized access to the items that we use.
To help us tackle both challenges, I have five steps for you to consider when address your gear.
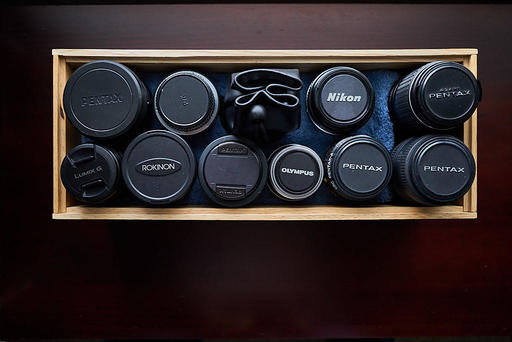
- Make a list of all the gear that you own - This is important to help us spot redundancies. In her show, Marie has clients put all of their clothing on the bed so they can see how much stuff they have accumulated. We can do the same with our gear, either physically or by list. Either way, this step is critically important.
- Organize gear by category - For example, I have one kit that I use for my public relations clients, another for my personal travel, and a third for my portrait and studio work. Every piece of gear must go in a category.
- Review your categories for redundancies - This is where the opportunity for thinning happens. Do you really need 3 zoom lenses that cover the same focal lengths? Tighten up your categories so that you have what you need, but nothing more. The items that don't make the cut can be sold for cash.
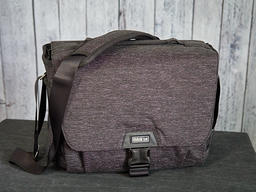
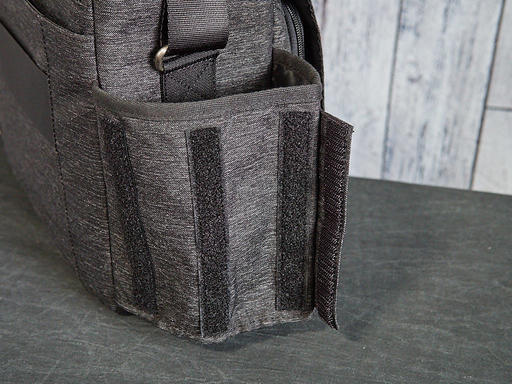
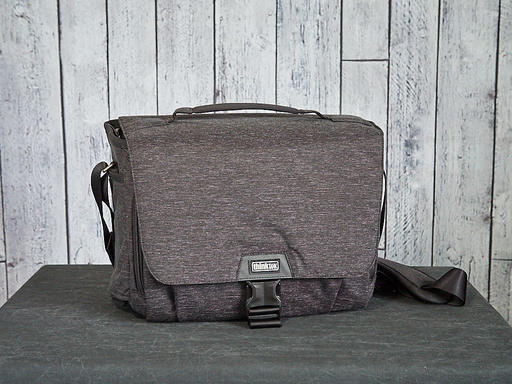
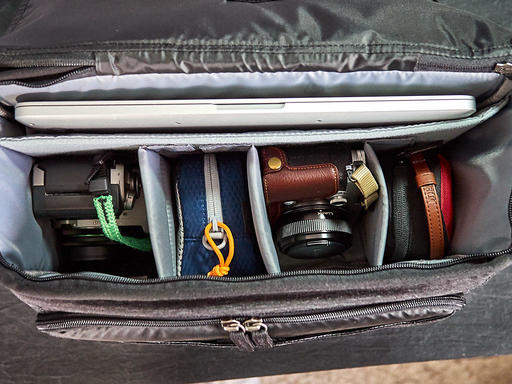
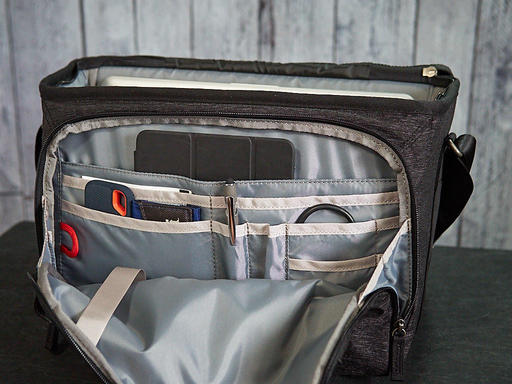
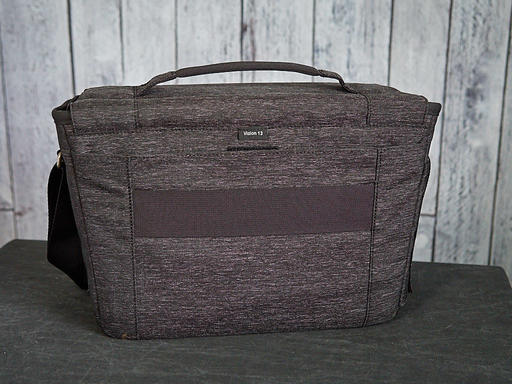
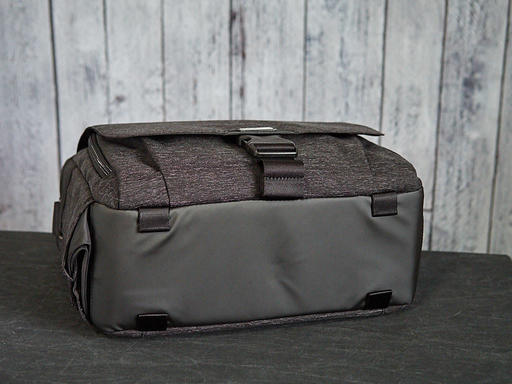
- Create storage units that are organized by the categories that you've established - Old camera bags are great for this. Each category should have its own storage unit or units. These containers should fit neatly into a secure space that you've established to store your gear.
- Get in the habit of returning gear to its assigned space after use - I will admit that there are times that I don't want to spend the extra few minutes maintaining my organizational system. But in the long run, this saves me time because I always know where everything is, and I never lose an item.
Since I've started using this system, it really has sparked joy, and Marie advocates. I actually smile when I open up my storage area and see those neatly stacked containers with my cameras, lenses, and accessories inside.
10 Life Hacks for Your Photo Studio
This is an excerpt from an article published on PetaPixel.com.
Having a photography studio is fun, but it is even more fun when you start applying simple and cheap solutions plus common sense to make your shooting experience (and your clients' experience) smoother. This is the list of what I think are the smartest and most useful photography studio life hacks.
- Transparent Rubber Hairbands
- Wine Boxes
- IKEA Pegboard
- Shelf Rails and Wood
- Metal Clips and Magnets
- Shoe Rack
- Elastic Ropes and Clips
- Door Stopper
- Silver Reflector Backdrop
- Neon Tubes and PVC Corrugated Roofing Sheets
TDS Workshops Update
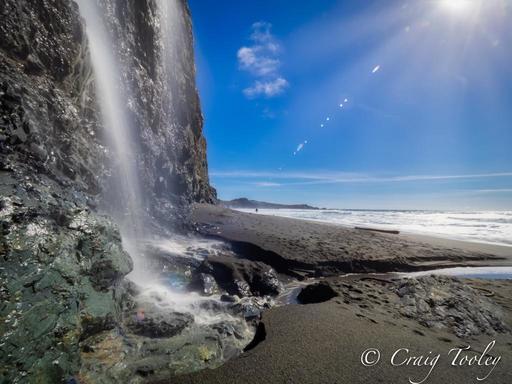
Sonoma Coast Workshop Update
I've secured a beautiful home for us just south of Bodega Bay. This will serve as our headquarters during the event. There's plenty of room for our classroom and presentation work, plus beautiful areas for relaxing, and even sleeping accommodations for those who wish to stay there.
We've just had one seat open up. So I've updated the inventory on the reserve list page. And you can place your deposit if you want to join us. If you do, you'll have an incredible photography experience.
Updates and Such
Inner Circle Members: A big thanks to those who support our podcast and our efforts!
B&H and Amazon tiles on www.thedigitalstory. If you click on them first, you're helping to support this podcast. And speaking of supporting this show, and big thanks to our Patreon Inner Circle members:
And finally, be sure to visit our friends at Red River Paper for all of your inkjet supply needs.
See you next week!
More Ways to Participate
Want to share photos and talk with other members in our virtual camera club? Check out our Flickr Public Group. And from those images, I choose the TDS Member Photo of the Day.
Podcast Sponsors
Red River Paper - Keep up with the world of inkjet printing, and win free paper, by liking Red River Paper on Facebook.
Portfoliobox - Your PortfolioBox site is the best way to show off your best images.
The Nimbleosity Report
Do you want to keep up with the best content from The Digital Story and The Nimble Photographer? Sign up for The Nimbleosity Report, and receive highlights twice-a-month in a single page newsletter. Be a part of our community!
Want to Comment on this Post?
You can share your thoughts at the TDS Facebook page, where I'll post this story for discussion.