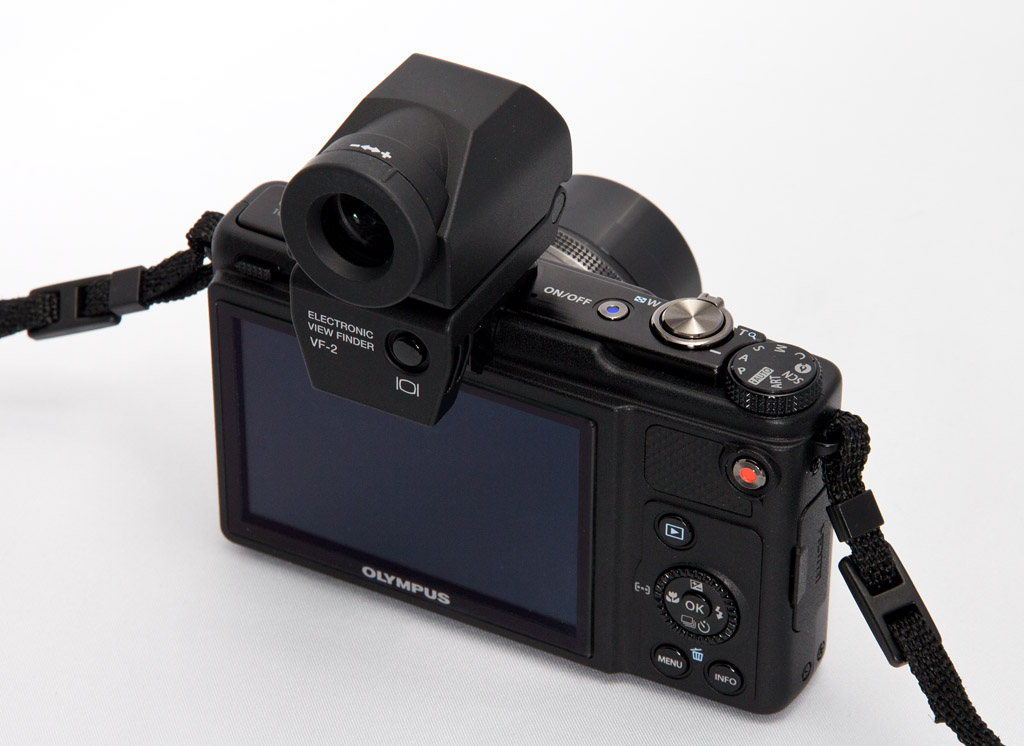
Even though the Olympus PEN E-PL2 has a pop-up flash, you're not stuck with it solely for advanced lighting techniques. You can slide an external flash in the hot shoe, or better yet, let the E-PL2 control RC-capable Olympus strobes that aren't even mounted on the camera. Yes, off-camera flash is possible with the E-PL2.
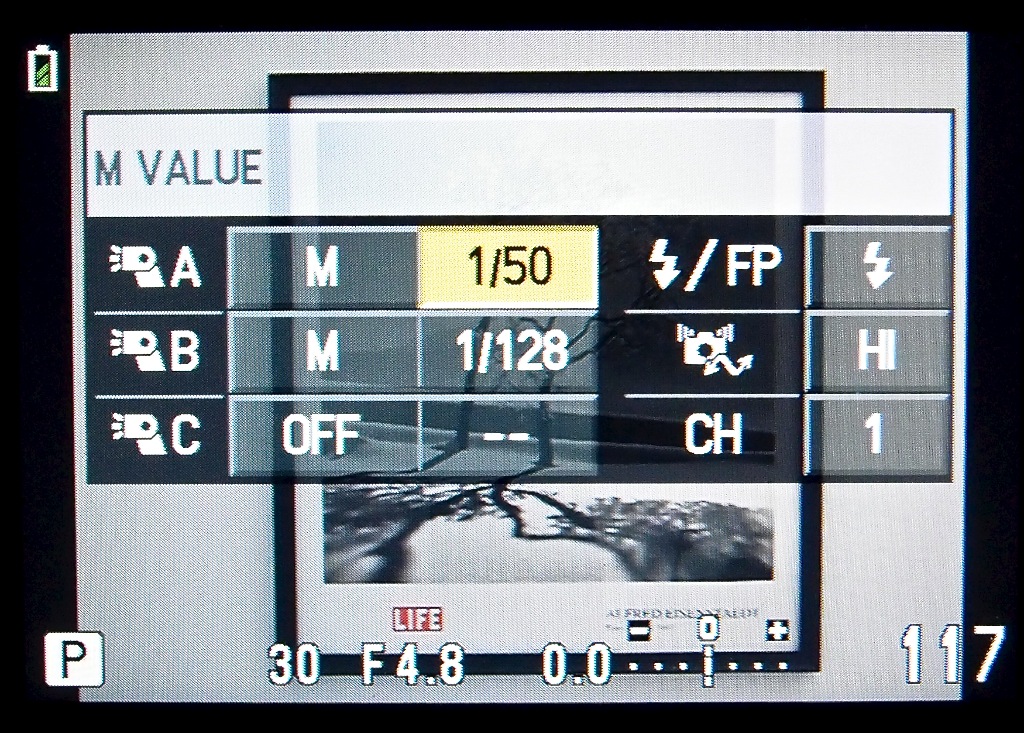
 Off-camera flash controls via the menu system on the Olympus E-PL2.
I've been testing this functionality with the FL-50R full size flash and the FL-36R compact flash
 with the E-PL2 and the XZ-1. The FL-36R is lighter, only uses 2 AA batteries, and sits on the smaller cameras better than the heavier FL-50R that uses 4 AA batteries. I've already done single flash portraits with the FL-36R, so I wanted to try a 2-flash set-up. I decided to tackle a most difficult subject: artwork behind glass. Talk about unforgiving flash work.
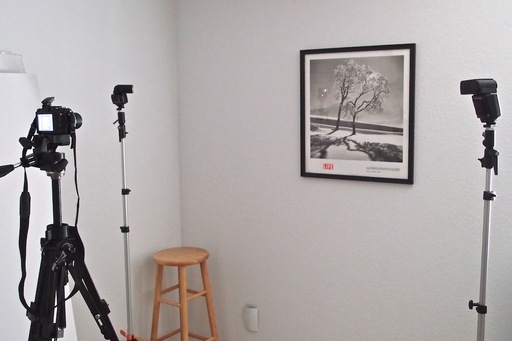 A framed Alfred Eisenstaedt poster behind glass ready to be photographed with two flashes off camera.
I put the flashes in "RC mode" and positioned them equal distance and at similar angles from the framed print, then put the camera on the tripod. I enabled RC flash mode on the E-PL2 so the camera could communicate with both units. Since the FL-50R is more powerful than the FL-36R, I decided to go with manual exposure for the flashes, setting the FL-50R at 1/128 (Group B) and the FL-36R at 1/50 (Group A). This gave me relatively even flash output from both sides.
But to make this all work, I had to enable the pop-up flash on the E-PL2. This was really the only fly in the ointment. Even thought the pop-up unit isn't part of the exposure, the flash does have to fire to trigger the two external units. This caused a reflection in the glass. And there was no way to turn off the pop-up and still trigger the external strobes. When your subject isn't close to the camera, or reflective, this shouldn't be a problem. But it presented a challenge for me with this assignment.
I decided to hold my hand in front of the pop-up so it would not shine directly in to the glass, but could still trigger the external units. This worked relatively well. You can examine the image below. It isn't perfect, but it's not a bad photo of glass-covered art work.
 Not a perfect reproduction, but much better than I could have done with just a single on-camera flash.
The Bottom Line
Even though it isn't as powerful, I like the Olympus FL-36R flash($219) as both a shoe mount and an off-camera flash for the Olympus E-PL2 and XZ-1. If you want to set up more sophisticated lighting schemes, you can add a second FL-36R or even the more powerful FL-50R and control both units from the camera. The only real downside is that the built-in flash does have to fire to trigger the off-camera units. So, there will be situations when you have to diffuse that light so it doesn't influence the main subject.
More Off Camera Flash Tutorials
If you want to learn more about getting pro results from a single flash, be sure to check out my Off Camera Flash title on Lynda.com. I show you all sorts of helpful lighting techniques that are especially good for portraits.
Off Camera Flash - Basic Techniques for Pro Results
Light Modifiers for Off Camera Flash
Off Camera Flash - The Single Light Portrait
"More Off Camera Flash" - Digital Photography Podcast 233
 Follow me on Twitter
 Adobe Camera Raw Lens Correction Off. Click on image for full size version.
 Adobe Camera Raw Lens Correction On. Click on image for full size version.