The second thing that most folks ask me about owning an electric vehicle, after "how far does it go?" is what do you do while charging it?
 The back of a VW ID.4 prepped for sleeping.
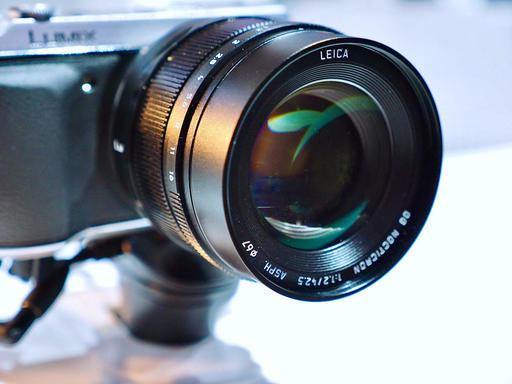
My response is usually, "Depends on where I am." If I'm in the city and using high speed charging, then I check email or take a short nap. Most of those charging sessions are between 20 and 30 minutes. If I'm on the road and using a slower charger off the beaten track, then I go take pictures.
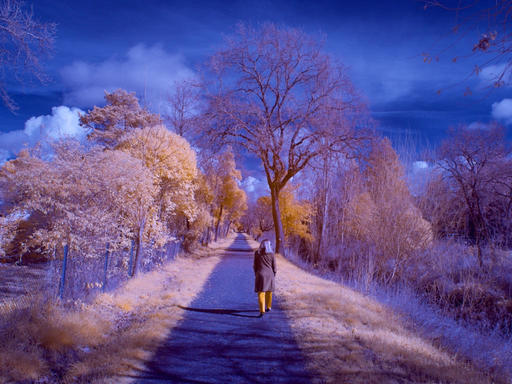
 Wandering with my camera at Ft. Ross State Park while charging the car. Photos by Derrick Story.
My First EV Campout
I was on my way to Gualala Regional Park for a campout. Ft. Ross was en route. It's one of my favorite places, so I decided to stop and have lunch there. I also knew they had a working charger. So all the better. Both me and the car get a top off.
My packed lunch was good. I captured some pictures that I really liked. And the car was ready to go. So back to the fun, twisty turns of CA Highway 1.
No Sleeping on the Ground for Me
Once I reached Gualala, I found my reserved camp site and set up. One of the reasons why I chose the ID.4 over other candidates, is because it drives like a nimble car, but has enough room for sleeping in the cabin. This is further enhanced by the panoramic glass roof that has a very open vibe when dozing off inside.
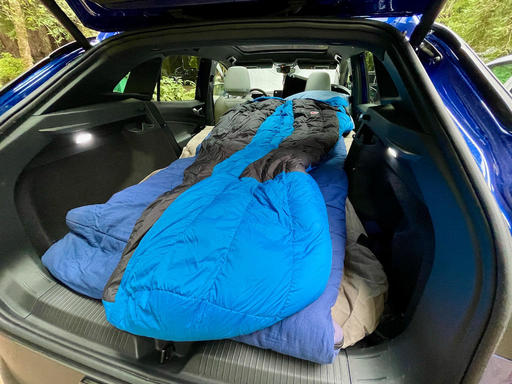
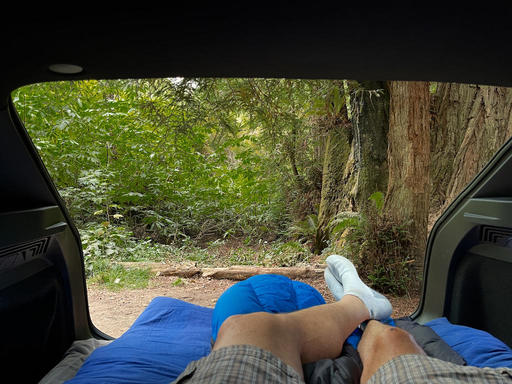 Chillin' the back. I use an air mattress designed for SUVs that maximizes useable space, then add my sleeping bag.
When it comes to camping itself, I'm fairly spartan. I keep my JetBoil stove and other kitchen items in smaller cargo carriers that are easy to stash up front when I convert the back of the car into a bedroom. Everything stores neatly on the floor in the front and is protected when I lock up at night. I do keep the food, however, in the provided locker outside. Don't need any furry visitors tapping on my window in the middle of the night.
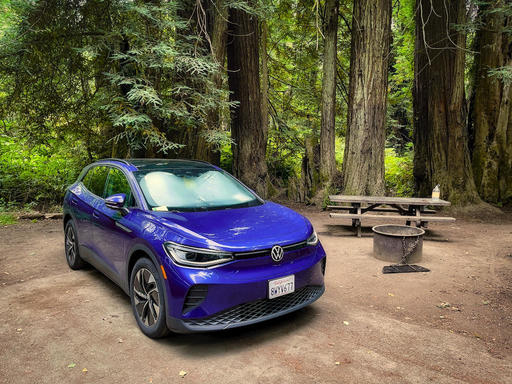
 A Spartan, but very functional campsite.
Little Tweaks that I Would Like to Make
When it comes to the car itself, it had one quirk that I would like to change. The ID.4 beeps 3 times when I open the back hatch with the key fob. I'm sure this is a safety feature. During the day it isn't an issue, but in the middle of the night, if I have to go out, it bugs me. Campgrounds are very quiet at 2AM. Those 3 beeps seem pretty loud then. But I haven't found a way to disarm that function. I guess I could go out the side door instead.
I keep one window cracked while I sleep to manage condensation inside and provide me with fresh air. I would like to design a little frame with a screen in it to enhance this, maybe about half the size of the window opening, for this use. I could fit it in the frame and roll up the window to secure it. This would provide the fresh air that I want, but without any buzzing visitors. Fortunately no bugs invaded my night in Gualala, but it would be great to have the screen for my next trip... just in case.
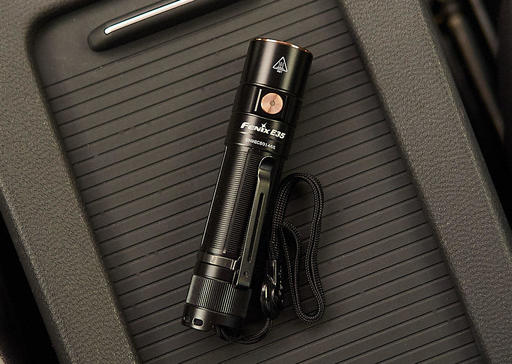
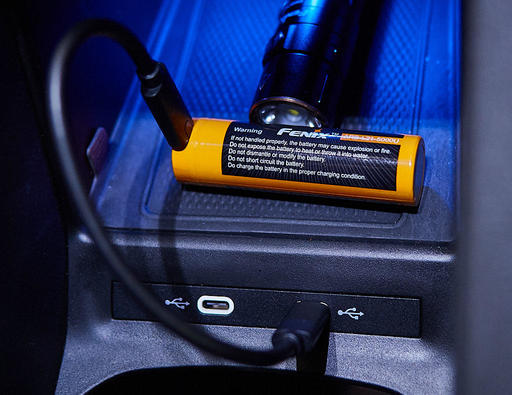
Additional Power for Devices
I couldn't resist uploading and processing the day's shoot on the laptop that night. I got carried away and used up most the battery on my MacBook Pro, and on my iPhone 12 Pro Max as well. I carry with me a Jackery Solar Generator 300 (with solar panel) to handle my small device needs. I could use the USB-C outlets in the VW, but I don't like turning on the car system, and leaving it on, just to charge devices. The Jackery works great, and I can refill its reservoir with the companion solar panel that I have for it. In fact, I've never recharged this unit any other way.
As a side note, this tandem is robust. I can connect multiple devices at once, including household items during an emergency. When camping, I also use it to power the pump to inflate the air mattress, juice the mini-vac, and anything else that needs electricity. And unlike the RVs in the campsite, my generator doesn't make any noise nor pollutes the air.
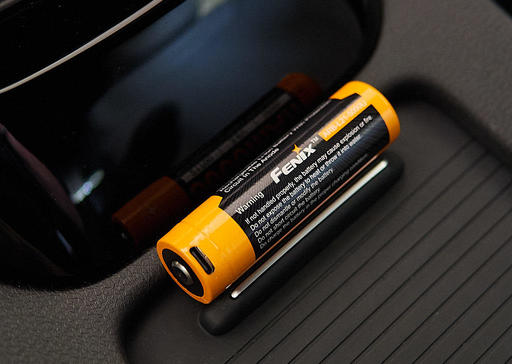
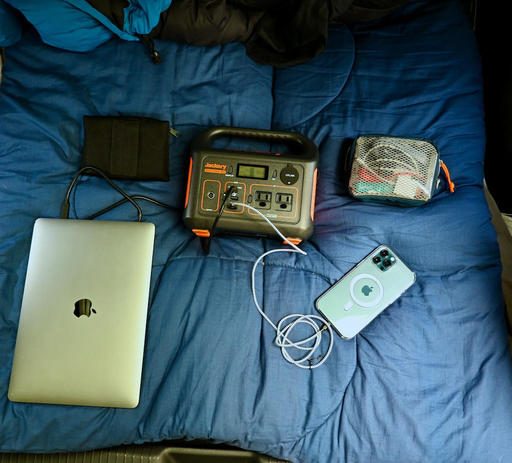 Recharging devices with the Jackery Explorer 300.
Photography Is the Name of the Game
Because I spend so little time on the maintenance of camping (setting up tents, washing dishes, etc.), I have plenty of time to do what my goal was all along: take pictures. I average 2-3 hikes a day to test camera equipment and to capture as many photos as possible.
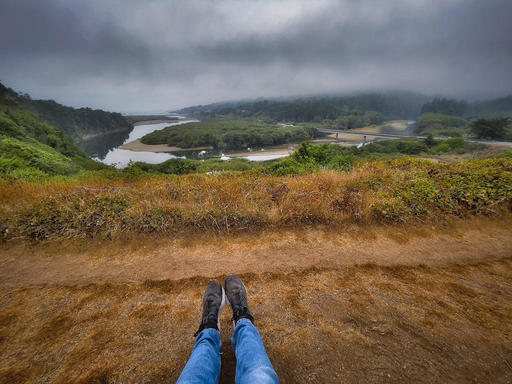 A view of the mouth of the Gualala River as it winds its way to the Pacific Ocean.
Time to Return Home
Driving the winding road of CA Highway 1 on my return trip, I noticed that I was using very little power. This is a major difference between an EV and ICE (internal combustion engine) vehicle. The EV actually is more efficient off the highway because every braking occurrence is actually recharging the battery. (And you don't use a brake peddle, just pull back your foot from the accelerator.)
Even moving along at a good clip on Hwy. 1, I was getting over 4 miles per KwH. To put that into perspective, I have 72 KwHs available in the car (80 KwH overall), so that type of driving gives me about 290 miles of range. Compare that to about 2.75 miles per KwH while racing up and down the freeway at 75 MPH, with a range of only about 200 miles - just the opposite of an ICE.
Plus, all those batteries nestled in the floor of the car, combined with rear wheel drive, make the ID.4 a road-hugging beast. The trip home was a blast. I felt like a slalom skier rhythmically hugging each turn. It's a beautiful driving experience.
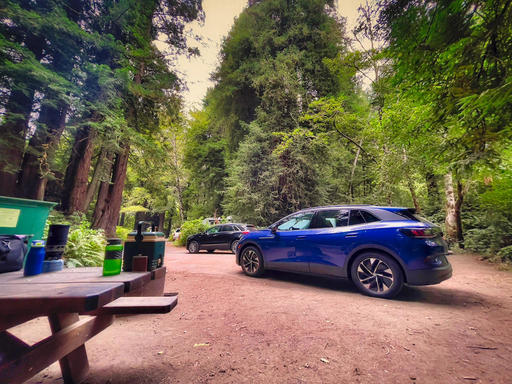
 Campsite clean and I'm ready to roll out!
Final Thoughts
EV adventure isn't for everyone. But for photographers exploring the world one back road at a time, it's a good match. I still think about the 1991 VW Vanagon that I drove for 18 years. I loved it. But I don't miss the 16 MPH gas mileage, nor the compromised performance at altitude.
For today's nimble photography, the VW ID.4 is working just fine.
If you're interested in joining our online group that covers all things electric vehicles, EV Explorers, just click on the link and I'll send you an invitation.
Product Links and Comments
There are product links in this article that contain affiliate tags. In some cases, depending on the product, The Digital Story may receive compensation if you purchase a product via one of those links. There is no additional cost to you.
You can share your thoughts at the TDS Facebook page, where I'll post this story for discussion.