As we wait for large aperture prime lenses from Zeiss and Sigma for our micro four thirds cameras, we can still create those velvety soft backgrounds right now. I've been testing adapters for my Olympus PEN E-PL2, and it's a lot of fun.
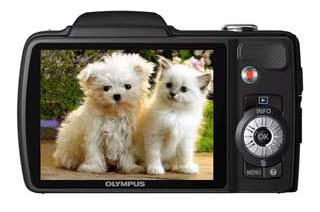
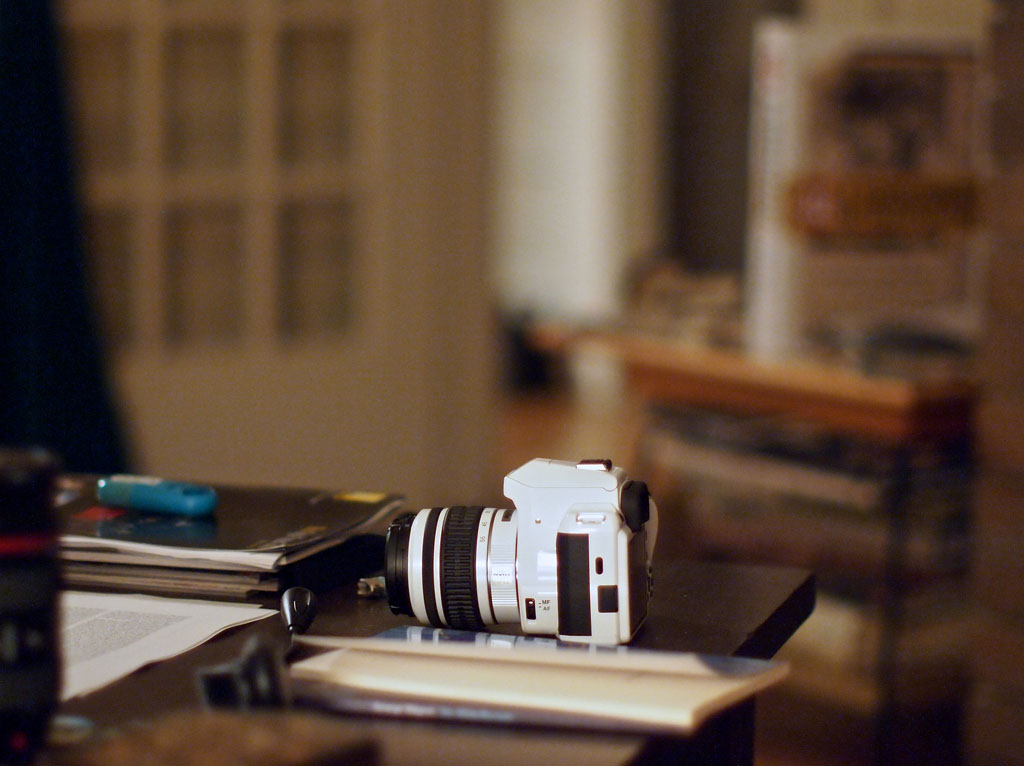 A Canon 50mm f/1.2 mounted on an Olympus E-PL2 to create this soft background effect. Click on image for larger version.
The process is quite simple. You get an adapter that allows you to mount a particular brand of lens on your camera. I've tested Zeiss and Canon adapters for the E-PL2. This allows me to use wide aperture primes on the petite Olympus to achieve effects I can't get with the kit lens.
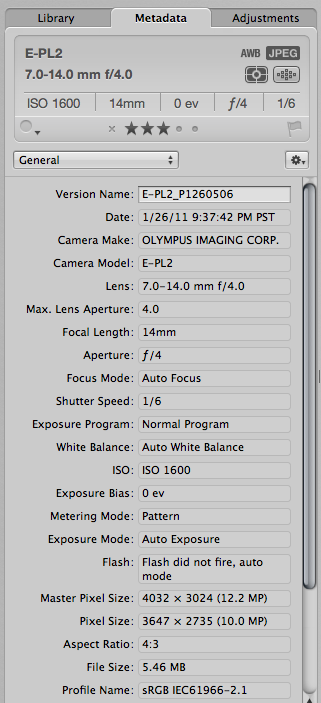
Since the PEN cameras have image stabilization built-in to the body, any lens you put on the body becomes stabilized. You have to manually focus, and you don't get any aperture metadata. But what you do get is the ability to create shots at wide aperture.
If you want to create a big time look with your little camera, investigate adapters for any prime lenses you may have stashed in the closet.