How would you like to sharpen your off-camera flash skills (and have a blast while doing so)? Coming this February, I'm conducting a two-day workshop (Feb. 25 & 26) that focuses on improving our lighting skills -- for both portraits and objects.
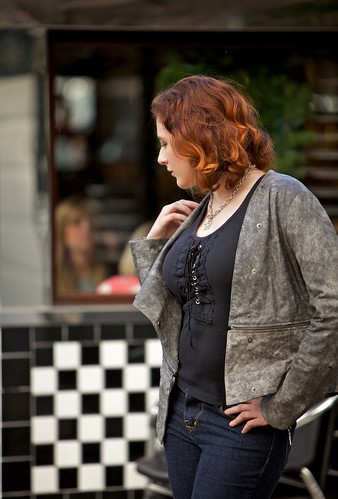
 Multiple exposure portrait using a single off-camera flash.
This two-day event at TDS Headquarters flows like this.
Workshop Itinerary
Fri. Feb. 24, 7:30 pm - Orientation reception at TDS HQ with refreshments and swag for attendees. (Each participant gets a Lowepro camera bag.)
Sat, Feb. 25
8:30 am - Classroom session on off-camera technique for portraits
10:30 am - Model shoot #1
12:00 pm - Lunch served
1:00 pm - Model shoot #2
2:30 pm - Classroom session on uploading, organizing, and basic editing
3:00 pm - Lab work - participants organize and choose 6 best images
4:30 pm - Review session. Each participant shows 6 images with discussion
5:15 pm - Final Q&A
Sun, Feb. 26
8:30 am - Classroom session on off-camera technique for product photography
10:30 am - Product shoot #1
12:00 pm - Lunch served
1:00 pm - Product shoot #2
2:30 pm - Classroom session on editing product photography.
3:00 pm - Lab work - participants organize and choose 6 best images
4:30 pm - Review session. Each participant shows 6 images with discussion
5:15 pm - Final Q&A
Lunches, model fees, and instruction and included in the $495 price. The studio is a great place to work, featuring classroom area, shooting room, full kitchen, two restrooms, WiFi, and parking. Plus, you're in the heart of Sonoma Wine Country with its vibrant agriculture, rugged coastline, and towering Redwood trees.
It's Easy to Sign Up
If you want to join us for this event, just go to the Send Me Info box half way down on the TDS Workshops page. I'll get a reservation form to you right away. And if you have any questions, I'd be happy to answer them too.
If you want to improve your lighting skills, spend time interacting with other photographers, and immerse in the craft that you love so much, join us in February!