In my last installment, I mentioned that I'm traveling light on my way to Beijing. So how does that impact the equipment I'll need to do my job - computer, camera, audio recording? I've spent some time perfecting my system so that everything I need will fit in one bag that fits over my shoulder.
I'll start with the bag itself. I rummaged through my "bag closet" and found an old Bessler carryall that I scored off the bargin table years ago. I've never used it on a job, but it's perfect for this trip. It will hold a 13" laptop and enough camera gear to get me through the assignment. This is exactly why I'm a bag hound.
For my laptop, I'm packing a current model MacBook with Intel processor and 4 GBs RAM. It's light, WiFi adept, and can run all of my photo applications. I'm including a 120 GB FireLite Smartdisk external drive for backups. A power brick with plug adapter for China and that's about it except for a few cables and a FireWire card reader.
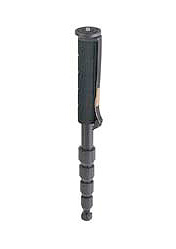
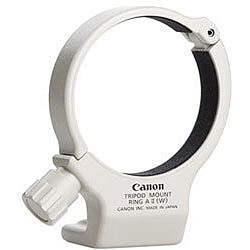
My main camera is the Canon 5D with three lenses: 70-200mm f/4 L, 16-35mm f/2.8 L II, and a Sigma 50mm f/1.4 prime lens. I'm augmenting the 70-200 zoom with a Canon 1.4X tele extender and the custom tripod ring that mounts beautifully on my monopod. With this rig, I have reach (up to 280mm), breadth (16mm on the wide end), and speed (f/1.4 on the Sigma). I'm adding a handful of 4 GB cards, four batteries, charger, ExpoDisc, and microfiber cloth. I always pack Ziplocs... just in case.
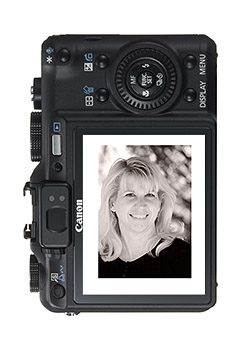
I'll also bring the Canon G9 with a couple 4 GB cards and two batteries. It's a great backup camera and is less conspicuous if I'm in a situation where I need to keep the 5D in the bag.
Finally, I'm packing the M-Audio Microtrack 24/96 with a stereo omnidirectional mic and a narrow pattern mono mic. That way I can capture big event sounds (great for slideshows) and record interviews for podcasts.
I'll have two phones with me. For international travel, I always take my unlocked Sony Ericsson W810i. Hopefully, I'll be able to buy a SIM card at the Beijing airport so I'll have local connectivity. I'm also taking the iPhone, making sure that I turn off "Data Roaming" in the Network Settings so I don't rack up huge service charges while abroad.
I have added a couple 3rd party apps to the iPhone, since it will also be my portable computer. "Audio Recorder" enables me to capture quick tidbits of audio and save them as standard QuickTime files. The recording quality is actually quite good. I also added "Converter" that makes it easy to convert just about any type of unit for Temperature, weight, etc. The Lonely Planet Mandarin Phrasebook is a must have. Not only does it provide text translations for common phrases, it *speaks* them. Talk about an ace in the hole. And it's free in Apple's App Store. My last new addition to the iPhone is "Stanza," which is a free eBook reader that doubles as a PDF manager. So I can have a few books with me without carrying the weight of paper.
All of this fits nicely in my bargain table shoulder bag. It's not the lightest kit in the world, but it's portable enough so I can have it with me at all times, and hopefully, contains everything I will need for this assignment.
Of course, I'll be reporting on how successful this rig works out. If you're not following me on Twitter, you can find me as Derrick_Story.
 Now Available! The Digital Photography Companion. The official guide for The Digital Story Virtual Camera Club.
- 25 handy and informative tables for quick reference.
- Metadata listings for every photo in the book
- Dedicated chapter on making printing easy.
- Photo management software guide.
- Many, many inside tips gleaned from years of experience.
- Comprehensive (214 pages), yet fits easily in camera bag.
Technorati Tags:
Beijing Olympics, Canon G9, Derrick Story, digital photography, Technology, The Digital Story, Twitter