Now that the Olympus PEN E-PL1 is available, I want to highlight some of its most interesting features. Today, I'm taking the iAuto challenge.
Most seasoned photographers wouldn't consider an "auto everything" mode on their camera. Normally, I wouldn't either. But iAuto on the Olympus E-PL1 is not your standard "the photographer is lazy" mode. In fact, it's just the opposite. I say that because in iAuto you have access to Live Guide. This feature allows you to intuitively adjust the image to your particular tastes before you press the shutter button. And the best part is, you make these adjustments using sliders that give real time results.
To enable Live Guide, first set the top mode dial to iAuto. Then press the Start/OK button on the back of the E-PL1. You see a menu that looks like this:
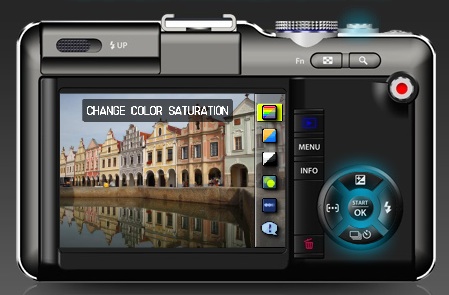
You have five slide adjustments: Change Color Saturation, Change Color Image (temperature), Change Brightness (exposure), Blur Background (aperture control), Express Motions (shutter control). My favorite is Change Color Image, which via a slider, lets me adjust color temperature in real time.

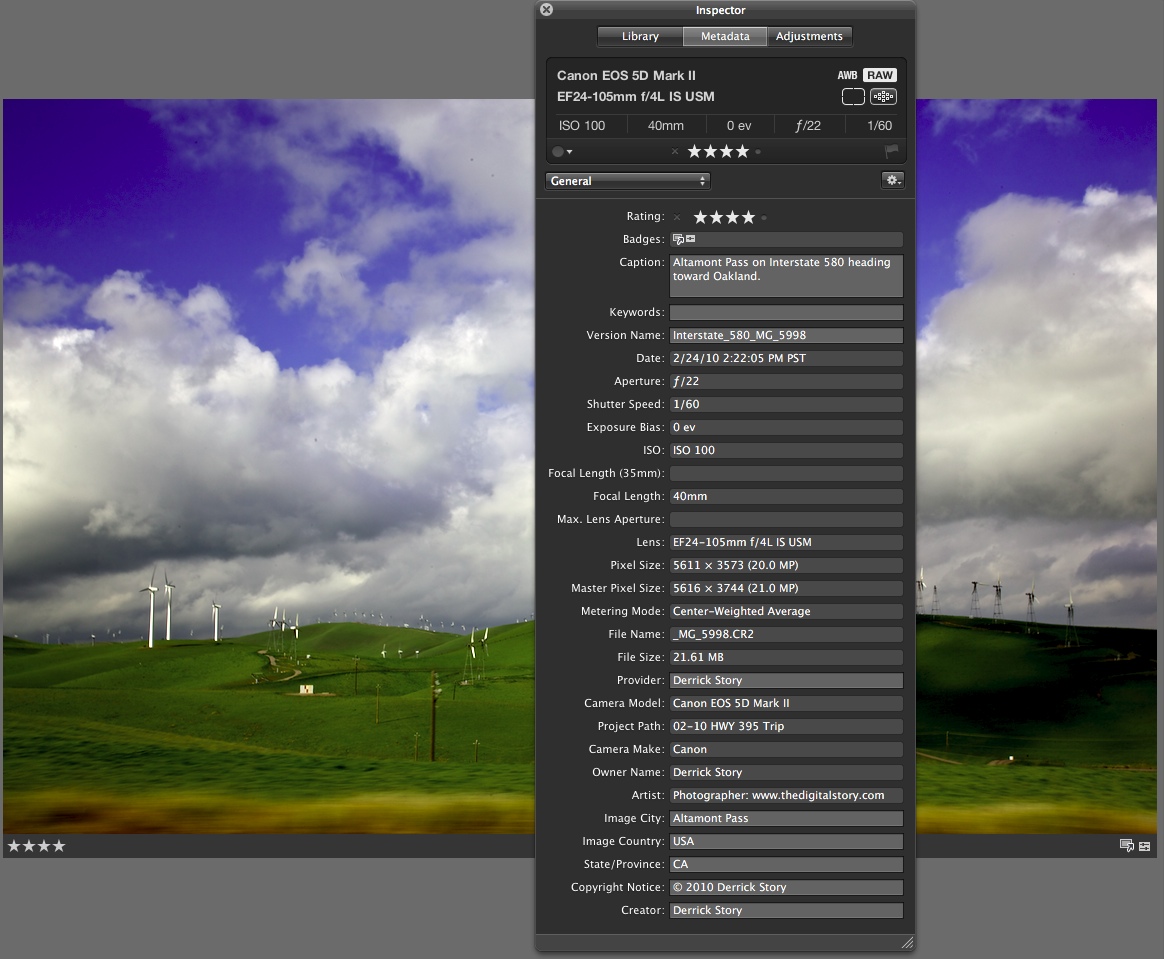
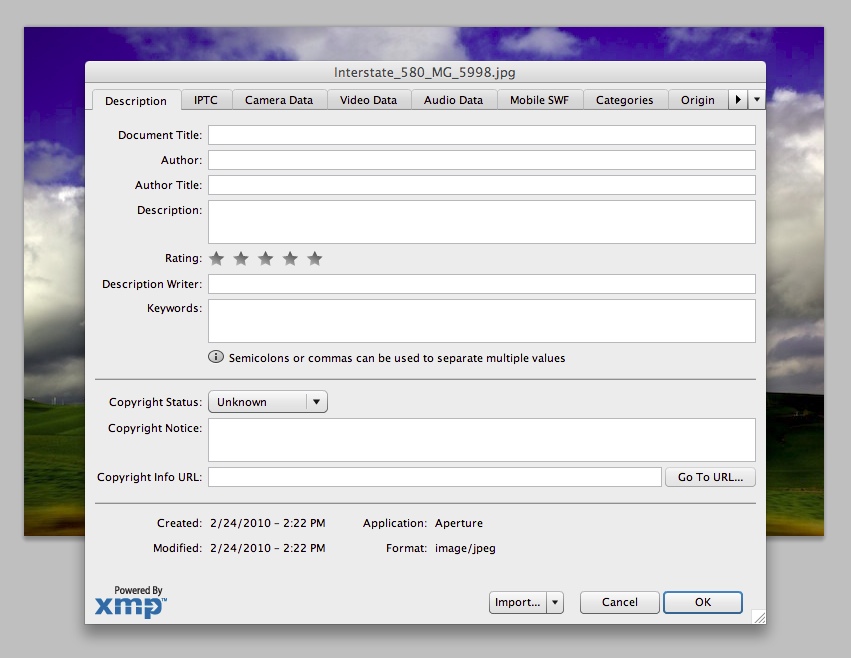
If I want to warm up tones, I use the up-arrow key until the image looks the way I want, and to cool, press the down-arrow key. I put this system to work in the ghastly lighting at the PMA 2010 trade show in Anaheim, CA. I wanted the carpet to be the color it was supposed to be, so I pointed the E-PL1 down and moved the Change Color Image slider until I liked what I saw. I shot Raw+Jpeg so we can see the difference between what the camera set automatically (the Raw version on the right), and the change I made using the slider (the Jpeg version on the left).

As you probably figured out, Live Guide only affects the Jpeg. It's designed for Jpeg shooting, which isn't a problem with Olympus because their Jpegs are so good. But if you want a Raw version to tinker with in post production, Raw+Jpeg is available, as illustrated here.
You have access to lots of other controls in iAuto too: drive mode, self timer, flash on/off, autofocus point selection, and live histogram. Plus, you have one-touch video recording using the red button on the back of the E-PL1.
So in many ways, iAuto is really a creative mode. You can play with Live Guide via a simulator on Olympus site. Give it a go. I think it's one of the terrific new features on this $599 micro four thirds compact DSLR from Olympus.

Did you know that you can listen to audio versions of daily TDS posts on The Digital Story Podcast App? Just tap the Extras button, and the current post will be there for the listening.
-