This is The Digital Story Podcast #575, March 14, 2017. Today's theme is "Existing Light is Alright." I'm Derrick Story.
Opening Monologue
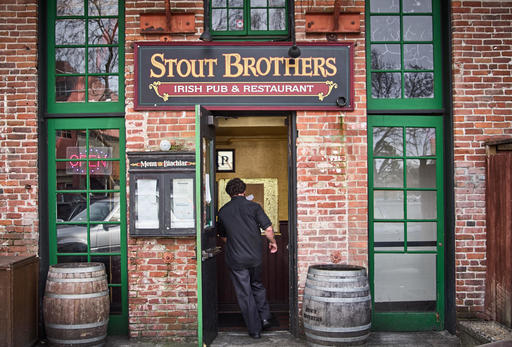
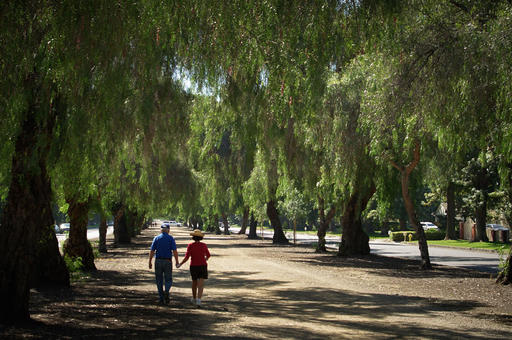
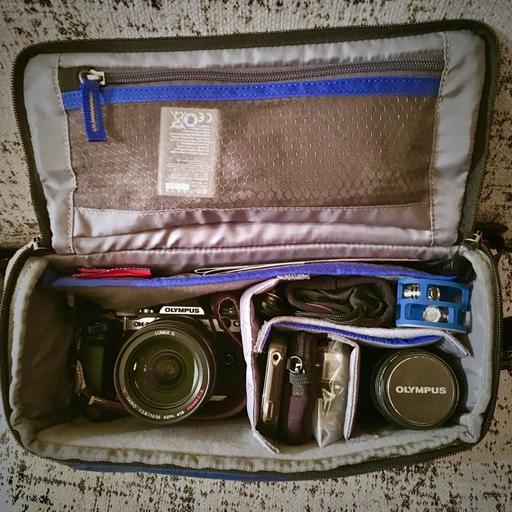
Having departed to Southern California on a minute's notice last week, I grabbed my daily shoulder bag and headed out the door. It contained the gear I carry on a daily basis to the office, nothing more, nothing less. The only flash I had was the popup on the Pentax KP. And as it turned out, I never used it. So capturing life by existing light is the top story for today's show.
Existing Light is Alright
What are the components and techniques required for effective existing light photography? Here's a look at my list.
- Prime lenses (or Pro zooms) - Even with great high ISO performance, we still need wide apertures.
- Effective Auto ISO - For me, existing light photography isn't just setting the ISO to 1600 and shooting everything. I depend a lot on smart Auto ISO that increases sensor sensitivity only as needed, and has a limit at the top end that I can live with.
- Smart Metering - One of the things that I noticed when testing the Pentax KP was that its evaluative metering was very smart. If there was a window in the frame, it didn't underexpose the rest of the scene as a result. Learning how you camera meters, and adjusting accordingly, is very important.
- RAW+Jpeg - If I do the first three things right, my Jpegs should be pretty good. But I do want that RAW safety net for situations where I need to recover detail in the shadows or highlights.
- The Blessed Tripod - Long exposures, HDR, and extended depth of field work better with camera support. Instead of jacking the ISO up to 128,000, You can keep it below a thousand and get tack sharp results with a tripod.
Hitting the Road with the MeFOTO Roadtrip Air
This week's three-legged adventure with the MeFOTO Roadtrip Air focuses on a giant family group shot, that was unplanned.
As I mentioned at the top of the podcast, I didn't carry a lot of gear on my journey down south. I had my everyday bag and the MeFOTO Roadtrip Air. At my sister's I learned that we were pulling together a family gathering. There were people there that I hadn't seen in years. And after about an hour, I knew we needed a group shot for the history books. And that's when my MeFOTO became invaluable.
Just to give you a bit of background about this super nimble tripod, it's distinguishing features include:
- Super Fast Setup with the new HyperLock Leg System. Setup is as easy as 1,2,3: 1 - Hold tripod leg and twist counterclockwise until it stops (4 clicks), 2 - Pull the leg to the desired length, 3 -Twist leg clockwise until it stops. (How easy is that?)
- Perfect for Selfies - removable telescoping center column converts to a Selfie Stick with included smartphone holder and Bluetooth remote!
- Ultra lightweight - 30 percent lighter than classic MeFOTO models
- Available in Backpacker, RoadTrip, GlobeTrotter models and 7 colors.
If you want to learn more about the MeFOTO line of tripods, look for the colorful tile on all the pages of the thedigitalstory.com. And if you decide that you want one for yourself, use coupon code THEDIGITALSTORY to save 10 percent and receive free shipping.
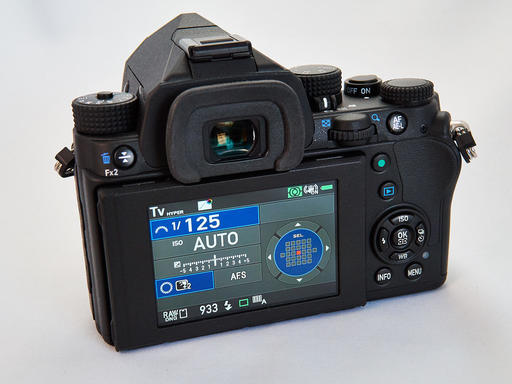
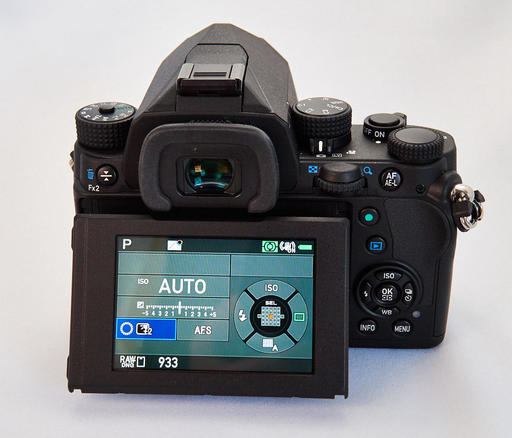
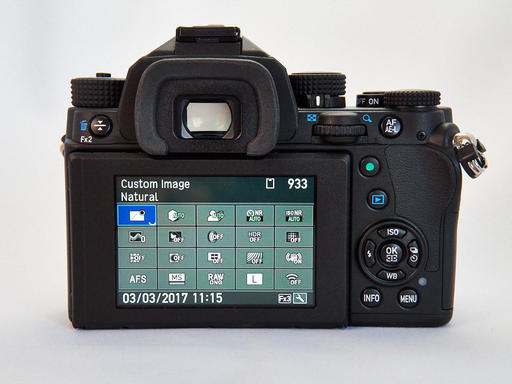
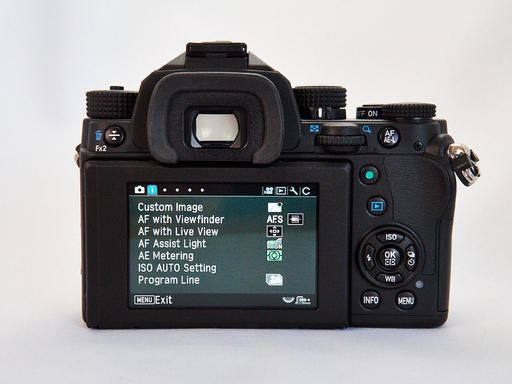
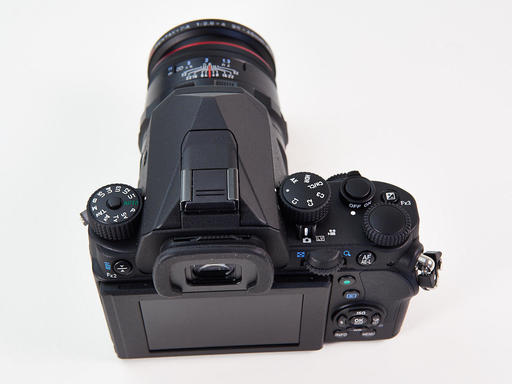
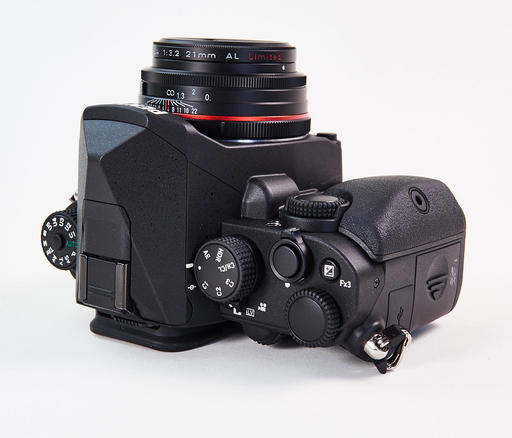
First Impressions of the Pentax KP DSLR
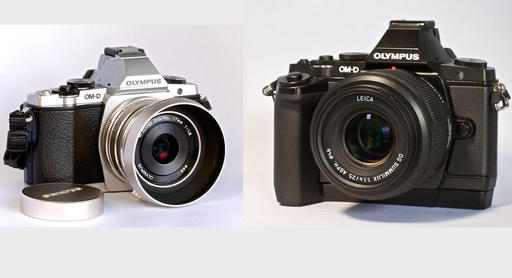
I brought three cameras on the road trip down south: Olympus OM-D E-M5 Mark II, Pentax ZX-5n SLR, and Pentax KP DSLR. I used all three for various situations, but I'm going to focus on the KP for this segment.
Here are the features and qualities that really stand out for me:
- Compact for a 24MP DSLR. With the 21mm Pentax prime lens mounted, the KP fits in my workbag along side my mirrorless cameras.
- Sensor-based image stabilization.
- Cool lenses.
- Super intelligent features, including choice of DNG or PEF for RAW files.
- Customizable grips (standard) and buttons.
- Up and down articulated LCD.
- Friendly menu system.
- Distinctive look that you will either love or hate.
- Beautiful color rendition.
- Solid WiFi.
- Excellent high ISO performance.
As far as nits, I do have a couple. I do think the battery should be a bit bigger and/or last longer. Pentax still uses an old fashioned battery charger that requires a cord.
Overall, I really dig this camera and its cool limited edition lenses.
Updates and Such
Big thanks to all of our Patreon members! I was able to pay for the podcast server and the backup system from last month's pledges. Your contributions are making a positive impact.
We still have one seat open for our Road Trip and Rail adventure workshops. (The SF workshop has sold out.) If you'd like an invitation to either event, visit the TDS Workshops Page and use the Send Me Info form.
B&H and Amazon tiles on www.thedigitalstory. If you click on them first, you're helping to support this podcast. And speaking of supporting this show, and big thanks to our Patreon Inner Circle members.
And finally, be sure to visit our friends at Red River Paper for all of your inkjet supply needs.
See you next week!
More Ways to Participate
Want to share photos and talk with other members in our virtual camera club? Check out our Flickr Public Group. And from those images, I choose the TDS Member Photo of the Day.
Podcast Sponsors
MeFOTO Air Tripods - MeFOTO Air Tripods are a nimble photographer's dream.
Red River Paper - Keep up with the world of inkjet printing, and win free paper, by liking Red River Paper on Facebook.
The Nimbleosity Report
Do you want to keep up with the best content from The Digital Story and The Nimble Photographer? Sign up for The Nimbleosity Report, and receive highlights twice-a-month in a single page newsletter. Be a part of our community!
Want to Comment on this Post?
You can share your thoughts at the TDS Facebook page, where I'll post this story for discussion.