A lot has changed since this nimble photographer last wrote about using an Eye-Fi card with ShutterSnitch on an iPad. In short, everything is a bit more interesting. ShutterSnitch has now evolved to a very high nimbleosity rating. Let me show you why.
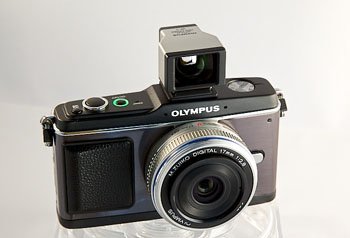
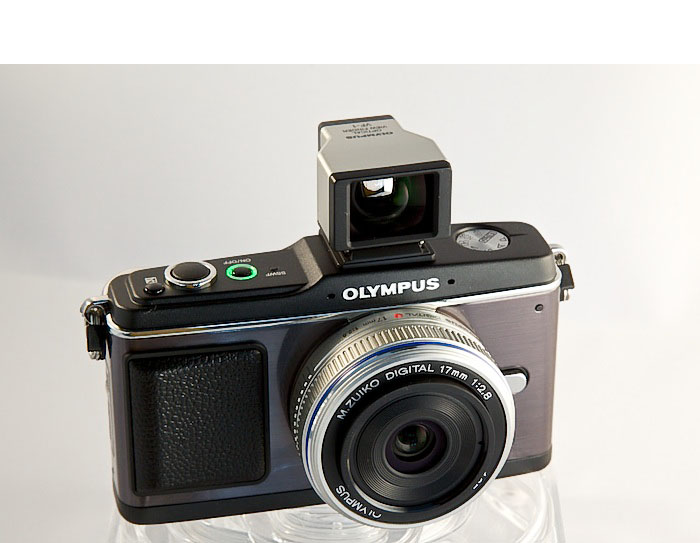
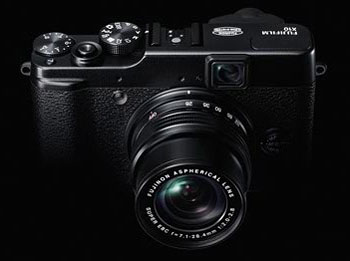
First, there have been under-the-hood improvements that make connecting your iPad to a digital camera with an Eye-Fi card much easier. I'm using it with an Olympus E-PL2 with an Eye-Fi Pro X2, primarily because the 12MP files from the PEN camera are easier to move around than those larger files from my Canon 60D or 5D Mark II. I shoot in RAW+Jpeg mode, sending the Jpegs directly to my iPad, and uploading the RAW files later into Aperture.
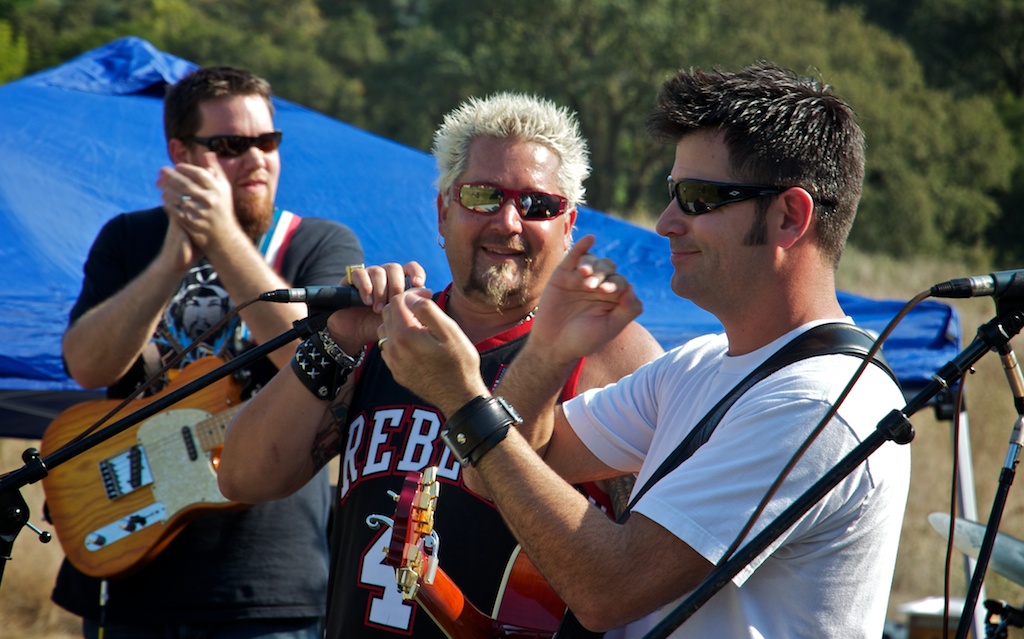
Aside from being very fun, why would I want to add this second iPad workflow to my shooting? Two reasons: I get to view the photos in semi-realtime on the iPad as I'm working. This is particularly cool when capturing portraits. The subject gets feedback during the session. The second reason is that I can post images to Flickr (or where ever) very quickly with this system. In part, this is due to a major improvement in ShutterSnitch called Actions.
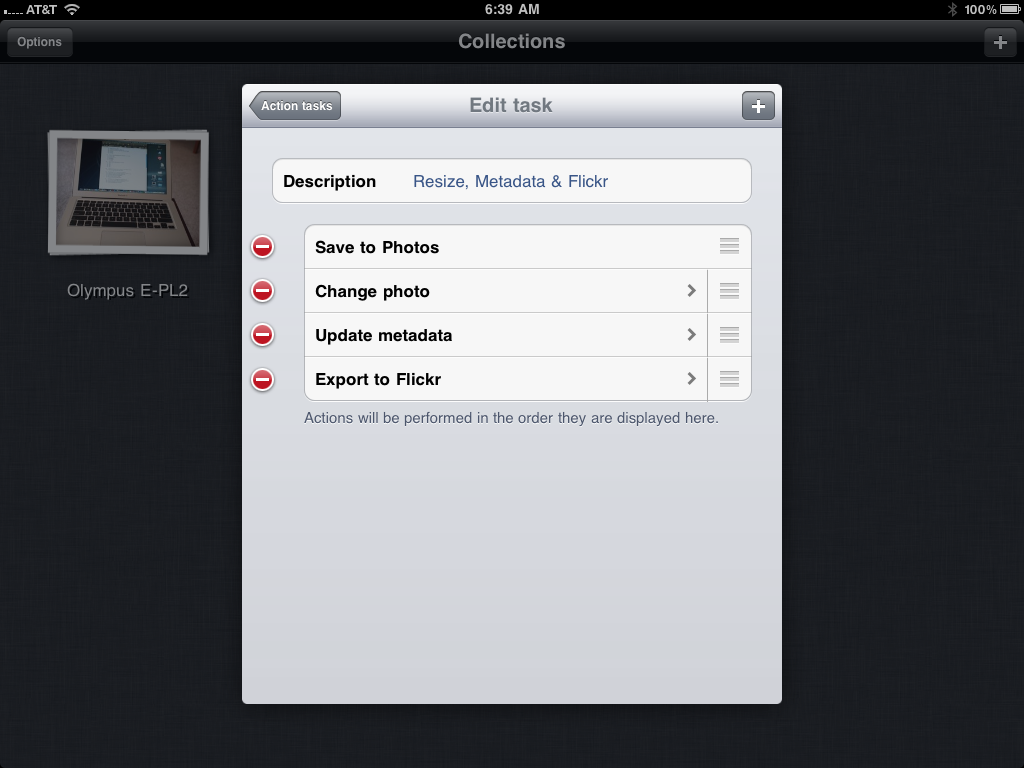
Actions in ShutterSnitch are a lot like Automator scripting on a Mac. You have a list of tasks to choose from, you organize the tasks that you want to apply, then save them as a multifunctional Action.
I have an Action set up that first saves a master of the image to my Photos library (keeping it safe and sound), then resizes the image to 1024 pixels, then adds my copyright. location data, and author credit, then sends the adjusted file to my Flickr Photostream. In short, I choose a shot I like, then it's on Flickr minutes later, with all of my info attached. I can even add a watermark if I want.
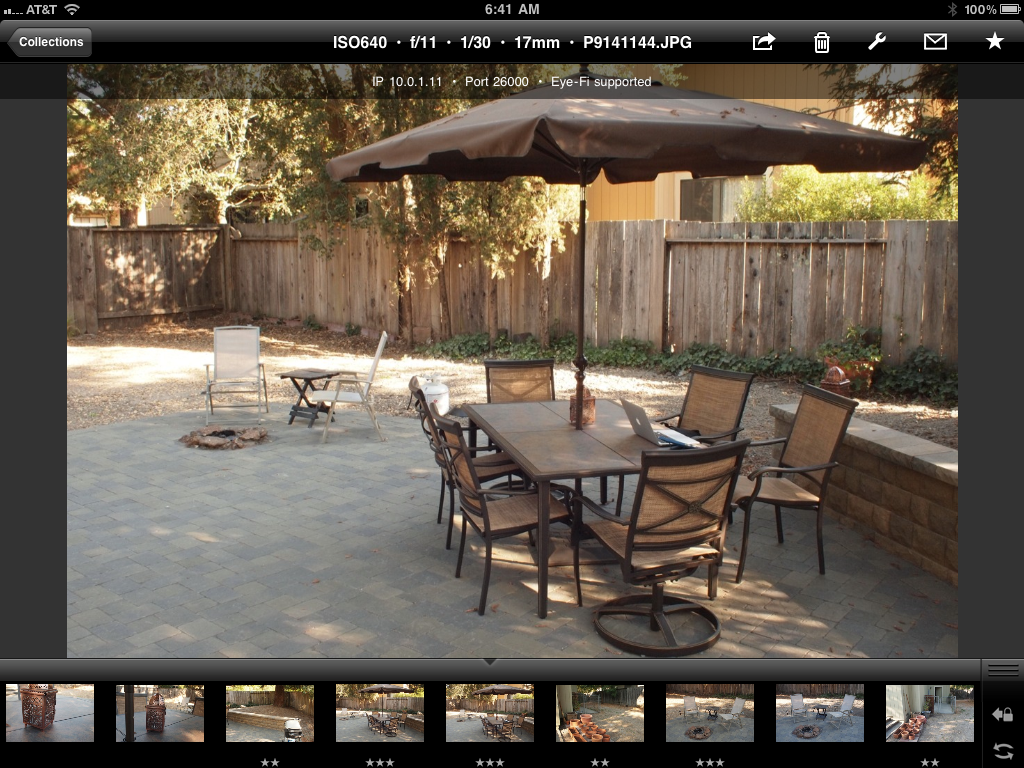
Choosing the shot is easy too. ShutterSnitch uses the same "star rating" system that I enjoy in iPhoto, Aperture, and Lightroom. I go through the shoot, rate the images, then select the ones I want to upload to Flickr or to any of my other sharing sites.
ShutterSnitch and Eye-Fi work together when you have a WiFi network available. I've already made the Eye-Fi card aware of my standard networks (home, office, clients, etc.). So the setup is pretty much ready to go when I am.
If you're a nimble photographer who already has an iPad and an Eye-Fi card, I highly recommend spending the $15.99 for ShutterSnitch. Developer Brian Gerfort is one of the hardest working guys on the planet, and has continually refined this application. And I suspect he will continue to do so.
Nimbleosity Rating: 4 (out of 5 possible)
More Nimble Photographer Articles
Adobe Launches Carousel for Mobile Photography on iPhone, iPad, and Mac
Minimal Folio for iPad: Truly Useful Portfolio and Presentation App
Return of the Nimble Photographer
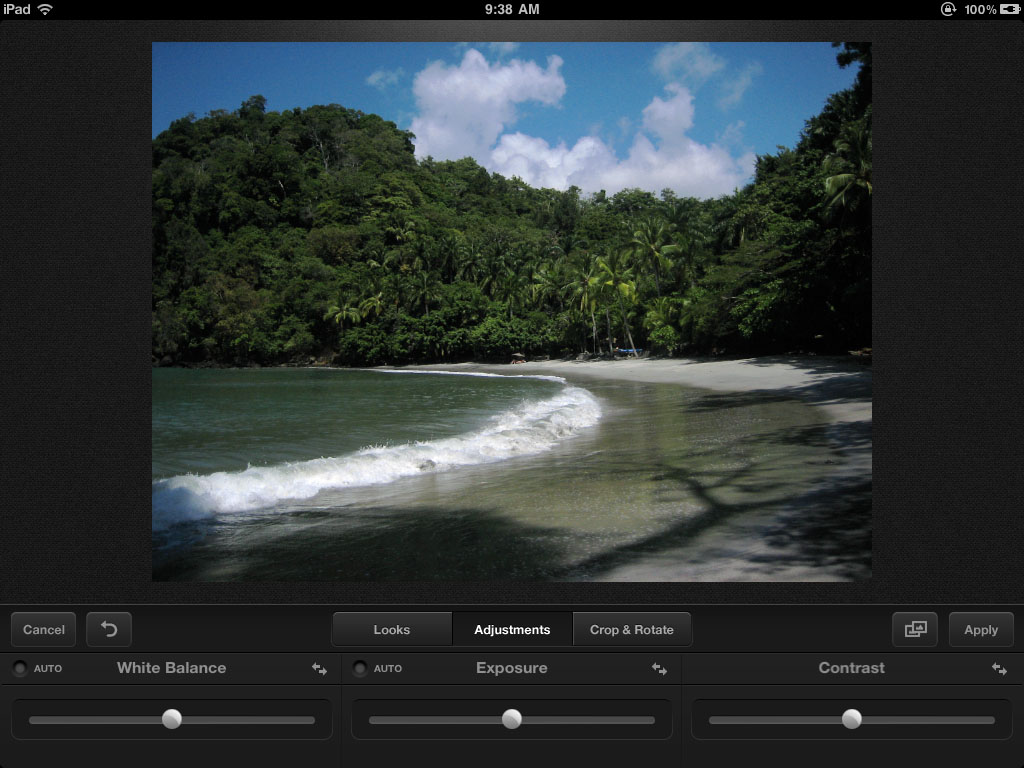
Nik Software Brings Its Magic to the iPad with Snapseed
Putting Eye-Fi "Direct Mode" to the Test
M.I.C. CF Card Reader for the iPad: Does it Work?
Eye-Fi Card, iPad, and ShutterSnitch for Wireless Transfer
How to Create and Deliver Content for the iPad
Acme Made iPad Cases for Style and Protection
Will the iPad Squish my Photos?
Bluetooth Keyboard and iPad - A Powerful Combination
Turn Your iPad into a Live Camera
Lowepro Classified 160 AW is Perfect Bag for iPad Toting Photographers
"iPad for Photographers" - Digital Photography Podcast 219
The Digital Story on Facebook -- discussion, outstanding images from the TDS community, and inside information. Join our celebration of great photography!