This week on The Digital Story Photography Podcast: Interesting Canon 7D Mark II Sensor Rumor, Raw Editing on the iPad, No Laptop No Problem, A Clever Charging Cable - All of this and more on today's show with Derrick Story.
Story #1 - The Weekly Update: Adobe Photoshop Express update brings Raw editing (sort of). (source: DP Connect).
In other news, What happens to Lightroom after my membership ends? Tom Hogarty says, "...the desktop application will continue to launch and provide access to the photographs managed within Lightroom as well as the Slideshow, Web, Book or Print creations that we know many photographers painstakingly create. The Develop and Map modules have been disabled in order to signal the end of the membership... Lightroom Mobile will no longer sync also. (Source: Lightroom Journal).
And finally, New Version of Dual Pixel AF Rumored for Canon 7D Mark II - "... EOS 7D replacement will not just feature Canon's Dual Pixel CMOS Auto-Focus, it will push its capabilities to new boundaries." (Source: Canon Watch)
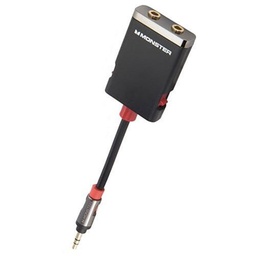
Story #2 - The ChargeCard - Faced with a low battery warning for your iPhone, iPad, or Android device? There are plenty of USB ports in the world, but what about the cable to connect to your device? Thanks to the ChargeCard, available at Photojojo, you can have a credit card connector always available in your wallet. I talk more about it in the second segment of today's show.
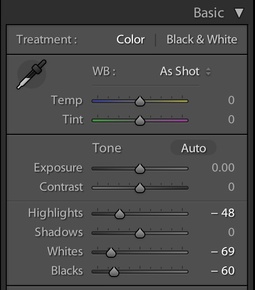
Story #3 - From the Screening Room - Lightroom 5: 05 Printing with Tim Grey. Prints are one of the most satisfying ways to present your photography to the world. Author Tim Grey feels the same way. And he shows you how to use the print module in Lightroom to create beautiful output.
You can watch Tim in action by visiting the TDS Screening Room at lynda.com/thedigitalstory. While you're there, you can start your 7 day free trial to watch other design, photography, and computing titles, plus every other topic in the library (including my brand new "Photographing High School Senior Portraits."
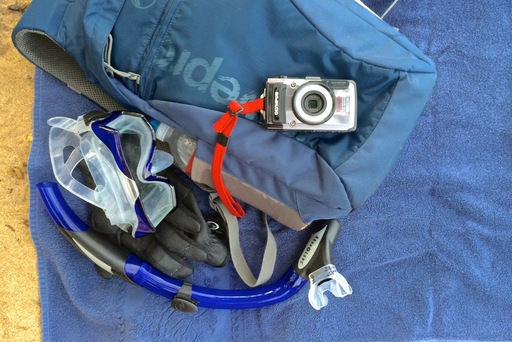
Story #4 - The Nimbleosity Report: No Laptop, No Problem. My report on an iPad-only vacation in Maui.
Virtual Camera Club News
From SizzlPix: Now, for The Digital Story listeners and readers, this month only, SizzlPix will knock off 20% of the price for your SizzlPix, any quantity, any size up to 6 feet! Just put the initials TDS or "The Digital Story" in the comments space of their new, simplified online order form. SizzlPix.com.
Save on Ground Shipping for Red River Paper: Use coupon code ground50c to receive a 50 percent discount on UPS ground shipping for Red River Paper. No minimum purchase required.
Photo Assignment for July 2014 is "Smokin' Hot".
If you haven't done so already, please post a review for The Digital Story Podcast in iTunes.
BTW: If you're ordering through B&H or Amazon, please click on the respective ad tile under the Products header in the box half way down the 2nd column on thedigitalstory.com. That helps support the site.
Download the Show
In addition to subscribing in iTunes, you can also download the podcast file here (32 minutes). You can support this podcast by purchasing the TDS iPhone App for only $2.99 from the iTunes App Store.
More Ways to Participate
Want to share photos and talk with other members in our virtual camera club? Check out our Flickr Public Group. And from those images, I choose the TDS Member Photo of the Day.
Podcast Sponsors
lynda.com - Learn lighting, portraiture, Photoshop skills, and more from expert-taught videos at lynda.com/thedigitalstory.
Red River Paper -- Keep up with the world of inkjet printing, and win free paper, by liking Red River Paper on Facebook.
SizzlPix! - High resolution output for your photography. You've never seen your imagery look so good. SizzlPix.com. SizzlPix! now is qualified for PayPal "Bill Me Later," No payments, No interest for up to 6 months, which means, have your SizzlPix! now, and pay nothing until January!
Want to Comment on this Post?
You can share your thoughts at the TDS Facebook page, where I'll post this story for discussion.