Lots of interesting stuff going on today at Imaging USA. I'm going to sit in on a Seth Resnick talk, "Organizing: Asset Management in Lightroom." I haven't had a chance to listen to Seth since he's moved from his management system to Lightroom, so this should be fun to hear how one of the DAM masters leverages Adobe's latest photo software.
I'm also looking forward to Katrin Eismann's talk on "The Power of Camera Raw." Katrin has a new book out, The Creative Digital Darkroom that looks just great. I have a copy at home that I can't wait to dig in to.
And of course, the Expo opens today with lots of high profile exhibitors. I want to get my hands on the new Nikon D3. It looks terrific on paper.
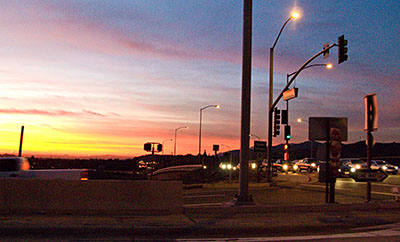
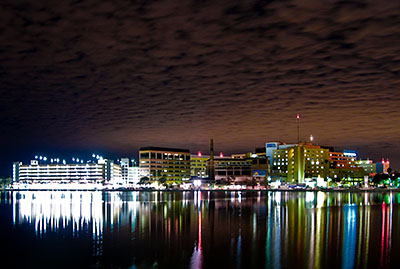
I took this photo last night while walking home from dinner. There's plenty of water in Tampa, and it makes for good night shooting, especially when you get some interesting skies to boot. I used the Canon G9 resting on the railing of a bridge (yes, I held on to the strap). With the self-timer on, I manually set the exposure to 15 seconds at f-2.8 keeping the ISO to 80 to control the image noise. I then processed the picture in Adobe Lightroom.
Photo of Tampa Night Reflections by Derrick Story.
Technorati Tags: Adobe Lightroom, Canon G9, digital photography, Technology, The Digital Story, Imaging USA