The 5th generation iPod nano has terrific new functions such as an intelligent FM radio receiver and a video camera that can record hours of SD movie capture. One challenge that I encountered while recording video, however, was finding an easy way to steady the camera for scenes where the subjects were stationary, such as during a speech or a musical recital.
By modifying two parts of the packaging for the nano, you can quickly create a stand that works on any horizontal surface, allowing you to record super-steady movies. When not in use, the stand folds up so it's nearly as compact as the nano itself.
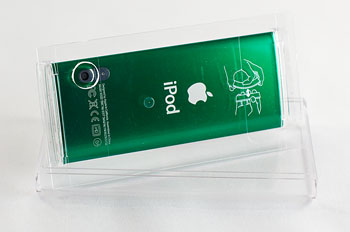
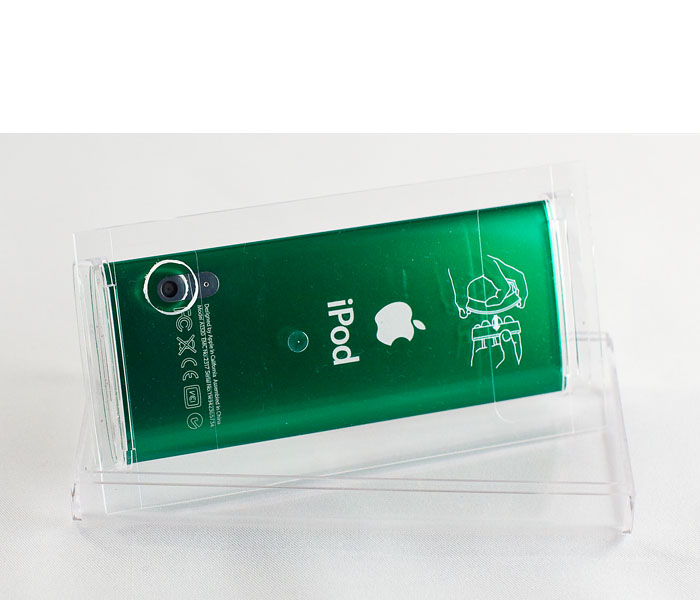
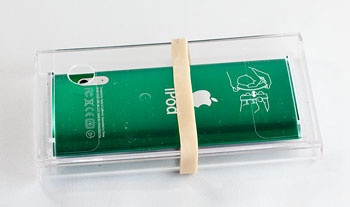
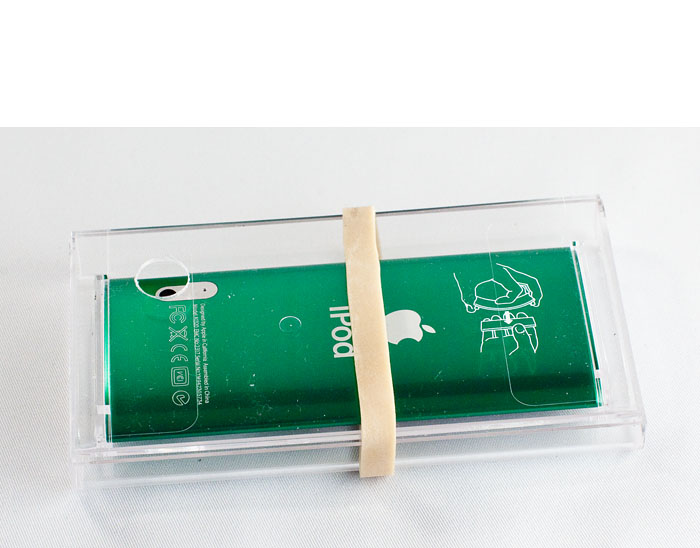
All you have to do is drill a hole in the flexible holder that your iPod ships in. I simply put the nano in the holder, marked on the clear plastic where the camera lens is with a Sharpie, removed the nano, drilled the hole, then reattached the iPod. When you're ready to record, stand it up in the open lid. You'll find that you have a number of adjustments that you can make just by moving the iPod around in the open lid. This allows you to get just the right recording angle.
When you're done recording, place the holder in the lid and secure with a rubber band. You can leave the nano in the holder if you know you're going to record more video soon, or put it back in its regular case.
A couple of additional tips: 1) drill a largish hole because the microphone is next to the lens and you'll get better audio pickup. 2) if you drill a second hole on the side of your stand, you can plug in the headphones also and use the stand for hands-free movie viewing.
One thing that I always mention to people who purchase Apple devices is to hang on to the packaging. There are always components that they can repurpose later for accessories such as this DIY nano stand.
More DIY Projects
You can find more do it yourself projects in the DIY section of The Digital Story, including:
DIY Copy Stand for the iPhone 3GS
Convert Your Roller Suitcase into a Tripod or Mic Stand
DigiScoping with a Compact Camera
 Follow me on Twitter
-