This is The Digital Story Podcast #829, Feb. 8, 2022. Today's theme is "All Photography is Good Photography." I'm Derrick Story.
Opening Monologue
This is not a show about everyone is a winner and every picture is good. We know better on both counts. We also know that some people do bad things with their cameras. They're not included here either. What I mean when I say, "all photography is good photography," is that working with a camera and creating an image is good for your craft, regardless of the camera. I'll explain more on today's TDS Podcast.
Digital Photography Podcast 829
Tune-In Via Your Favorite Podcast App!

Apple Podcasts -- Spotify Podcasts -- Stitcher
Podbean Podcasts -- Podbay FM -- Tune In
All Photography is Good Photography

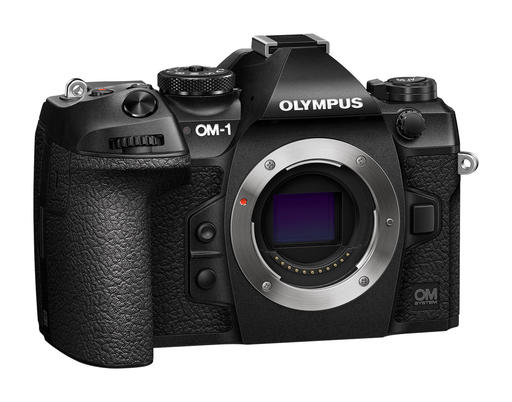
In the past year, I've worked with a variety of cameras and formats. A list that named a few, but not all, would include: Olympus PEN-F, Olympus OM-D E-M-10 Mark III IR converted, Pentax KP APS-C digital, Pentax LX 35mm analog, Fujifilm X100V APS-C digital, Fujifilm GFX 100S medium format digital, Nikon D610 Full Frame digital, Nikon Lite Touch 35mm analog compact, iPhone 12 Pro Max, Olympus TG-4 Tough, and Fujifilm Instax Mini Evo Hybrid.
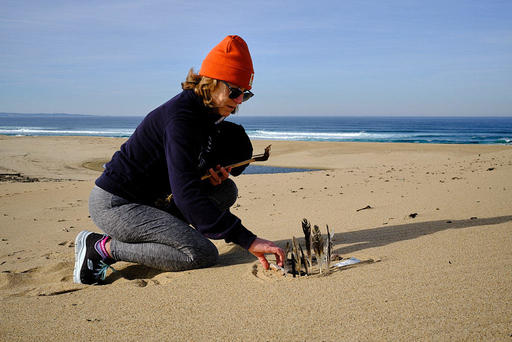
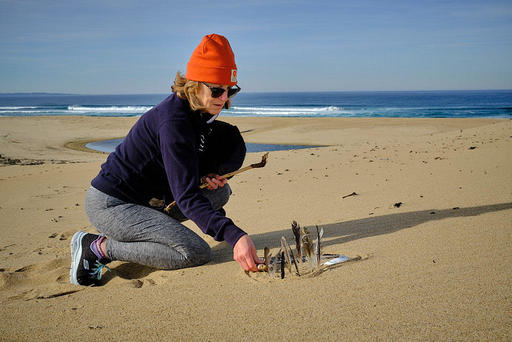
During that time, I've captured images of flowers in the garden, my car charging off some lonely highway, my family joyous then gripped with grief, desolate stretches of Interstate 5, Maui sunsets, my cat sunbathing just hours before she passed away, an old barn that caught my eye, my boys filling their plates at a Christmas taco bar, and me, just thinking about what it all means.
In addition to light and color, pictures represent thoughts, feelings, and activities. They remind us things we may have otherwise forgotten. They help us see the beauty in everyday life. And for many of us, the more we take pictures, the more alive we become.
This is why it's important to keep embracing new aspects of photography. So that we want to take pictures. Because once we're engaged and have that camera in our hands, life becomes just a little more alive.
Keeping an open mind to analog, infrared, black & white, instant, portraits, still lifes, action, macro, large format, small format, and anything that records light and color and life is good for us.
If you're not taking enough pictures right now, you need to do something about it. And fast. Because photography is an important part of your life. And you need to make it one of your priorities.
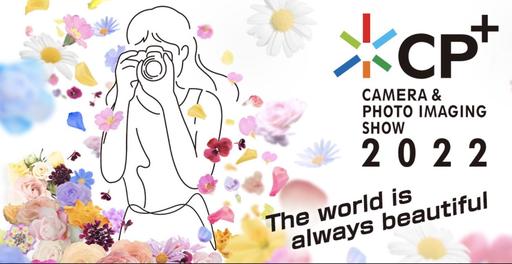
CP+ goes online-only as Covid-19 disrupts the Yokohama trade show for the second year in a row
You can read the entire article on DP Review.
Japan's Camera & Imaging Products Association has cancelled the physical element of its globally significant CP+ 2022 camera show with just two weeks to go before the doors of the Pacifico exhibition Centre in Yokohama, Japan, were due to open. Organizers cite the high number of Omicron infections and the fact that there is unlikely to be a drop in cases sufficient to make people feel safe before the show opens. As has been the case for the previous two years, the show will be held as an online-only event. It had been hoped that the show would have been able to take on a hybrid online and in-person format this year.
The show's management says that it gives top priority to the safety and security of visitors, exhibition staff and all those involved with the event, and says too that a tight supply of antigen test kits isn't helping the situation.
The CP+ show is considered especially important now in the absence of any other major international camera shows since both the PMA show and Photokina stopped running. Historically the show was more of a domestic Japanese affair but in recent years it has gained prominence abroad and has become an important launch pad for camera and lens makers from both inside and outside of Japan.
The 2022 TDS Workshop Season
We have great events lined up for this year, and there are a few more coming. Here's a recap of what we have so far:
- April 2022 - Humboldt Redwoods Workshop (physical)
- May 2022 - Infrared Photography Workshop (online event)
- August 2022 - Ultimate B&W Photography Workshop (online)
- Sept. 2022 - Eastern Sierra Photo Workshop (physical)
- Nov. 2022 - Oregon Coast Photography Workshop (physical)
You can learn more about all of these events and register by visiting TheNimblePhotographer.com.
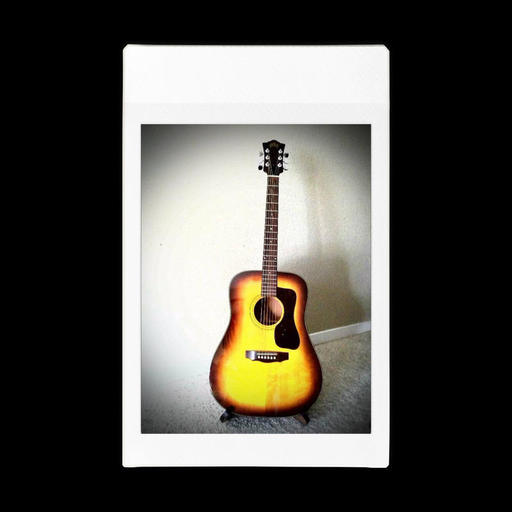
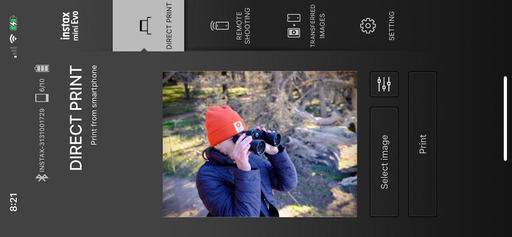
Understanding the Fujifilm Mini Evo Hybrid Instant Camera - A Review
You can read my review at on The Digital Story.
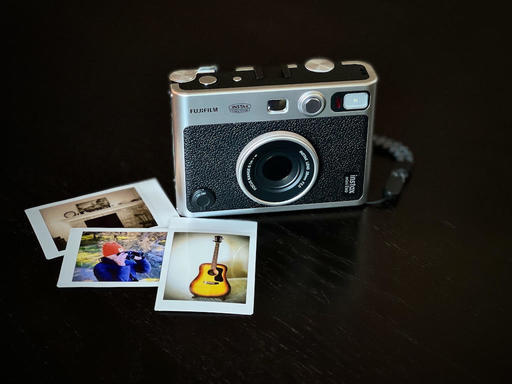
When I was contemplating buying my first instant camera in decades, I did a little research on the Fujifilm Instax Mini Evo Hybrid camera. Some reviewers thought that the instant film side was good, but the digital specs were lacking. I mean, who puts a 1/5" sensor in a camera these days?
Now that I have the Mini Evo, I understand what Fujifilm was thinking, and what some reviewers missed.
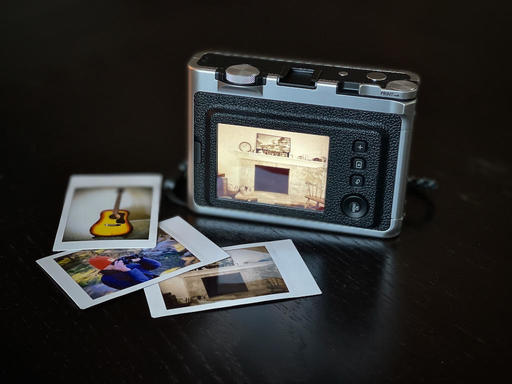
It's not supposed to be a digital camera. The hybrid functions are designed to give us more flexibility with the instant shots. So instead of pressing the shutter and waiting for the print to emerge, we can take as many pictures as we want, then choose the best of them on its 3" LCD, output that and leave the rest as digitals. Not only is the Mini Evo clever, it's efficient.
The camera is available now for $199.
Fujifilm Cameras Have Serious macOS File Issue, Firmware Fix Incoming
You can read the entire article on Petapixel.
Fujifilm has issued an "important notice" to photographers using Fujifilm cameras and macOS computers, warning that a firmware incompatibility found in several popular that may cause issues with accessing files and a risk of file loss in macOS. The company says a firmware fix is in development.
In a news article titled "Important notice for consumers processing FUJIFILM digital camera files using macOS," published on February 2nd, Fujifilm shares that it has managed to track down an issue to its camera firmware.
"FUJIFILM Corporation has identified a firmware incompatibility between specific X and GFX series cameras [...]," the company writes. "This incompatibility can result in macOS users being unable to directly access files if they were initially saved to SDXC memory cards in-camera.
"To address this anomaly, Fujifilm is creating a firmware patch, which is expected to be available for free download by X Series and GFX System users soon.
Fujifilm says a number of its popular X Series and GFX System mirrorless camera models have been found to have the firmware incompatibility with macOS.
The following list of cameras is affected by the issue regardless of firmware version:
GFX100
GFX100S
GFX50S II
X-Pro3
X-T4
X-S10
Fujifilm X-E4
X-T30 II
X100V
Fujifilm says the issue can arise when a photographer using an affected camera saves photos shot in-camera to an SDXC memory card and then tries to directly access those photo files using a Mac running macOS -- Windows users are not affected by this issue.
"While the current firmware versions allow these X and GFX series cameras to internally write and store 9,999 frames to a single folder, it has been observed that if more than 4,000 files are written in-camera to a single folder on an SDXC card and directly accessed using macOS," two issues could occur.
First, the photographer could be unable to access the files they are looking for.
"Some files on the memory card may become inaccessible if the card has been connected to the computer through an internal or external memory card reader and directly accessed using macOS," Fujifilm says.
Second, and likely more worrying to photographers, there could be a chance of file loss if the memory card is not properly ejected. Do not remove the card without ejecting first and/or while your Mac is in sleep mode.
"If the memory card is not ejected correctly from a computer using macOS, there is a likelihood that data may be lost if the same card is directly connected and accessed a second time using macOS," Fujifilm says. "However, risk of data loss in this situation can be prevented by following proper ejection procedures for macOS operating systems.
"If the proper procedures are followed, no data will be lost. However, files will still remain inaccessible when attempting to directly access the data on the memory card using macOS.
Virtual Camera Club News
Inner Circle Members: A big thanks to those who support our podcast and our efforts!
My Writing on Medium.com: I now have 51 published articles on Medium.com. And if you haven't visited the site, and enjoy good writing on a variety of topics, I suggest that you may want to take a look. You can just go to the home page and enter "Derrick Story" in the search field. And if you like what you read, then follow me!
The New Donation Kit for Carefree Shipping of Found Film Cameras - If you've discovered a film camera that's no longer being used, our new Donation Kit makes it easy to pack and ship. Just visit the Contact Form on thenimblephotographer.com, click the box next to Donating a Film Camera, and let me know what you have. In your note, be sure to include your shipping address.
Affiliate Links - The links to some products in this podcast contain an affiliate code that credits The Digital Story for any purchases made from B&H Photo and Amazon via that click-through. Depending on the purchase, we may receive some financial compensation.
Red River Paper - And finally, be sure to visit our friends at Red River Paper for all of your inkjet supply needs.
See you next week!
You can share your thoughts at the TDS Facebook page, where I'll post this story for discussion.
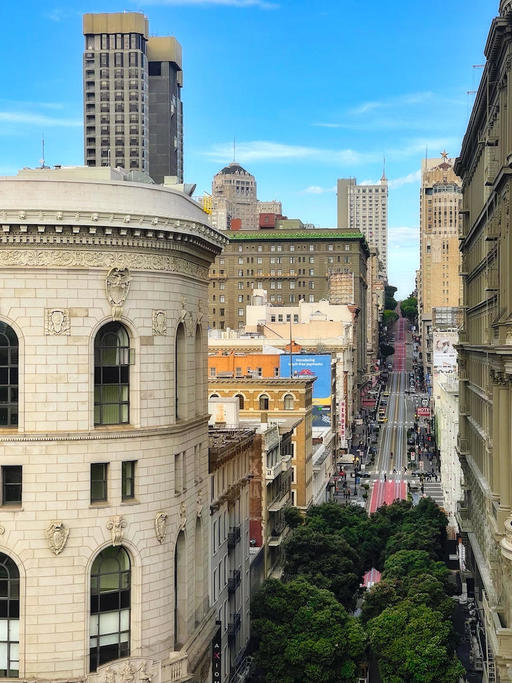 Powell St., San Francisco. Photography with an iPhone 12 Pro Max. Photo by Derrick Story.