The San Francisco International Auto Show features the latest cars from top manufacturers all over the world. Visitors can see 2013 models of their favorite brands, concept cars of the future, and historical classics, all under the shining lights of Moscone Center in San Francisco.
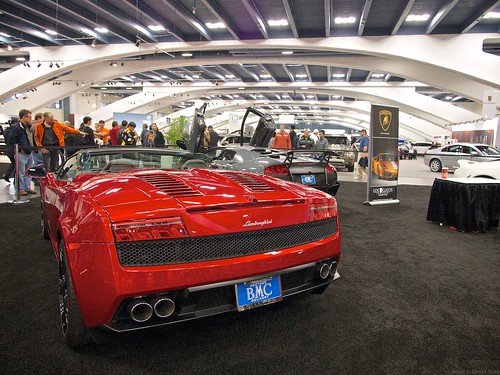 Lamborghini in Moscone Center at SF Auto Show.
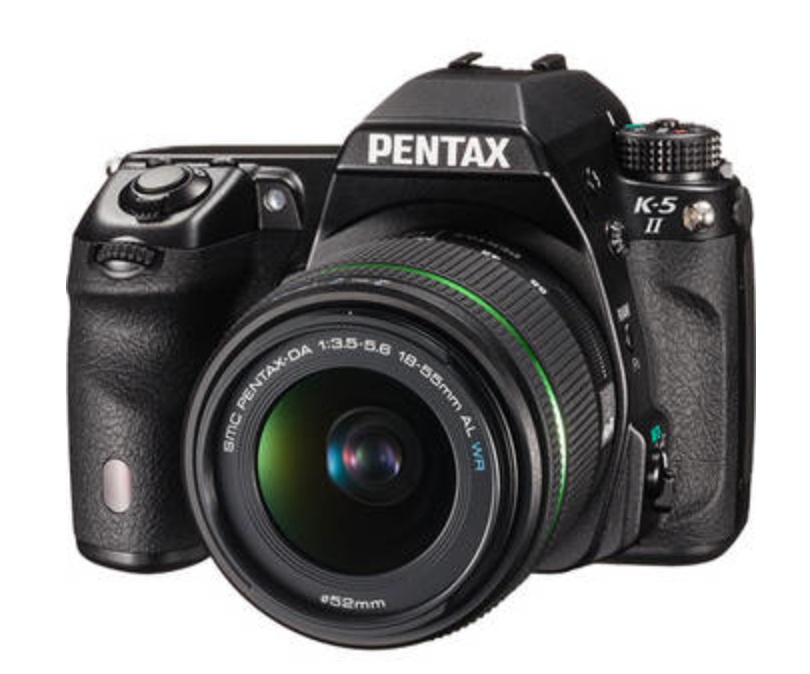
I packed my Olympus OM-D E-M5 (currently $949 US) and the Panasonic LUMIX G X VARIO 12-35mm/F2.8 zoom
 to photograph these great cars and enjoy the atmosphere.
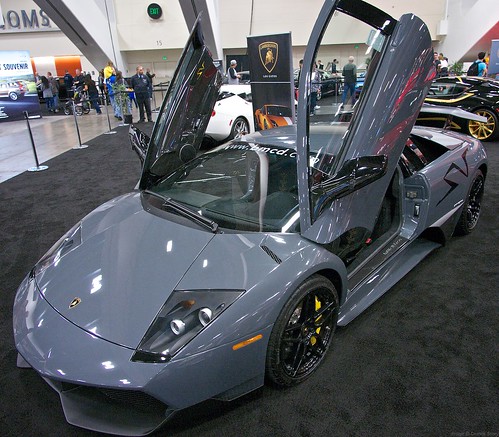 Grey Lamborghini
One of the features that I really like for these types of assignments is the "live exposure compensation view" through the electronic viewfinder of the OM-D. Black cars one moment and white the next presents a real exposure challenge for capturing detail. All I have to do is rotate the top exposure compensation dial while looking the the EVF to get just the look I want. But it wasn't all cars I had to work with.
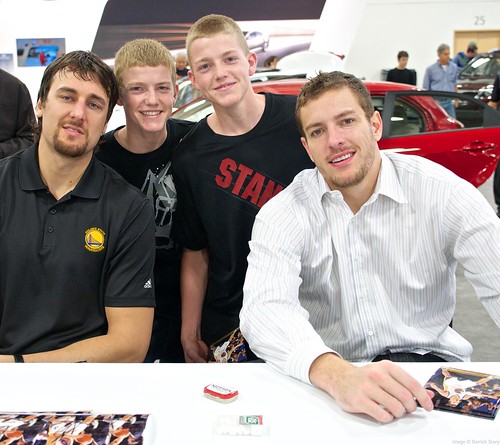 Golden State Warriors players Andrew Bogut and David Lee signing autographs.
A guest appearance in the Kia booth by Golden State Warriors players Andrew Bogut and David Lee provided an opportunity to get both autographs and some fun portraits. Working in existing light only, the exposure compensation enabled me to capture a good rendering on their expressions.
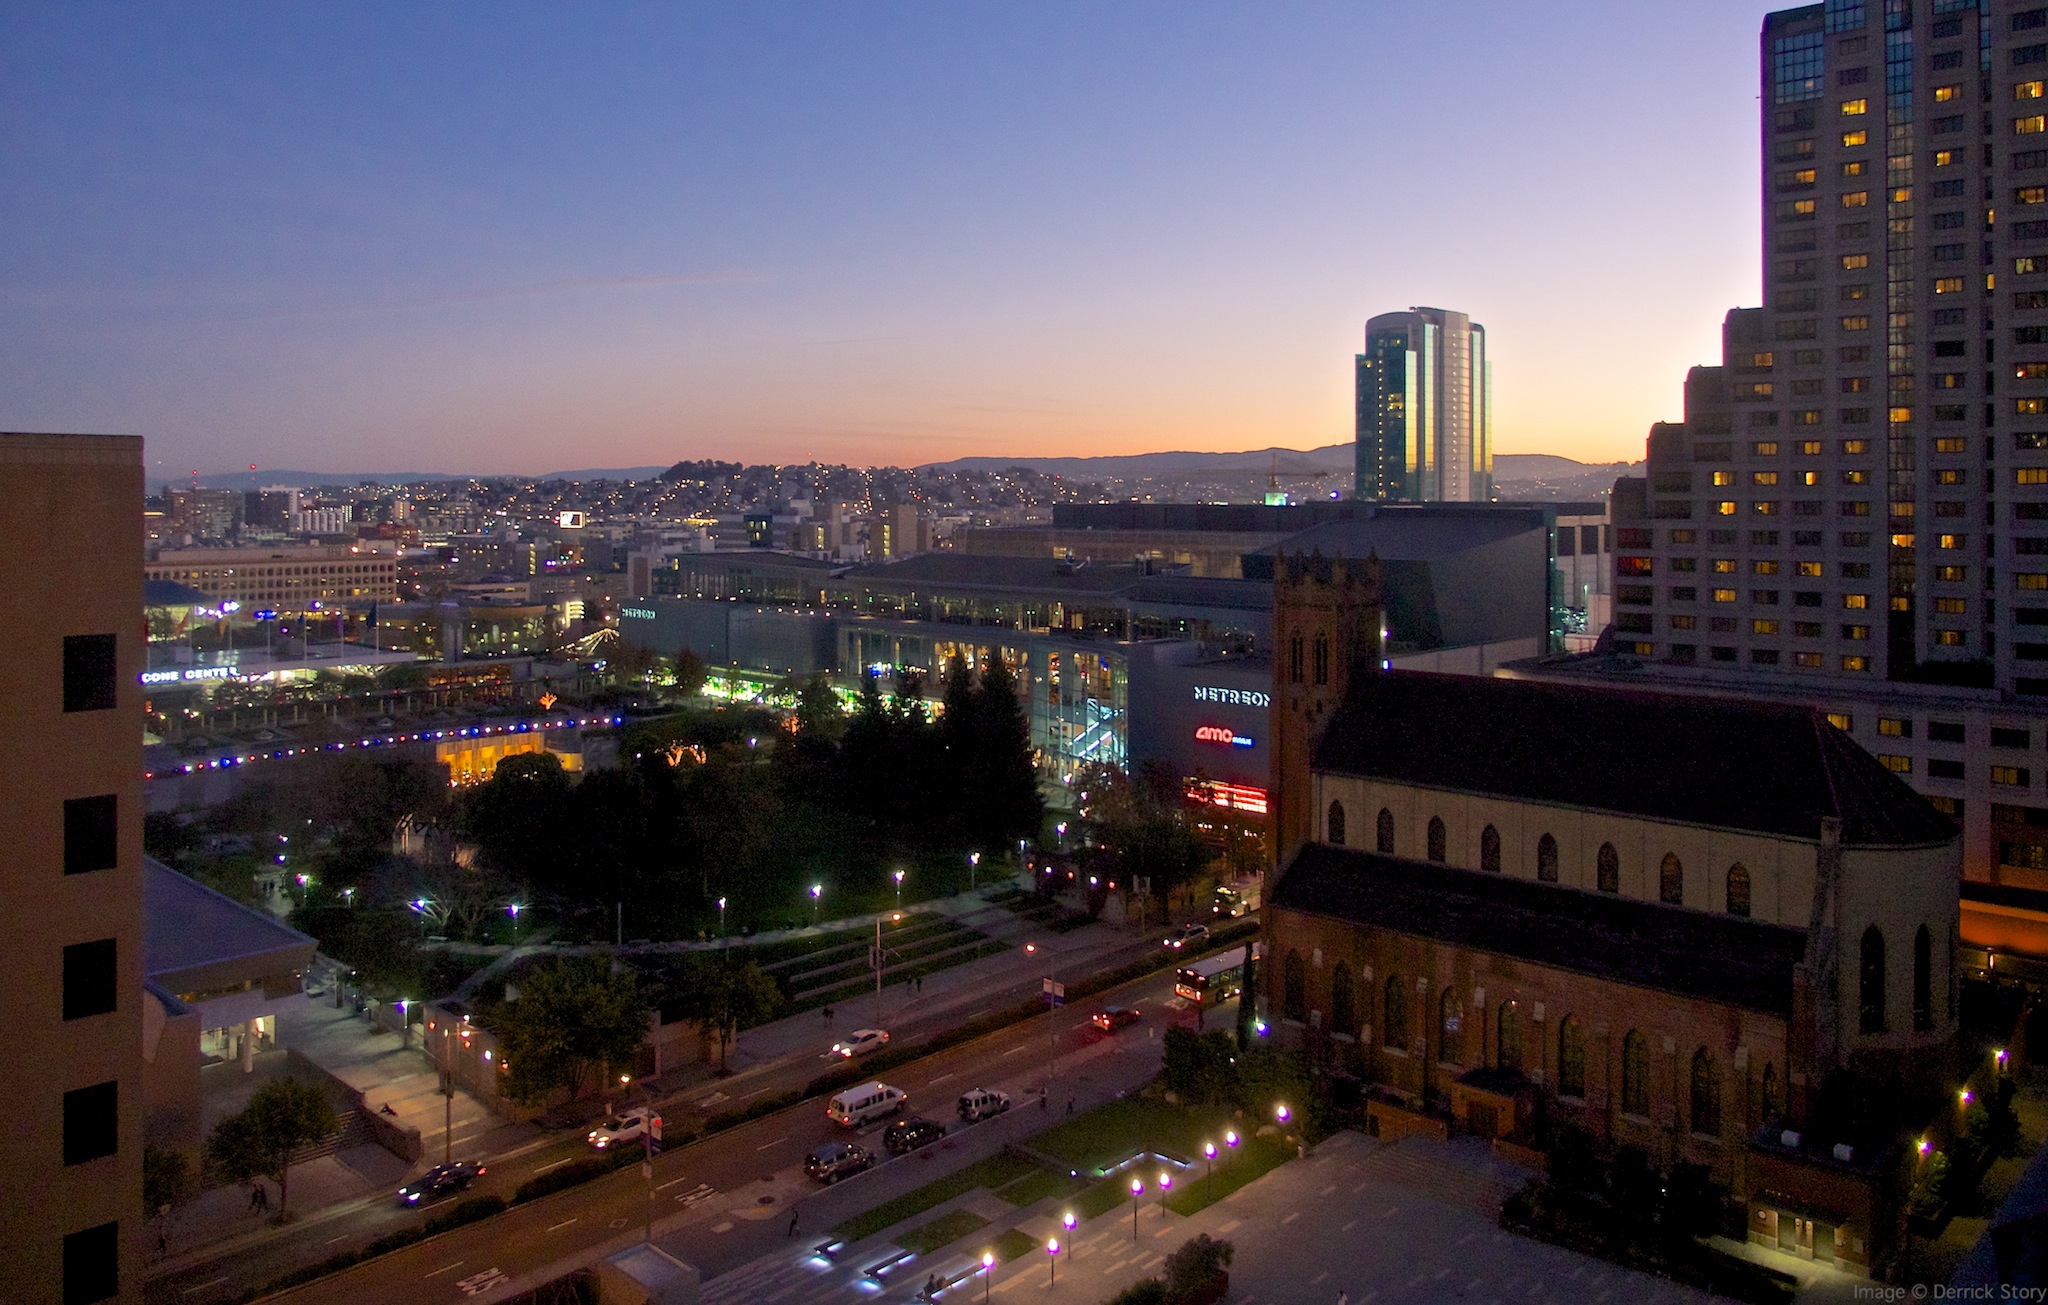
 Twilight over Yerba Buena in San Francisco.
Finally, when the day was done, I was able to get a good view of the sun setting over Yerba Buena (the area where Moscone Center is located in San Francisco) and capture a twilight shot of the city.
Just one camera and one zoom lens for an entire day of shooting.
Note: the San Francisco International Auto Show is open until 8 PM tonight if you're in the City. Admission is $9 for a single, or two for one if you have a friend.
Take a look at the Olympus Micro Four Thirds Gear Guide for an overview of cameras, lenses, and accessories.
The Gift Guide for Photographers features 12 tempting goodies for the photographer in your life. Each item includes a background article about it and a direct link for the best price.