This week on The Digital Story show: Gloom and doom camera sales, an LCD-only existence (I think not!), notes from the field - All of this and more on today's photography podcast.
Story #1 - Gloom and Doom Camera Sales - the reports have been filing in: Nikon rethinks 1 System and cuts 2013 forecast citing poor sales, Olympus stems losses but PEN sales disappoint, and Weak demand for mirrorless cameras hurting major manufacturers. So what is going on here?
We've already seen the decline in compact camera sales, and that trend seems to be creeping into mirrorless and even DSLRs in certain price ranges. At the same time, smart phones are getting better and seen as a viable alternative to dedicated cameras.
This could present an interesting opportunity to enthusiast photographers who are willing to use interchangeable lens cameras and can produce images that look different than what can be captured with a smart phone.
Story #2 - An LCD Only Existence? I've just spent a couple weeks testing some excellent compacts. Although their picture-taking prowess is impressive, the big drawback was composing on LCDs in bright conditions.
Personally, I'm not ready for an LCD only existence. Even when shooting with compacts, which I love, I need a built-in or accessory viewfinder for those times when an LCD just isn't practical.
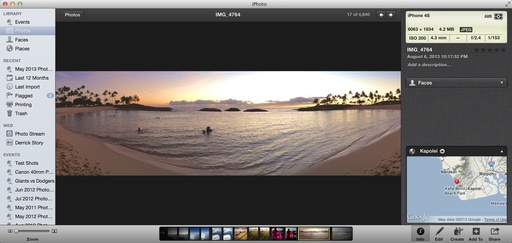
Story #3 - Notes from the Field - During my recent work in Santa Barbara, camping at Sugarloaf, and exploring the island of Oahu, I am more convinced than ever that traveling light improves my creativity. I explain why in the third story of today's show.
Listen to the Podcast
In addition to subscribing in iTunes, you can also download the podcast here (35 minutes). You can support this podcast by purchasing the TDS iPhone App for only $2.99 from the Apple App Store.
Monthly Photo Assignment
The August 2013 photo assignment is Street Scene.
More Ways to Participate
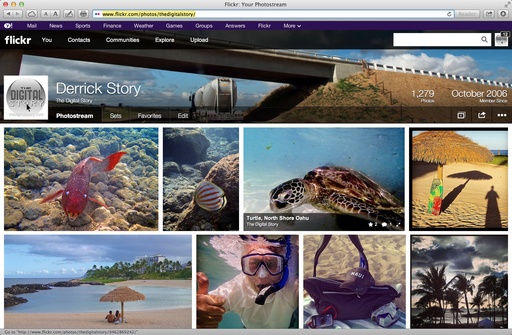
Want to share photos and talk with other members in our virtual camera club? Check out our Flickr Public Group. And from those images, I choose the TDS Member Photo of the Day.
iPad for Digital Photographers
If you love mobile photography like I do, then you'll enjoy iPad for Digital Photographers -- now available in print, Kindle, and iBooks versions.
Podcast Sponsors
Red River Paper -- Keep up with the world of inkjet printing, and win free paper, by liking Red River Paper on Facebook.
Make Your Photos Sizzle with Color! -- SizzlPix is like High Definition TV for your photography.Special Summer Sale! Just add "TDS: in the comments space of your SizzlPix! order, and you will get 20 percent off the entire order. Limited time offer. Take advantage now.
Need a New Photo Bag? Check out the Lowepro Specialty Store on The Digital Story and use discount code LP20 to save 20% at check out.
Want to Comment on this Post?
You can share your thoughts at the TDS Facebook page, where I'll post this story for discussion.