This is The Digital Story Podcast #664, Dec. 4, 2018. Today's theme is "Prepare for Your 2019 Now." I'm Derrick Story.
Opening Monologue
If you wait until January 1st to choose the improvements that you want to make in 2019, it's already too late. Before you know it, the month will be gone, and you won't have accomplished a thing. If you really want to up your game next year, now is the time to start. And I have some great ideas for you in today's TDS photography podcast.
Prepare for Your 2019 Now
Yes, December has its share of holiday madness. But that also means that friends, family, and clients can be a bit distracted, leaving you with a few windows to work on your 2019 game plan.
The reason why I like December for this is because it gives me time to research options, test out my ideas, then have everything locked and loaded by the time I pop the champagne cork on Dec. 31st. If you like this reasoning, here are a few things to consider for the month.
- Update Your Budget - Most great ideas need funding. I like to pay for things as I go, so a budget is vital to managing my business and personal life. I map out my expected expenses and revenue streams. Part of those allocations are for new projects that I hope will be successful in the new year.
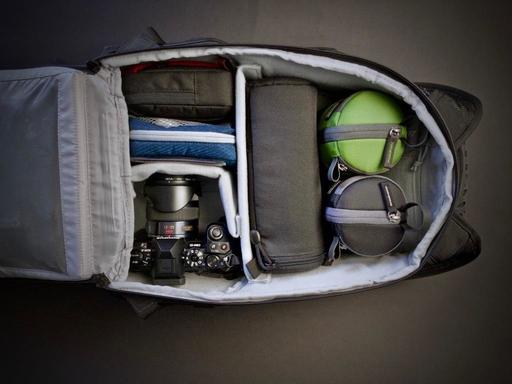
- Take Stock of Your Gear - By this point in the year, there are items I'm not using that should be sold, and things that I need for upcoming projects. A good example was investing in additional SSD storage so I could more easily manage big photo projects. Lighting and lenses are also top of the list review items.
- Create One New Project that You're Willing to Take a Risk with - You can settle for the same projects and revenue streams year to year. You'll go backwards as things fade way if you don't have ideas to replace them. Some of my best new projects in the past included the TDS Workshop Series, TheFilmCameraShop, and The Value of Journaling for Photographers. This began as a personal project 3 years ago, and has become an important part of my creative life.
- Commit to Being Bold - If you listened to Kelly Cox last week, you heard a perfect example of this when shot presented 10 of her Canon Rebel images to Berkeley Athletics in hopes of securing an internship. She now shoots the Super Bowl. Be bold and give yourself a chance to succeed.
The Portfoliobox Inspirational Photographer
I got to thinking about some of the great PortfolioBox photographers out there, and how they could inspire us both artistically, but also in terms of our presentation online. So I started digging.
Each week for the month of December, I'm going to feature an inspirational photographer who uses Portfoliobox as his/her platform for presenting their work. This week I want to point you to http://www.simonerudloff.com/. Simone Rudloff is a photographer from Byron Bay, Australia, now residing in Hamburg, Germany.
Simone's next big project for 2019 is: "I'm currently opening a photo studio/event space in Hamburg with my boyfriend (also a photographer) which we plan on renting out and using ourselves. We've spent 6 months renovating and are officially opening at the end of November!"
If you've signed up for a Portfoliobox Pro account, and have published at least one page, then send me the link to that site. Use the Contact Form on the Nimble Photographer and provide your name, the link, and the subject of the page or site you've published. I will add it to our PortfolioBox Pro Directory.
To create your own Portfoliobox site, click on the tile or use this link to get started. If you upgrade to a Pro site, you'll save 20 percent off the $83 annual price.
Do You Have a Film Camera that Needs a Good Home?
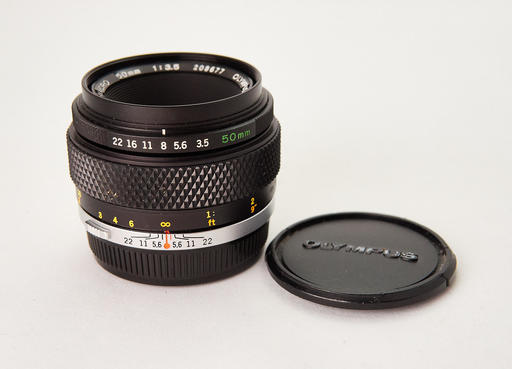
Over the last year, I've received donations from TDS members who have film cameras that need a good home. What I do is inspect the items, repair and clean as I can, then list them in TheFilmCameraShop where I can find a good home for them. If you're interested in donating, please use the Contact Form on TheNimblePhotographer site.
Jarine Lombardo did exactly that, writing: "I will send the camera tomorrow and I will take care of the shipping. It is the least I can do for all you have done for me in photography. I've gone back to Olympus because of you and I could not be happier. You are on my bucket list to take a photography workshop with in 2020. Living on the East Coast makes it a little more difficult, but I will make that happen."
Thanks for your contribution Jarine!
Photokina 2019 gets postponed, will become an annual event starting May 2020
DP Review writes:
"In 2017, Photokina's organizers announced the world's largest trade fair would 'reposition' itself an annual event starting in 2018 and subsequently announced that after this year's Photokina, which took place in September, the event would be moved to the month of May going forward.
"Naturally, it was expected the next Photokina event would take place in May 2019, but plans have changed. According to the German Photo Industry Association (PIV), conceptual sponsor of the trade fair, and Koelnmesse, the event's organizer, the 2019 Photokina event has been postponed a year, meaning the next Photokina event will take place from Wednesday May 27th, 2020 through May 30th, 2020."
Updates and Such
The 2019 TDS Workshop Season is Now Open
- We had a great response to last week's unveiling of the
2019 TDS Photography Workshop Season. Every event already has multiple deposits. If you want to join us in 2019, and I hope you do, please visit the
Workshops page and find the event that's perfect for you.
Inner Circle Members: Night Shot is our current photo challenge. More details on our Patreon page.
B&H and Amazon tiles on www.thedigitalstory. If you click on them first, you're helping to support this podcast. And speaking of supporting this show, and big thanks to our Patreon Inner Circle members:
And finally, be sure to visit our friends at Red River Paper for all of your inkjet supply needs.
See you next week!
More Ways to Participate
Want to share photos and talk with other members in our virtual camera club? Check out our Flickr Public Group. And from those images, I choose the TDS Member Photo of the Day.
Podcast Sponsors
Red River Paper - Keep up with the world of inkjet printing, and win free paper, by liking Red River Paper on Facebook.
Portfoliobox - Your PortfolioBox site is the best way to show off your best images.
The Nimbleosity Report
Do you want to keep up with the best content from The Digital Story and The Nimble Photographer? Sign up for The Nimbleosity Report, and receive highlights twice-a-month in a single page newsletter. Be a part of our community!
Want to Comment on this Post?
You can share your thoughts at the TDS Facebook page, where I'll post this story for discussion.