I started working for a local newspaper when I was in high school, and for the next 25 years my photography was defined, in large part, by my employer. Then, in the late 1990s, the Web changed everything. For the first time I wasn't a staff shooter. As part of the evolution, I built my own web site and became a freelancer. I didn't fully realize it at the time, but my career was taking a 180 degree change toward being an independent writer and photographer.
I started thinking about all of this again after reading a good post on the web site, A Photo Editor titled, Is Editorial Photography Dead?. It's definitely worth a read. Essential, the answer is "no," but it certainly is changing. There are very few staff jobs these days, and content is being created at all levels, from "pros" to bloggers. I agree with this. In fact, I wear both hats myself.

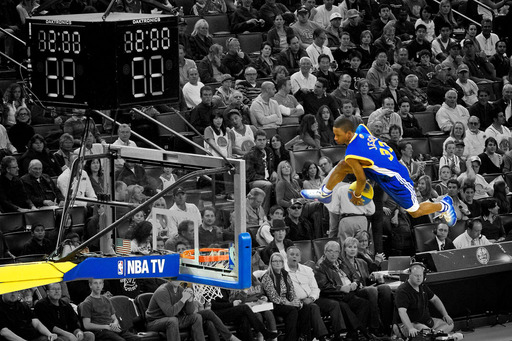
I have shoots that I'm hired to do that often include credentials and expense reports. Then I have activities where I have a PEN in my jacket pocket, I see a shot, capture it, and then post it on my blog. This recent shot of Dorell Wright could have easily accompanied a paid newspaper article I might have written in the past. Now it's part of my blogging today. There's no paycheck for this shot, but somehow it helps my cause. The Web is like that.
Dorell Wright, Golden State Warriors - Captured during pre-game warmups with an Olympus PEN E-PL2 with an 40-150mm lens at 150mm. ISO 1600. Click on image for larger version.
I'm as excited as ever about photography. But I've made more adjustments to my career in the last two years than I had in the 30 years that preceded it. So I would say that the state of editorial photography is: rapid change. And my advice is to move with it, and when you can, get in front of it.
 Follow me on Twitter
