I find the Canon PowerShot S90 one of the most interesting compact cameras available today. No doubt you've heard about some of its most popular features: records in Raw, sports a programmable click-stop Control Ring, and uses the same sensor and image processing as the Canon G11. But as I've worked with this camera, I've discovered a number of more subtle features that I think are noteworthy, and that you might appreciate.

Versatile Erase Options - When you shoot in Raw+Jpeg, as I often do, you have three erase options when you press the trashcan button: Raw only, Jpeg only, or Raw+Jpeg. I think it's so intelligent having complete control over what you delete.
Semi Auto White Balance - In auto white balance, you have the option or rotating the Control Ring to tweak the white balance in the blue or red direction. If you hit the Display button, you can also adjust green and magenta too. This is much more precise than using the presets. And it makes Auto White Balance truly useful, because it is now an intelligent starting point instead of the final destination.

Smart Self Timer - In the standard self timer mode, I can set how long I want the timer to run (between 1-30 seconds in 1 second increments) and for how many shots (between 1-10). So if I want a 5 second delay for 4 continuous shots, it's not a problem. Why haven't we always had this?
Manual Flash Output - When you shoot in Manual exposure mode, the flash exposure compensation scale changes from the standard + and - to a flash output control. You can manually set the flash to 1/3, 2/3, or full power. Works great! It's also more intuitive than flash exposure compensation.

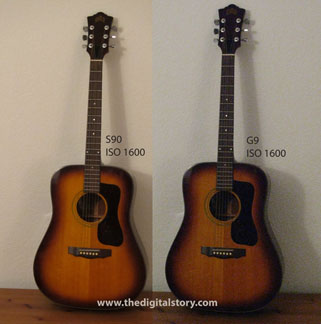
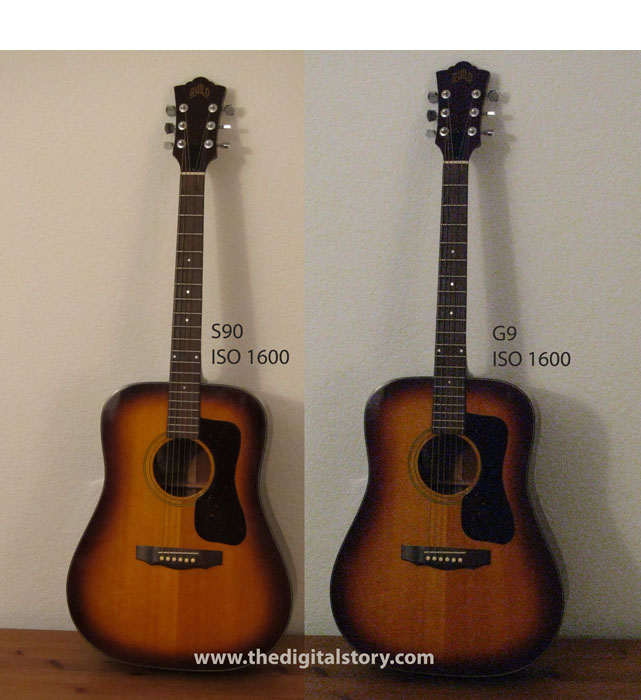
Low Light Shooting on Mode Dial - The S90 performs admirably well in low light (see my ISO tests for more information), and you have lots of exposure controls to choose from. But if you want to quickly switch to low light shooting, just choose the candle icon on the Mode Dial. This enables all of the S90's low light functionality with a single, easy-to-get-to setting. The downside, it only records in Jpeg in this mode.
So how do I configure this camera for my every day shooting? After trying lots of combinations, my favorite way to work is to set the mode dial in Aperture Priority (AV); set the Control Ring to Step Zoom so I can click stop between 28, 35, 50, 85, and 105mm focal lengths, then adjust the f/stop with the Control Dial on the back of the camera. I set the Shortcut button to enable the Exposure Lock. With this set up, I feel like I'm shooting with DSLR that just happens to be very, very small.
More Articles About the Canon S90
Did Canon Really Improve Image Noise with the PowerShot S90?
"Compacts for Serious Shooters" - Digital Photography Podcast 201
-