"Several years ago I became friends with the local Hang Glider pilots here on Oahu," writes Tim Tilden. "They launch from a spot on a ridge 1100 ft above the beach. Using trucks, they drive their gliders up to the launch, and since I live nearby, I volunteer to drive the pickups down to the landing zone."
"While they fly, I take pictures. I've become a visual chronicler of many of their flights. I ended up creating a site on Smugmug to allow them to see how good they look!"
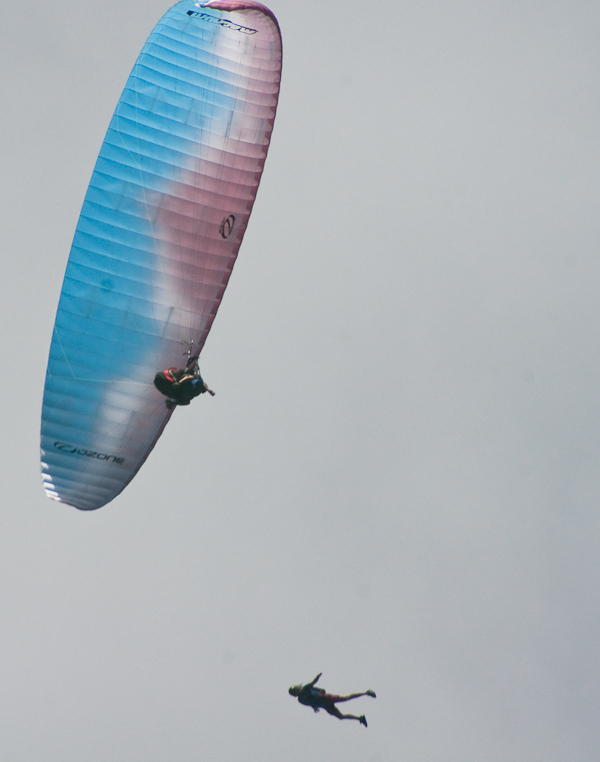
"On Halloween Sunday, I was at the Landing Zone taking pictures of their landings, and the landings of the paragliders who use the same LZ. A paraglider pilot alerted me to a parachutist, who was about to jump from a paraglider high above the LZ. Quickly changing to my long zoom, a Tokina 80-400mm, I got this shot moments after her leap from the glider. She landed safely."
Photo by Tim Tilden. Click on image for larger version (whoa!).
This is our 203rd Grab Shot! Wow. If you want to review the collection that began back in 2006, go to our Grab Shots page.
If you have a candid you'd like to share, take a look at our Submissions page, then send us your Grab Shot. We'll try to get it published for you on The Digital Story.
And you can view more images from our virtual camera club in the Member Photo Gallery.
The Digital Story Podcast App is the best way to stream or download weekly TDS podcast episodes. No more syncing your iPhone or iPod Touch just to get a podcast. And there's more! Tap the Extras button for free passes and discounts and the current Grab Shot by our virtual camera club members. Each podcast episode has its own Extras button, too, that contains more goodies such as pro photo tips. And the best part is, The Digital Story Podcast App is your way to help support this show.Download it today!