Six months ago I was a drone newbie. I had never flown one, didn't know the rules, and the whole project seemed daunting. But I was curious. The photo opportunities were intriguing.
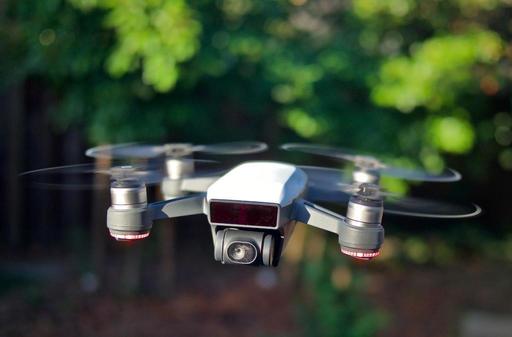
Then DJI released the Spark. And I knew that my time for aerial photography had come. I got my hands on one immediately.
At first, I didn't know exactly what I was going to do with it. I had to learn how to fly it. DJI makes that relatively easy. The navigation system is terrific. I use my iPhone as the controller. (It's really nice with the iPhone X.)
But there were rules and regulations to learn. That part was a bit more thorny. I consider myself a responsible pilot. But it does take restraint at times. There are so many places that I want to fly that I just cannot.
And I had to figure out, how did I want to use this new tool? How will it mesh with the other pictures I take? This exploration has become the most exciting part.
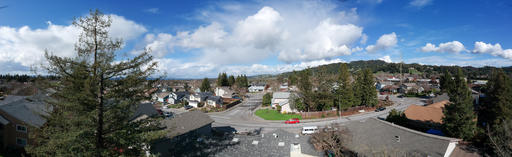
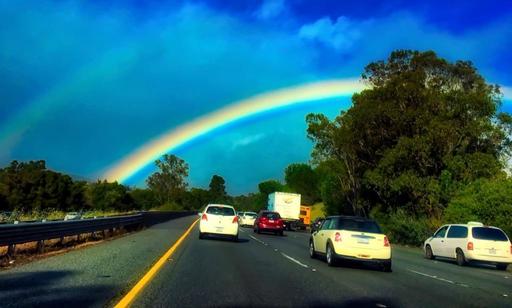
I've become enamored with the panorama feature of the Spark. It's amazing. Because of the precise navigation electronics, the drone is a perfect capture device for building big pictures from above. I can choose horizontal framings, vertical, or spherical. All of them are interesting and at times useful, but my favorite is the horizontal panorama.
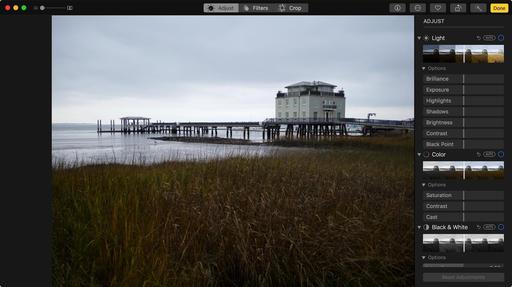
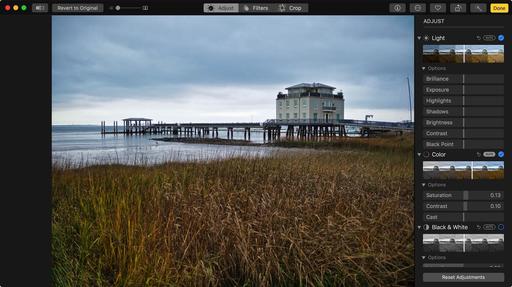
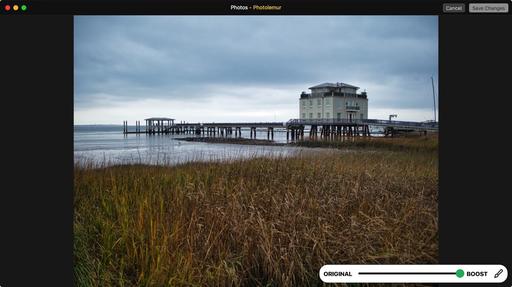
Once I position the aircraft and set the capture sequence in motion, it's fun to watch its robot-like maneuvers as it positions itself to record each frame. I can preview the stitched image with the DJI software, but the best results come later when I use Lightroom's Photo Merge technology.
What I've discovered is that the Spark fills a gap in my visual storytelling. I'm pretty good at covering my subject from different angles. But the one from above was always missing. And having it now completes many of my essays.
I'm still a terrible pilot. I keep telling myself I need to practice flying more. But I'm adept enough to get the shots that I need. And 6 months later, I have to say that the Spark is an important part of my photo kit. It's here to stay.
More About the DJI Spark
Elevated Panoramas with the DJI Spark
Exporting a Single Frame from Video
You can share your thoughts at the TDS Facebook page, where I'll post this story for discussion.