Recently in Photography

  Page 217 of 381 in Photography  

The Discreet Pancake Lens

With the impending announcement of Canon's pancake lens, I thought it would be a good time to revisit this svelte class of prime glass.

So, what's the big (eh, small) deal?

olympus_17mm_pancake.jpg The Olympus 17mm f/2.8 pancake lens on a PEN Mini.

Thin is In

There's something cool about a lens that isn't much thicker than the body cap that replaces it. You feel like you're getting away with something. And the thinner the camera is to begin with, the more thrilling the pancake is mounted on it.

Light is All Right

Big zoom lenses add much weight to our camera kits. But put a pancake prime on there, and it feels like your camera has been on a diet. You can barely feel it tugging on your neck.

Bright in Low Light

The typical maximum aperture on a pancake is f/2.8. It's probably not the fastest glass in your bag, but it's a whole lot brighter than the kit lens and most of your zooms.

And in addition to all of this, pancakes are usually sharp and affordable. No wonder photographers like them so much.

If you want to learn more about these thin primes, take a look at this excellent article on B&H about pancakes.

And yes, I'm interested in the Canon version that seems to be waiting in the wings...

aperture_lens_icon.jpg

"Where the heck is Aperture 4?"
[a cry from the blogosphere]

Usually when we get this deep into the Aperture release cycle (2 years +), murmurs begin that Apple has abandoned the application. Blog posts are published with disgruntled photographers threatening to switch to Lightroom. (I like the phrase "switch" to Lightroom, btw.) And everything in general seems to get a little tense.

My position? Try not to worry. Why? Well, here are a few things to consider.

Consideration #1 - Raw Updates Are Still Rolling In

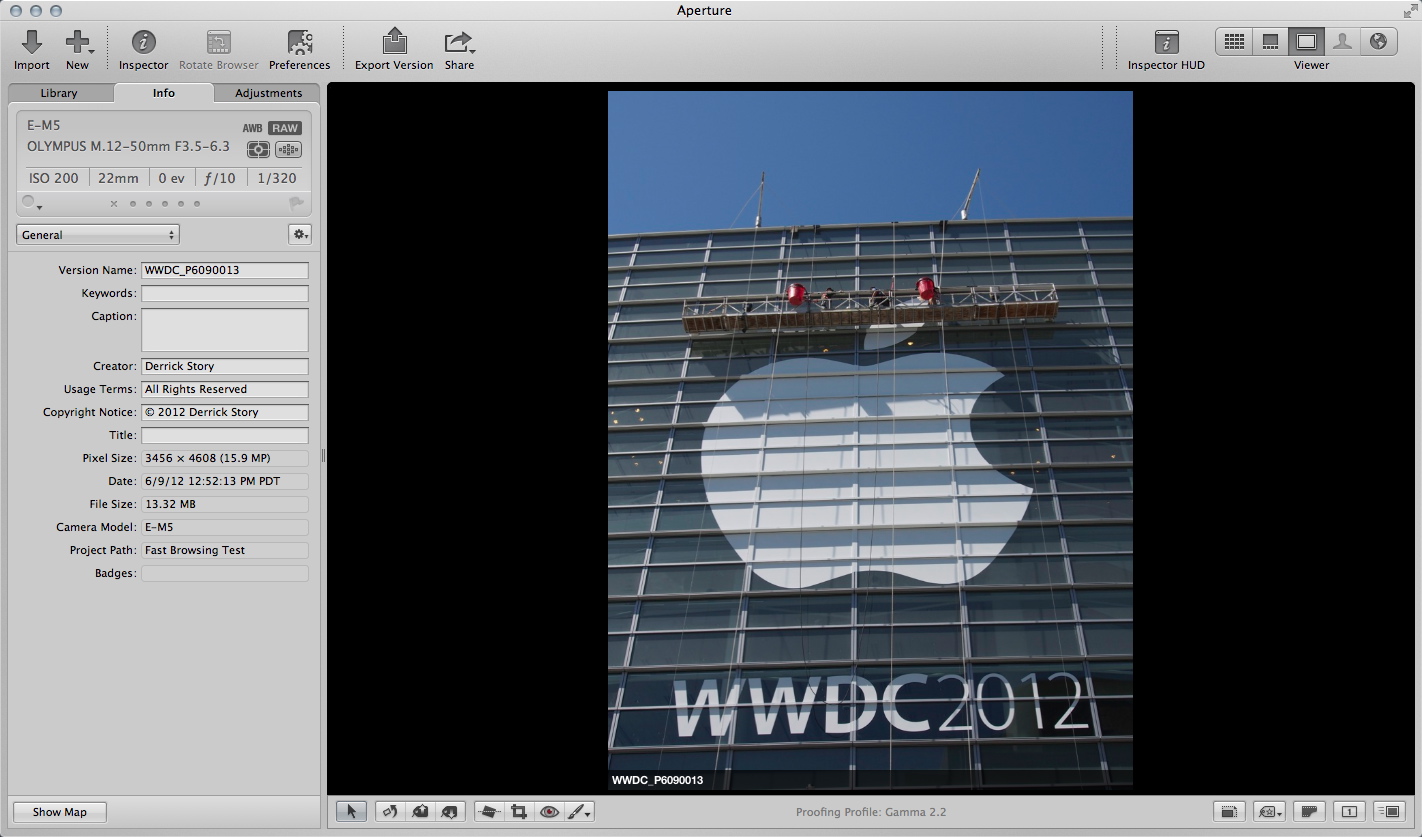
Apple continues to provide Raw updates for iPhoto, Preview, and Aperture. That means you can can process Raw files in your two-year-old application from the Nikon D4, Nikon D800, Canon 5D Mark III, and the Olympus OM-D. Your photo management app remains up to date without having to spend an additional dime. Maybe the people who should be complaining are the ones who have to spend big dollars updating their apps to access the Raw profiles from the latest models.

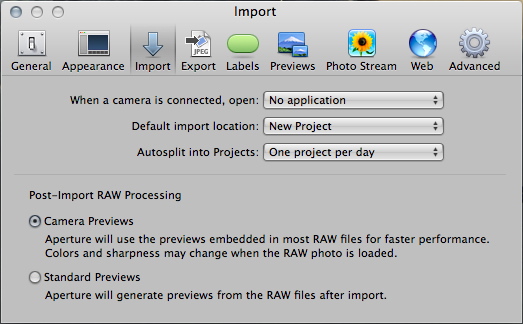
Consideration #2 - Dot Releases Still Being Released

My current version of Aperture is 3.2.4. Lots of minor fixes have been published over the last two years. Apple seems to be on top of its app maintenance.

Consideration #3 - MobileMe to iCloud Transition

Aperture 3 is tightly integrated with MobileMe, which is going away in a month. There's much to work out with iCloud integration, and Aperture 4 won't be released until that work is ready.

Consideration #4 - WWDC Announcements

Did you see all of the TBDs in the WWDC program? There are going to be many changes after June 11, 2012. Some of those will affect Aperture.

Consideration #5 - Mountain Lion

You can bet that Mountain Lion, the next release of Mac OS X, will have an impact on Aperture.

Unlike some other photo applications, Aperture doesn't live on its own. It's a component of the Mac OS X (and possibly iOS) ecosystem. So there are more levers to pull in between releases.

If you want to spruce up your Aperture life while you wait to see what appears around the bend, then I recommend you switch to a solid state drive in your Mac. That will certainly improve Aperture's performance until we find out what Apple has up its sleeve.

In the meantime, try not to worry. Everything is going to be just fine.

Aperture Tips and Techniques

To learn more about Aperture 3, check out my Aperture 3 Essential Training on Lynda.com. Also, take a look at our Aperture 3 Learning Center. Tons of free content about how to get the most out of Aperture.

My next open Aperture Workshop is scheduled for Nov. 2012, in Santa Rosa, CA. You can get on the pre-registration list, plus learn about all the other photography workshops offered this season by visiting the TDS Workshops page.


The Digital Story on Facebook -- discussion, outstanding images from the TDS community, and inside information. Join our celebration of great photography!


The ability to capture crisp images is a longstanding goal for most photographers. In this week's podcast, I review 5 basic "dos and don'ts" for getting sharp shots.

In the second segment of the show, I recap the recent TDS Action Photography Workshop. Our shoots at the motor sports raceway on the first day, and the hockey ice arena on the second, were both challenging and rewarding. I cover the highlights for those of you who couldn't attend.

And finally, Lowepro is running a Dream Bag Sweepstakes that could put a pro roller and other top gear in your hands. All of this and more on this week's podcast.

Listen to the Podcast

You can also download the podcast here (29 minutes). Or better yet, subscribe to the podcast in iTunes. You can support this podcast by purchasing the TDS iPhone App for only $2.99 from the Apple App Store.

Monthly Photo Assignment

Signs is the June 2012 Photo Assignment. You can read more about how to submit on our Member Participation page. Deadline for entry is June 30, 2012.

More Ways to Participate

Want to share photos and talk with other members in our virtual camera club? Check out our Flickr Public Group. And from those images, I choose the TDS Member Photo of the Day.

Podcast Sponsors

Red River Paper -- The $7.99 Sample Kit is back! And with free shipping.

Make Your Photos Sizzle with Color! -- SizzlPix is like High Definition TV for your photography.

Need a New Photo Bag? Check out the Lowepro Specialty Store on The Digital Story and use discount code LP20 to saven 20% at check out.


Technorati Tags:
, , , , ,


I've photographed a lot of junior sporting events, but 7-year-old boys playing hockey is one the best. Our workshop group had an appointment at Snoopy's Home Ice in Santa Rosa, CA. We were looking forward to the shoot, but I don't think any of us anticipated having as much fun as we did.

Going for the Goal

First of all, these kids are good. Skating is hard enough; managing a puck doubles the challenge. But they are also charming photo subjects. The trick is to capture the great shots as they happen.

On the Ice

For the second day in a row, I shot Jpeg instead of Raw. I knew I was going to need long frame sequences to capture the best images. I chose the 70-200 f/2.8 lens for its speed and reach, shooting with it wide open. To get clean color under the artificial lights, we used Expo Discs and the Custom White Balance setting. And finally, I pushed the ISO up to 3200 to provide me with decent shutter speeds.

Instruction

Sorting these shots was a joy. And when we shared them with each other during the closing presentation of the workshop, everyone had a smile on their face.

More images from this shoot can be seen in the TDS Flickr gallery.


The Digital Story on Facebook -- discussion, outstanding images from the TDS community, and inside information. Join our celebration of great photography!


One of the challenges we grappled with at the Sonoma Historic Motorsports Festival during the TDS Action Photography Workshop was how to show the speed of these beautiful cars.

Mustang Motor Sports How to get this type of shot? Slow shutter speed, panning, and a little luck to capture this Mustang in motion. Photo by Derrick Story. To see more images from the racetrack, visit the TDS Flicker Gallery.

As we reviewed the results from the day, the winning combination was often slower shutter speeds combined with good panning technique. Although this seems counterintuitive to normal action photography with a long telephoto lens, the results can be very exciting.

mustang_metadata.jpg

"It seems foolish until you see it work," commented Carl Short. "If you want to convey the motion of motor sports, you have to find a way to show it," added Rohith Thumati.

We had great access at the speedway, and across the board, everyone in the workshop produced terrific images. "You have to allow the motion to happen," added Brad Parrett.

I couldn't agree more.

To see more images from the racetrack, visit the TDS Flicker Gallery.


The Digital Story on Facebook -- discussion, outstanding images from the TDS community, and inside information. Join our celebration of great photography!


For the April 2012 Photo Assignment, TDS shooters got "up close and personal" with their subjects. See for yourself how the world changes with a tight perspective in our gallery, Macro. And which one will be the SizzlPix Pick of the Month?

hamish_carpenter_macro.jpg

Photo by Hamish Carpenter. "I recently purchased the Canon 100mm f2.8L Macro lens and this assignment gave me an excuse to get out and do some experimenting. For this photo, I set up a standard cheese grater on a table with a towel underneath and placed a colored gel on a speedlight to get this effect. Mild effects were added in Color Efex Pro4. I think it came out pretty well. I look forward to spending more time finding new objects to shoot with this lens - it is amazing!" To see all of the other terrific shots from April, visit the Macro gallery page.


Participate in This Month's Assignment

The June 2012 assignment is "Signs." Details can be found on the Member Participation page. Deadline is June 30, 2012.

Please follow the instructions carefully for labeling the subject line of the email for your submission. It's easy to lose these in the pile of mail if not labeled correctly. For example, the subject line for this month's assignment should be: "Photo Assignment: June 2012." Also, if you can, please don't strip out the metadata. And feel free to add any IPTC data you wish (These fields in particular: Caption, Credit, Copyright, Byline), I use that for the caption info.

Good luck with your June assignment, and congratulations to all of the fine contributors for April.


twitter.jpg Follow me on Twitter

-


Now Available! The Digital Photography Companion. The official guide for The Digital Story Virtual Camera Club.

  • 25 handy and informative tables for quick reference.
  • Metadata listings for every photo in the book
  • Dedicated chapter on making printing easy.
  • Photo management software guide.
  • Many, many inside tips gleaned from years of experience.
  • Comprehensive (214 pages), yet fits easily in camera bag.

Technorati Tags: , ,

lowepro_sweepstakes.jpg

Lowepro launched a sweepstakes with some very tempting prizes, including a Pro Roller Lite 250AW($295 street price), Pro Trekker 300 AW($289 street price), Photo Sport 200 AW Backpack($149 street price), and more.

To throw your lens cap in the ring for a chance to win one of these great bags, enter here. It's easy. Takes about 15 seconds.


The Digital Story on Facebook -- discussion, outstanding images from the TDS community, and inside information. Join our celebration of great photography!


Know How to Shoot Sharp

A sharp image gives us more detail. And sometimes it's the details that separate a decent shot from a terrific one. So here are a handful of tips to keep in mind to help you sharpen up your shots.

sphere_in_sun.jpg Even a simple shot, such as this sphere, becomes more interesting when you can see the detail in its surface.

Start with the Basics

I read a article at photojojo.com titled, Get Sharp Photos with These Easy Tricks. There's some good stuff there, including bracing yourself against a solid surface during exposure and using various types of tripods. (I didn't agree, however, with their take on post production sharpening. More on that later.) Bottom line here is that good camera technique often leads to crisper images.

Make sure that you're focusing on the most important area of the image, and that it's locked there when you press the shutter button. Pay attention to how you you hold the camera. The one-handed grab shot while leaning out the car window probably won't get you a detailed image. Instead, when possible, use your body as a stable platform for the camera.

Know Your Lens

Practically every DSLR lens on the planet has been lab tested by an independent source. Those are worth looking at for your glass. Pay attention to the aperture settings that provide the sharpest results. Often it's in the middle of the range, such as f/5.6, 8 and 11. Keep those in mind when detail is an important factor for the image.

Don't Depend on Post Production Sharpening

Using sharpening in post production can give the illusion of a better focused image, but it doesn't fix the focusing or camera shake problem itself. Basically, most good sharpening filters increase edge contrast at the pixel level. Sharpening is great as a finishing touch, but the real work happens at capture. So make sure you use good camera technique to record a detailed image, then sharpen to taste in post. And when you do, use a high quality filter such as Unsharp Mask, Smart Sharpen, or Edge Sharpen. General rule of thumb is, if the filter just says, "sharpen," stay away from it.

High Quality Jpegs or Raw

Check your camera settings to make sure you're capturing at the highest quality Jpeg option, or use Raw. You want to hang on to as much image detail as possible when you take the shot.

Invest in Good Glass

The quality of the optics attached to the camera makes a difference. Not every lens in your camera bag has to be top-notch pro glass. But it does pay to have one or two razor sharp lenses in your kit for those images that require lots of detail.

Use Sharp Against Soft Technique

By carefully focusing on the object that you want to render with great detail, then opening up the aperture to limit the depth of field, you can create an image that has a sharp object against a "soft" background. By doing so, your foreground image will really pop.

Sharpness Isn't Everything

When you want a crisp image, you need to know how to capture it. But every shot doesn't have to be razor sharp. Use the right technique for the photo. Elderly subjects, for example, might appreciate a softer approach to their portraits.


The Digital Story on Facebook -- discussion, outstanding images from the TDS community, and inside information. Join our celebration of great photography!


Apple's iPhoto for iOS is a terrific app, but you can easily run aground if you want to move your best shots from the mobile device to a Mac. Photo Stream can get you moving again if you use this simple workflow.

share_iphoto_ipad.png In iPhoto for iOS, copy your best images to the Camera Roll using the Share button.

On my Mac, I use Aperture as my primary photo database. That allows me to let iPhoto manage my Photo Stream. (So, I have Photo Stream *turned off* for Aperture, and have it *turned on* for iPhoto.) Using this setup, any image copied to my Camera Roll on the iPhone or iPad automatically is available on the Mac via iPhoto. It just shows up. That allows me to separate the gems from the failures in an organized photo management environment.

This system can be put to work for a semi-automatic iPhoto for iOS to Mac connection. Once I work on the shot in iPhoto for iOS and decide that I want to move it to my Mac, I tap the share button in iPhoto for iOS and copy the image to my Camera Roll.

Within a minute or so, the picture shows up in iPhoto on my Mac. Now, I can catalog it there, if iPhoto has become my dedicated mobile photography manager, or I can move it to Aperture, Lightroom, or any other system I already have in place.

This integration will improve up the road with new software and operating system releases. But for now, you can manage the images you work on in iPhoto for iOS without making yourself crazy in the process.


The Digital Story on Facebook -- discussion, outstanding images from the TDS community, and inside information. Join our celebration of great photography!


Adobe Photoshop CS6 recently debuted with new features such as non-destructive cropping, Adaptive Wide Angle adjustments, enhanced video tools, and so much more. We thought it would be a great to find out from Bryan Hughes the inside scoop on these features. Why Bryan? Well, he's a photographer and the Photoshop Product Manager -- the perfect guy for our audience.

After the interview, I switch gears and talk a bit about the latest time lapse movie I recorded with iStopMotion for iPad, titled TWiG in 60 Seconds. This time, I also used a Losmandy StarLapse system so I could add panning shots to the video. I explain all during this segment of the show. Plenty of food for thought. I hope you enjoy it.

Listen to the Podcast

You can also download the podcast here (40 minutes). Or better yet, subscribe to the podcast in iTunes. You can support this podcast by purchasing the TDS iPhone App for only $2.99 from the Apple App Store.

Monthly Photo Assignment

Action is the May 2012 Photo Assignment. You can read more about how to submit on our Member Participation page. Deadline for entry is May 31, 2012.

More Ways to Participate

Want to share photos and talk with other members in our virtual camera club? Check out our Flickr Public Group. And from those images, I choose the TDS Member Photo of the Day.

Podcast Sponsors

Red River Paper -- The $7.99 Sample Kit is back! And with free shipping.

Make Your Photos Sizzle with Color! -- SizzlPix is like High Definition TV for your photography.

Need a New Photo Bag? Check out the Lowepro Specialty Store on The Digital Story and use discount code LP20 to saven 20% at check out.


Technorati Tags:
, , , , ,