This is The Digital Story Podcast #621, Feb. 6, 2018. Today's theme is "Using Lightroom for Time-Lapse Photography" I'm Derrick Story.
Opening Monologue
One of the joys of mirrorless photography is that the cameras typically have an extensive feature set, including an interval timer for time-lapse photography. But, once we've captured the frames, what's an easy way to render the movie? Did you know that Lightroom can handle it? It can, and I explain how in today's TDS photography podcast.
Using Lightroom for Time-Lapse Photography
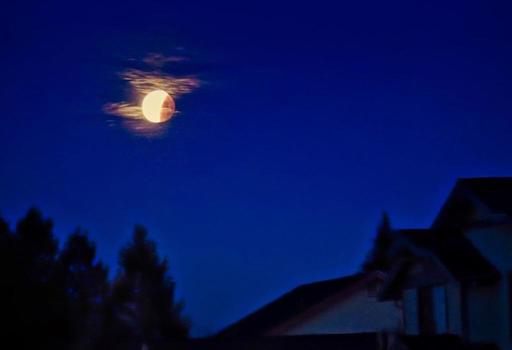
On my Olympus cameras, if I go to the bottom of Camera Menu 1, I can set up an interval program to capture thousands of frames over a period of time. Also, using the Cascable app's Shutter Robot, I can also set up a time-lapse program. And after a few hours, I have thousands of images on my memory card.
But then what? I wanted to find an easy way to render an HD movie from those pictures, have the ability to manage and edit the frames, use software that worked on both platforms, and didn't cost me anything more than what I've already invested in my gear. The solution that surfaced: Lightroom Classic CC.
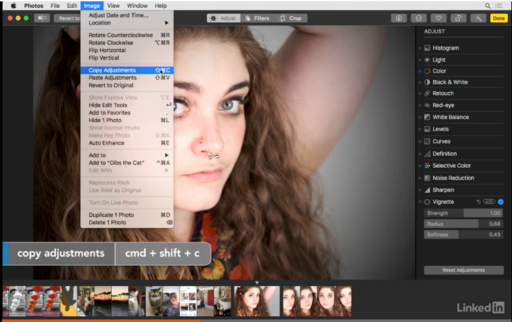
The only missing ingredient is a set of templates that you can download for free via an article on the Adobe blog titled, To the fast lane of time-lapse with Photoshop Lightroom.
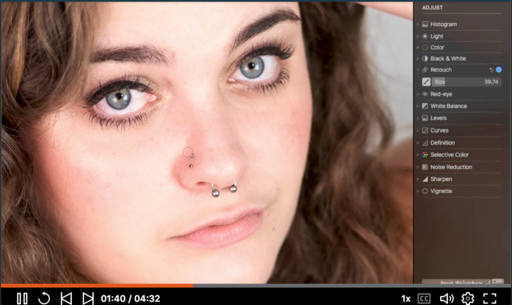
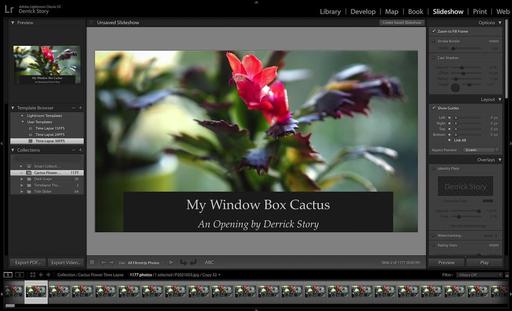
Once you have the templates installed in the Slideshow module, you can take all those frames you've captured and convert them into an HD movie.
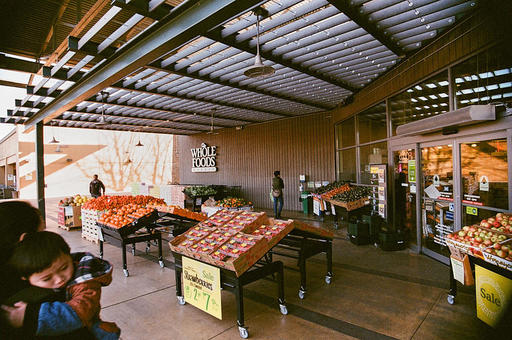
If you want to see the time lapse that I created, you can watch it here.
I've also published a 16-minute video tutorial for our Inner Circle Members that walks you through all the steps. After watching that, you'll be ready to create your own time-lapse movie with Lightroom.
New! TheFilmCameraProject on Instagram
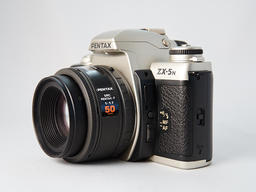
I've started a new Instagram feed just for film camera lovers. It's called TheFilmCameraProject, and it's for those who appreciate the beauty of analog SLRs.
And to celebrate the launch, I'm giving away one Pentax SLR and lens to one lucky follower of TheFilmCameraProject. All you have to do is follow the feed by Feb. 28, 2018. I'll then do a random drawing and announce the winner on the March 6 podcast. Join in the fun, and get to admire some really beautiful camera along the way.
Layers in Capture One Pro 11
We have our first Nimble Class this coming Saturday, Layers in Capture One Pro 11.
The headline new feature in Capture One Pro 11 is the redesigned layers area for localized editing. In this classroom, Derrick Story shows you best practices for working with layers in Capture One Pro 11. Class participants may submit their unique questions before class, allowing Derrick to incorporate that content into his teaching. And there will be live Q&A sessions throughout the course.
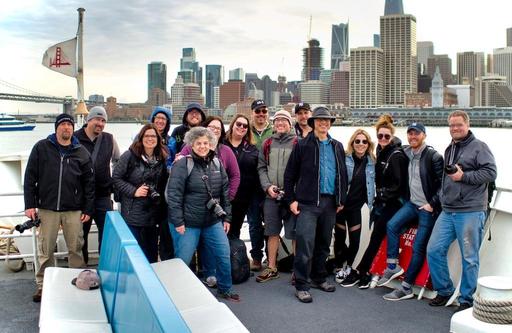
The San Francisco Street Photography Workshop Update
Reservation forms have been sent to Reserve List members. If you signed up on the Reserve List, but didn't receive an invite, please email me.
San Francisco Street Photography - April 26-28, 2018 - We'll work entirely on location in San Francisco. Our hotel in picturesque Union Square will serve as our headquarters during the event. No rental car will be necessary. We'll explore the City's hidden treasures and capture them through our lenses. As always, we're adding new shooting locations again this year, including twilight assignments. This is San Francisco like you've never seen it before. And as a bonus, Olympus Visionary Mike Boening will be joining the teaching staff and leading sessions on street shooting and night photography. Two instructors, three days, and all for just $695. (That's right, it's 3 full days in one of the most photogenic cities in the U.S.)
Updates and Such
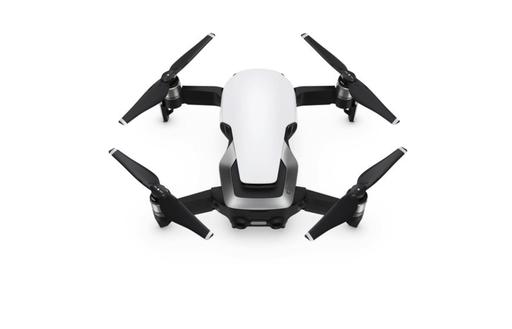
I now have the dates for the Sonoma Country Hot Air Balloon and Drone Photography Workshop, June 8-10, 2018. We're combining two very fun aerial activities into one workshop. Be sure to get on the Reserve List for this one!
The latest training videos posted for our Inner Circle members are processing aerial photographs in Luminar and using Lightroom for time-lapse photography.
You can become a member of our Inner Circle by clicking on this link or by clicking on the Patreon tile that's on every page of The Digital Story.
B&H and Amazon tiles on www.thedigitalstory. If you click on them first, you're helping to support this podcast. And speaking of supporting this show, and big thanks to our Patreon Inner Circle members:
And finally, be sure to visit our friends at Red River Paper for all of your inkjet supply needs.
See you next week!
More Ways to Participate
Want to share photos and talk with other members in our virtual camera club? Check out our Flickr Public Group. And from those images, I choose the TDS Member Photo of the Day.
Podcast Sponsors
Videoblocks - Go to videoblocks.com/digitalstory to get all the stock video, audio, and images that you can imagine for just $149. Save on millions of studio-quality clips, tracks, and graphics.
Red River Paper - Keep up with the world of inkjet printing, and win free paper, by liking Red River Paper on Facebook.
The Nimbleosity Report
Do you want to keep up with the best content from The Digital Story and The Nimble Photographer? Sign up for The Nimbleosity Report, and receive highlights twice-a-month in a single page newsletter. Be a part of our community!
Want to Comment on this Post?
You can share your thoughts at the TDS Facebook page, where I'll post this story for discussion.