Our digital cameras capture video, YouTube is a great way to share it -- how do we get from point A to point B as quickly as possible? With QuickTime X.
QuickTime X is the slightly controversial player that shipped with Snow Leopard. Some people like this new streamlined viewer, others prefer (and keep using) QuickTime 7 because of its handy toolset. For this workflow, all you'll need is QuickTime X. It handles trimming just fine, and it does a great job of optimizing your large movie files for YouTube. Then, it actually manages the entire publishing process. If you share your work on YouTube, these features alone make QuickTime X worth hanging on to.
The Fast Workflow
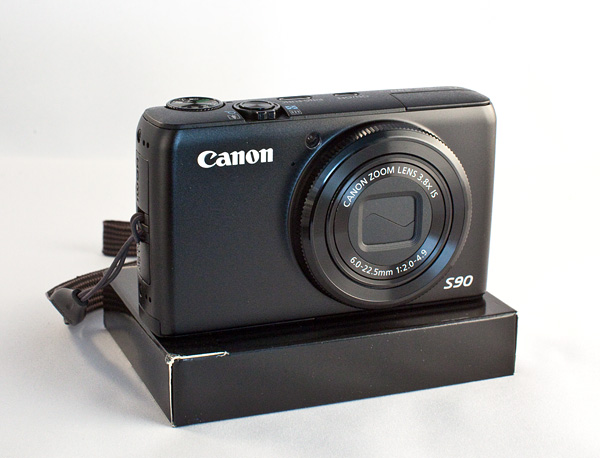
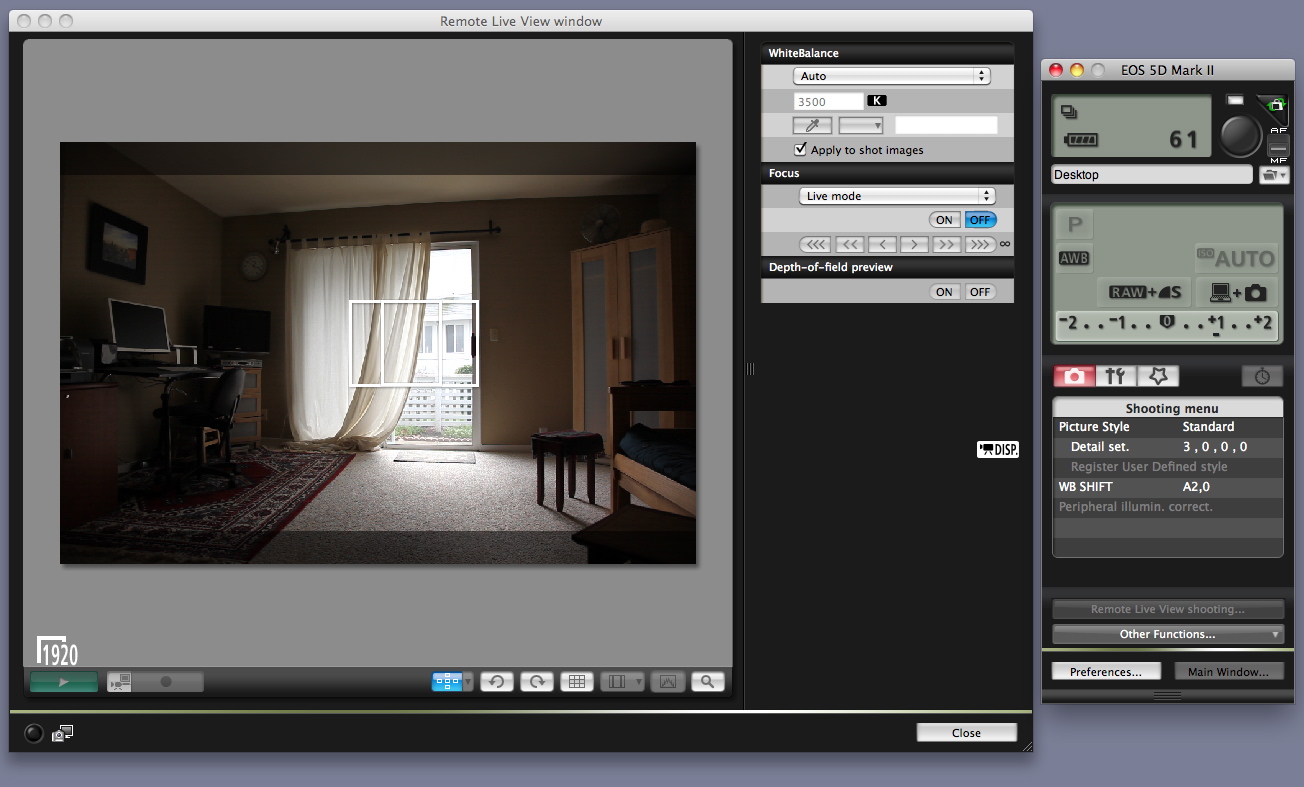
This process is almost as simple as 1-2-3. First, capture your movie. For this movie, I used a Canon 5D Mark II at the PMA trade show that featured brutal lighting and lots of ambient noise in the expo hall. By using a custom white balance setting and an external lapel mic, I was able to record usable 1920x1080 video. Great to have a high definition master, but way too much resolution for YouTube. We'll get to that in a moment.
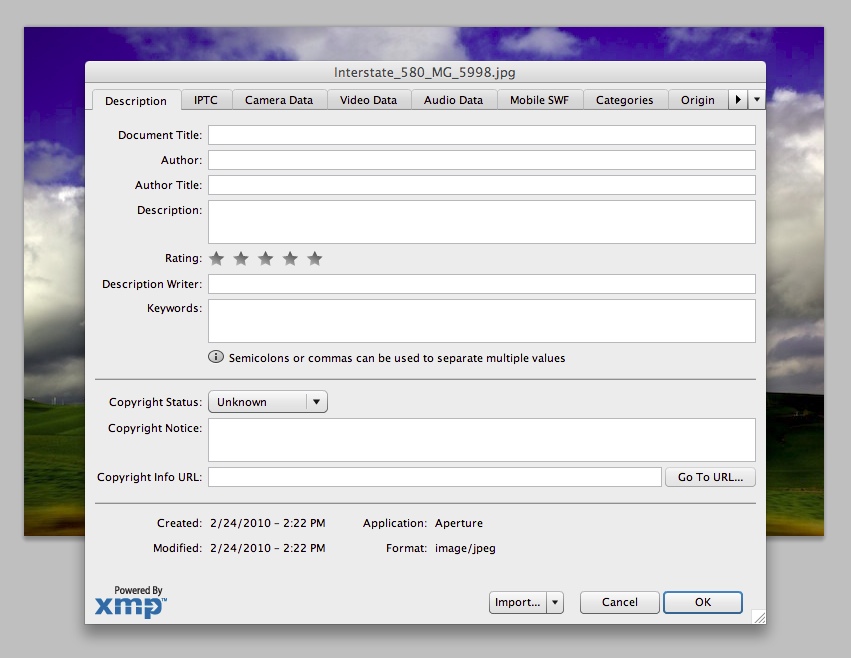
Next, open your movie in QuickTime X and trim off the yucky ends. Just go to Edit > Trim, and you get the now familiar yellow trim guides.
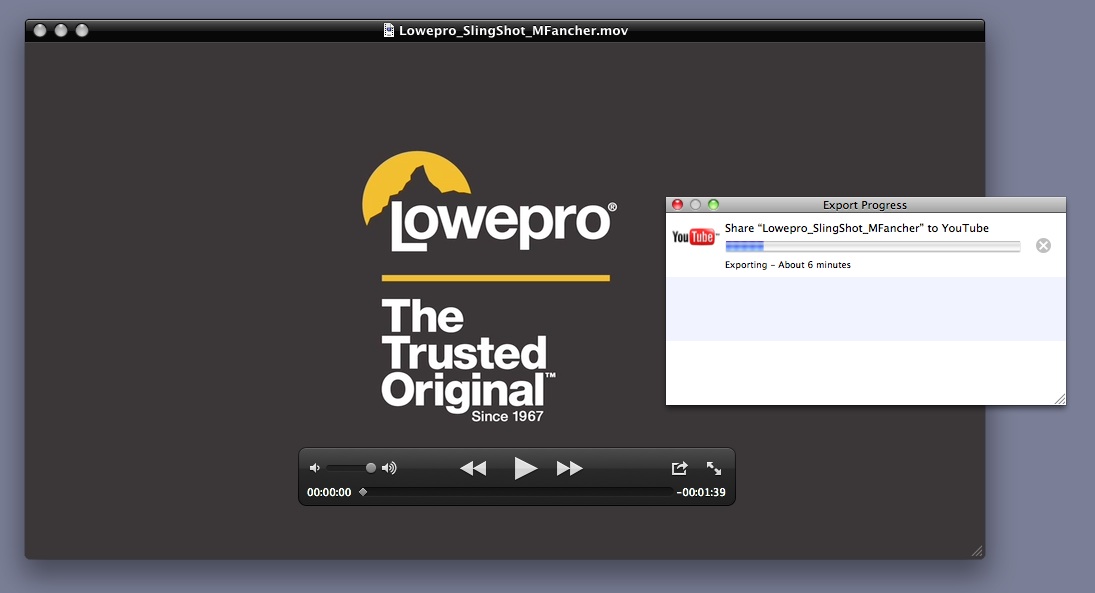
Finally, publish your movie. Go to Share > YouTube. Log in to YouTube, fill out the description and other basic metadata, then upload your work without ever leaving the player application. QuickTime X will take that gigantic movie, sample it down to the standard 360p/480p resolution, and place it right there in your account next to your other great works of art.
When you need to turn video around quickly, QuickTime X does a great job.

Did you know that you can listen to audio versions of daily TDS posts on The Digital Story Podcast App? Just tap the Extras button, and the current post will be there for the listening.
-