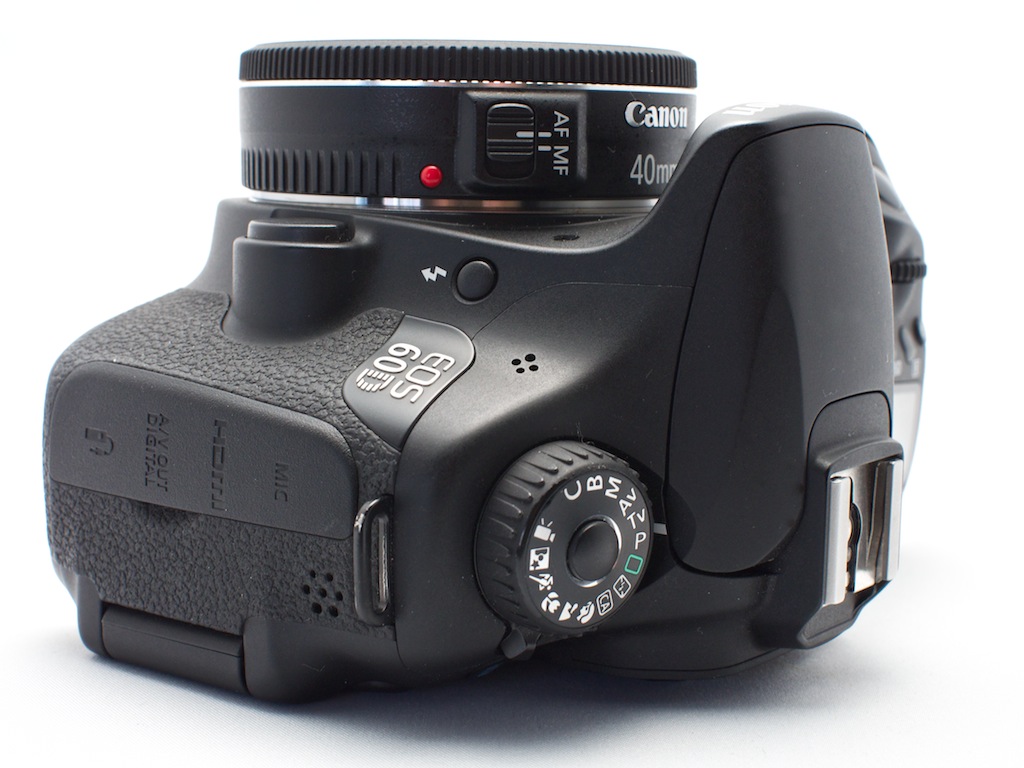
To 40mm or not? Canon's $199 40mm f/2.8 pancake lens seemed like a no-brainer to me. But some in our audience weren't impressed. I start out the show explaining why I think this little prime is just flat out fun.
Metadata-Smetadata: despite the adolescent title, I think adding IPTC information to your photos before releasing them into the wild is important. And I say why in the second segment.
SizzlPix 20" test from an iPhone 4S photo. I sent in an iPhone picture and got back a 20x15 inch SizzlPix. How did it look? All of this and more in this week's episode.
Listen to the Podcast
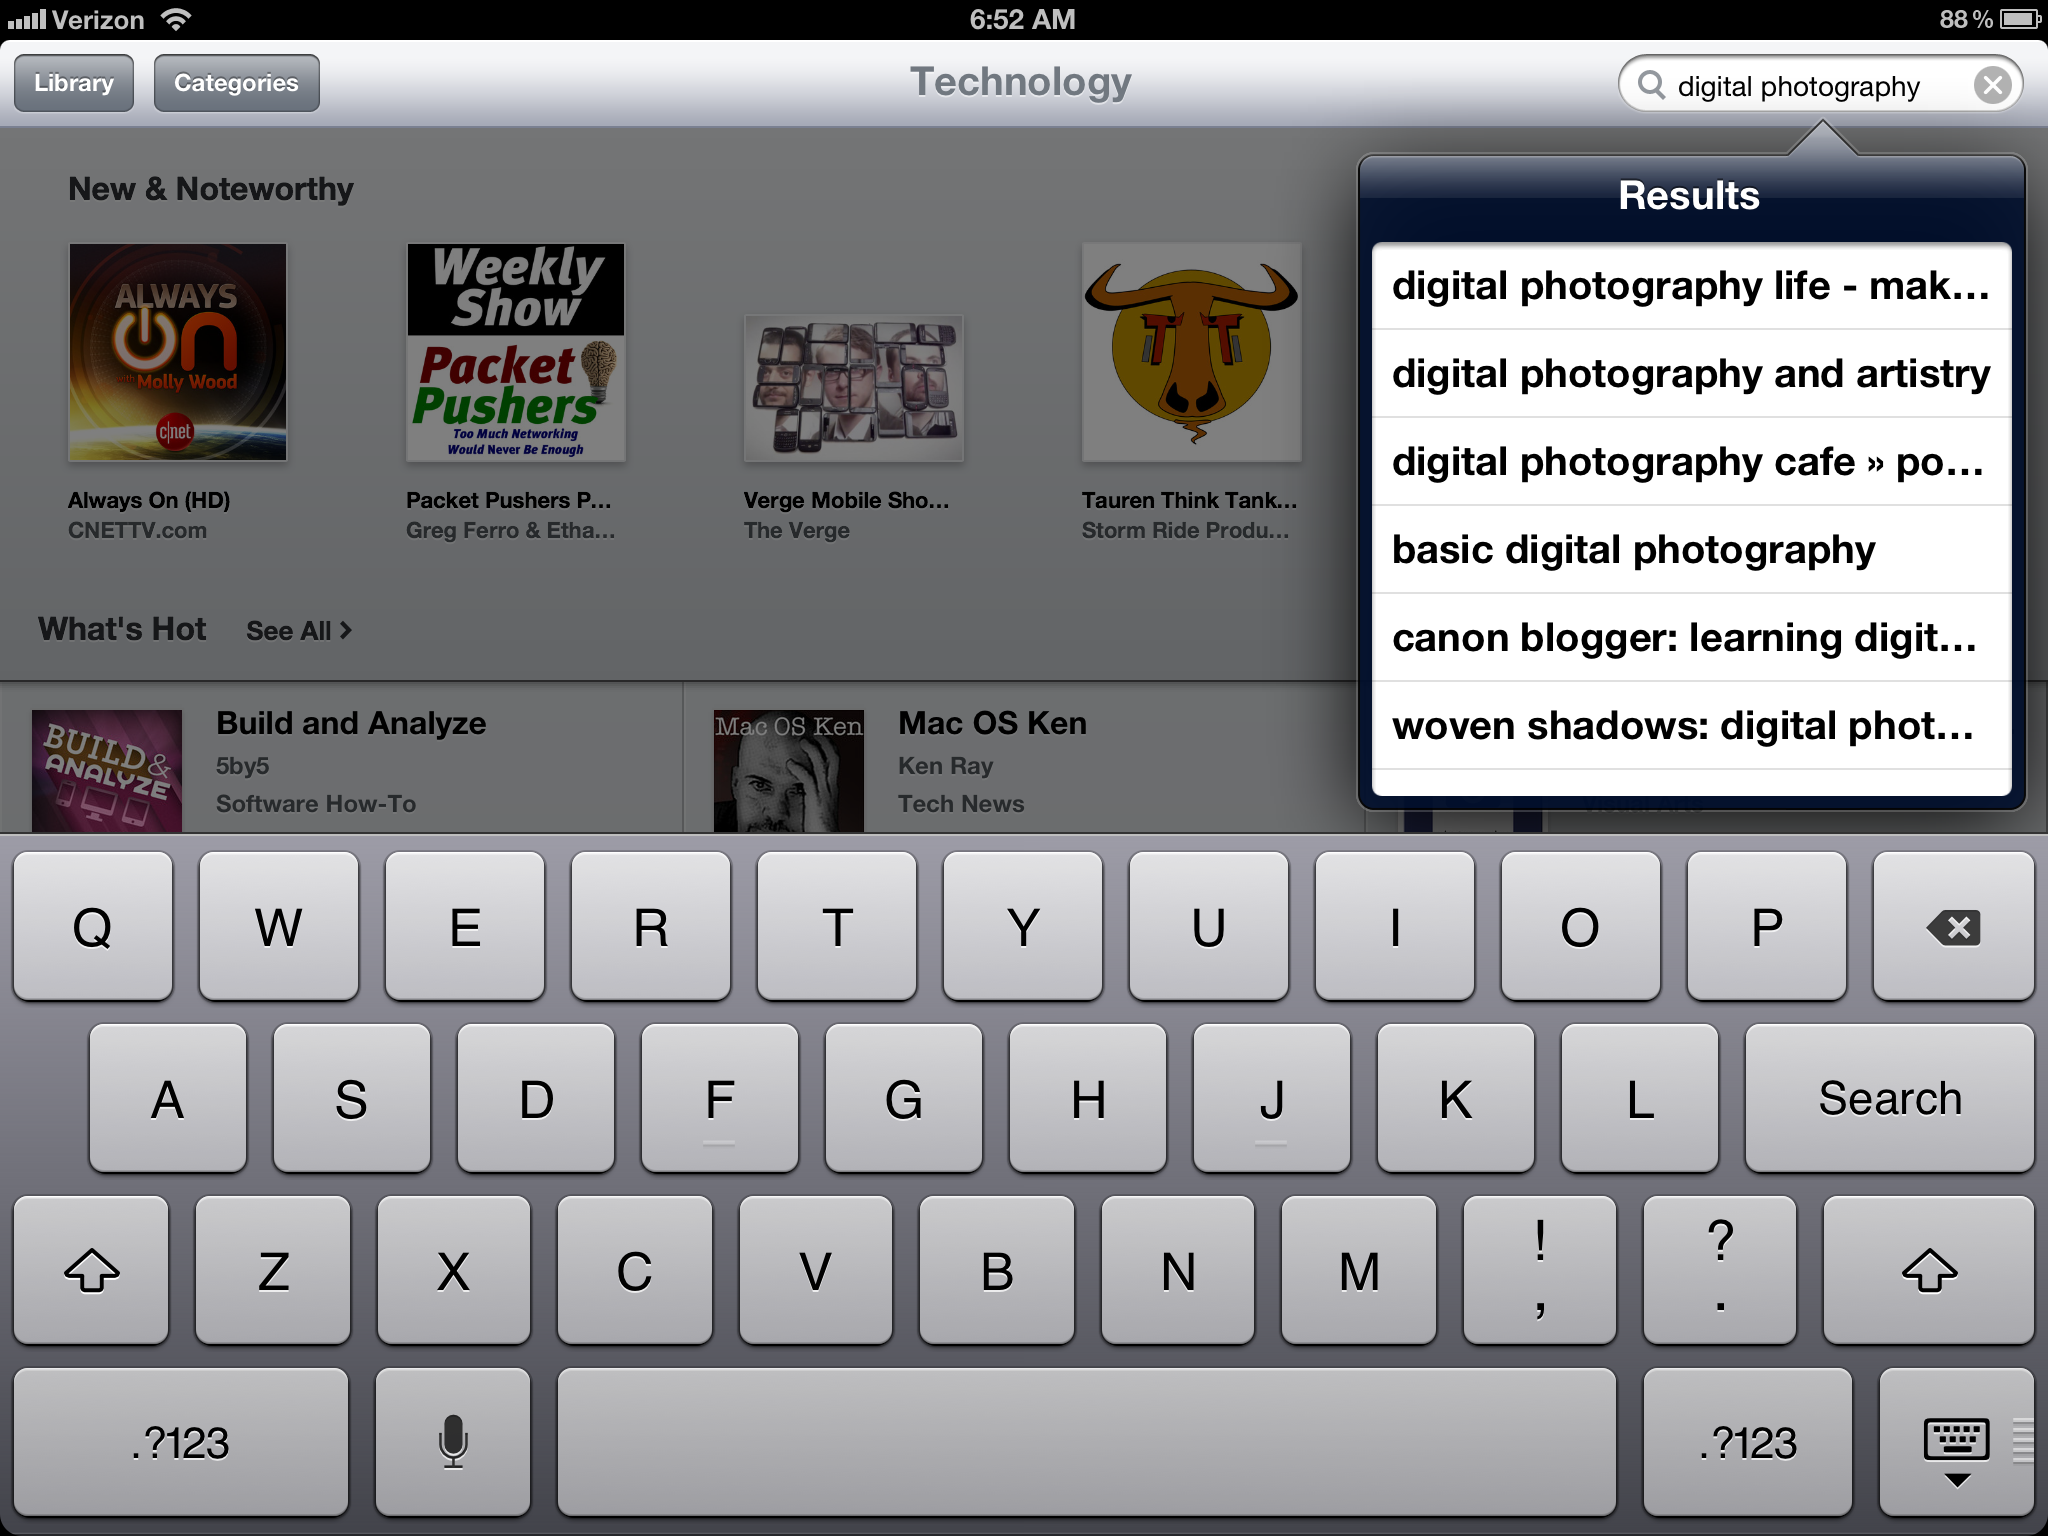
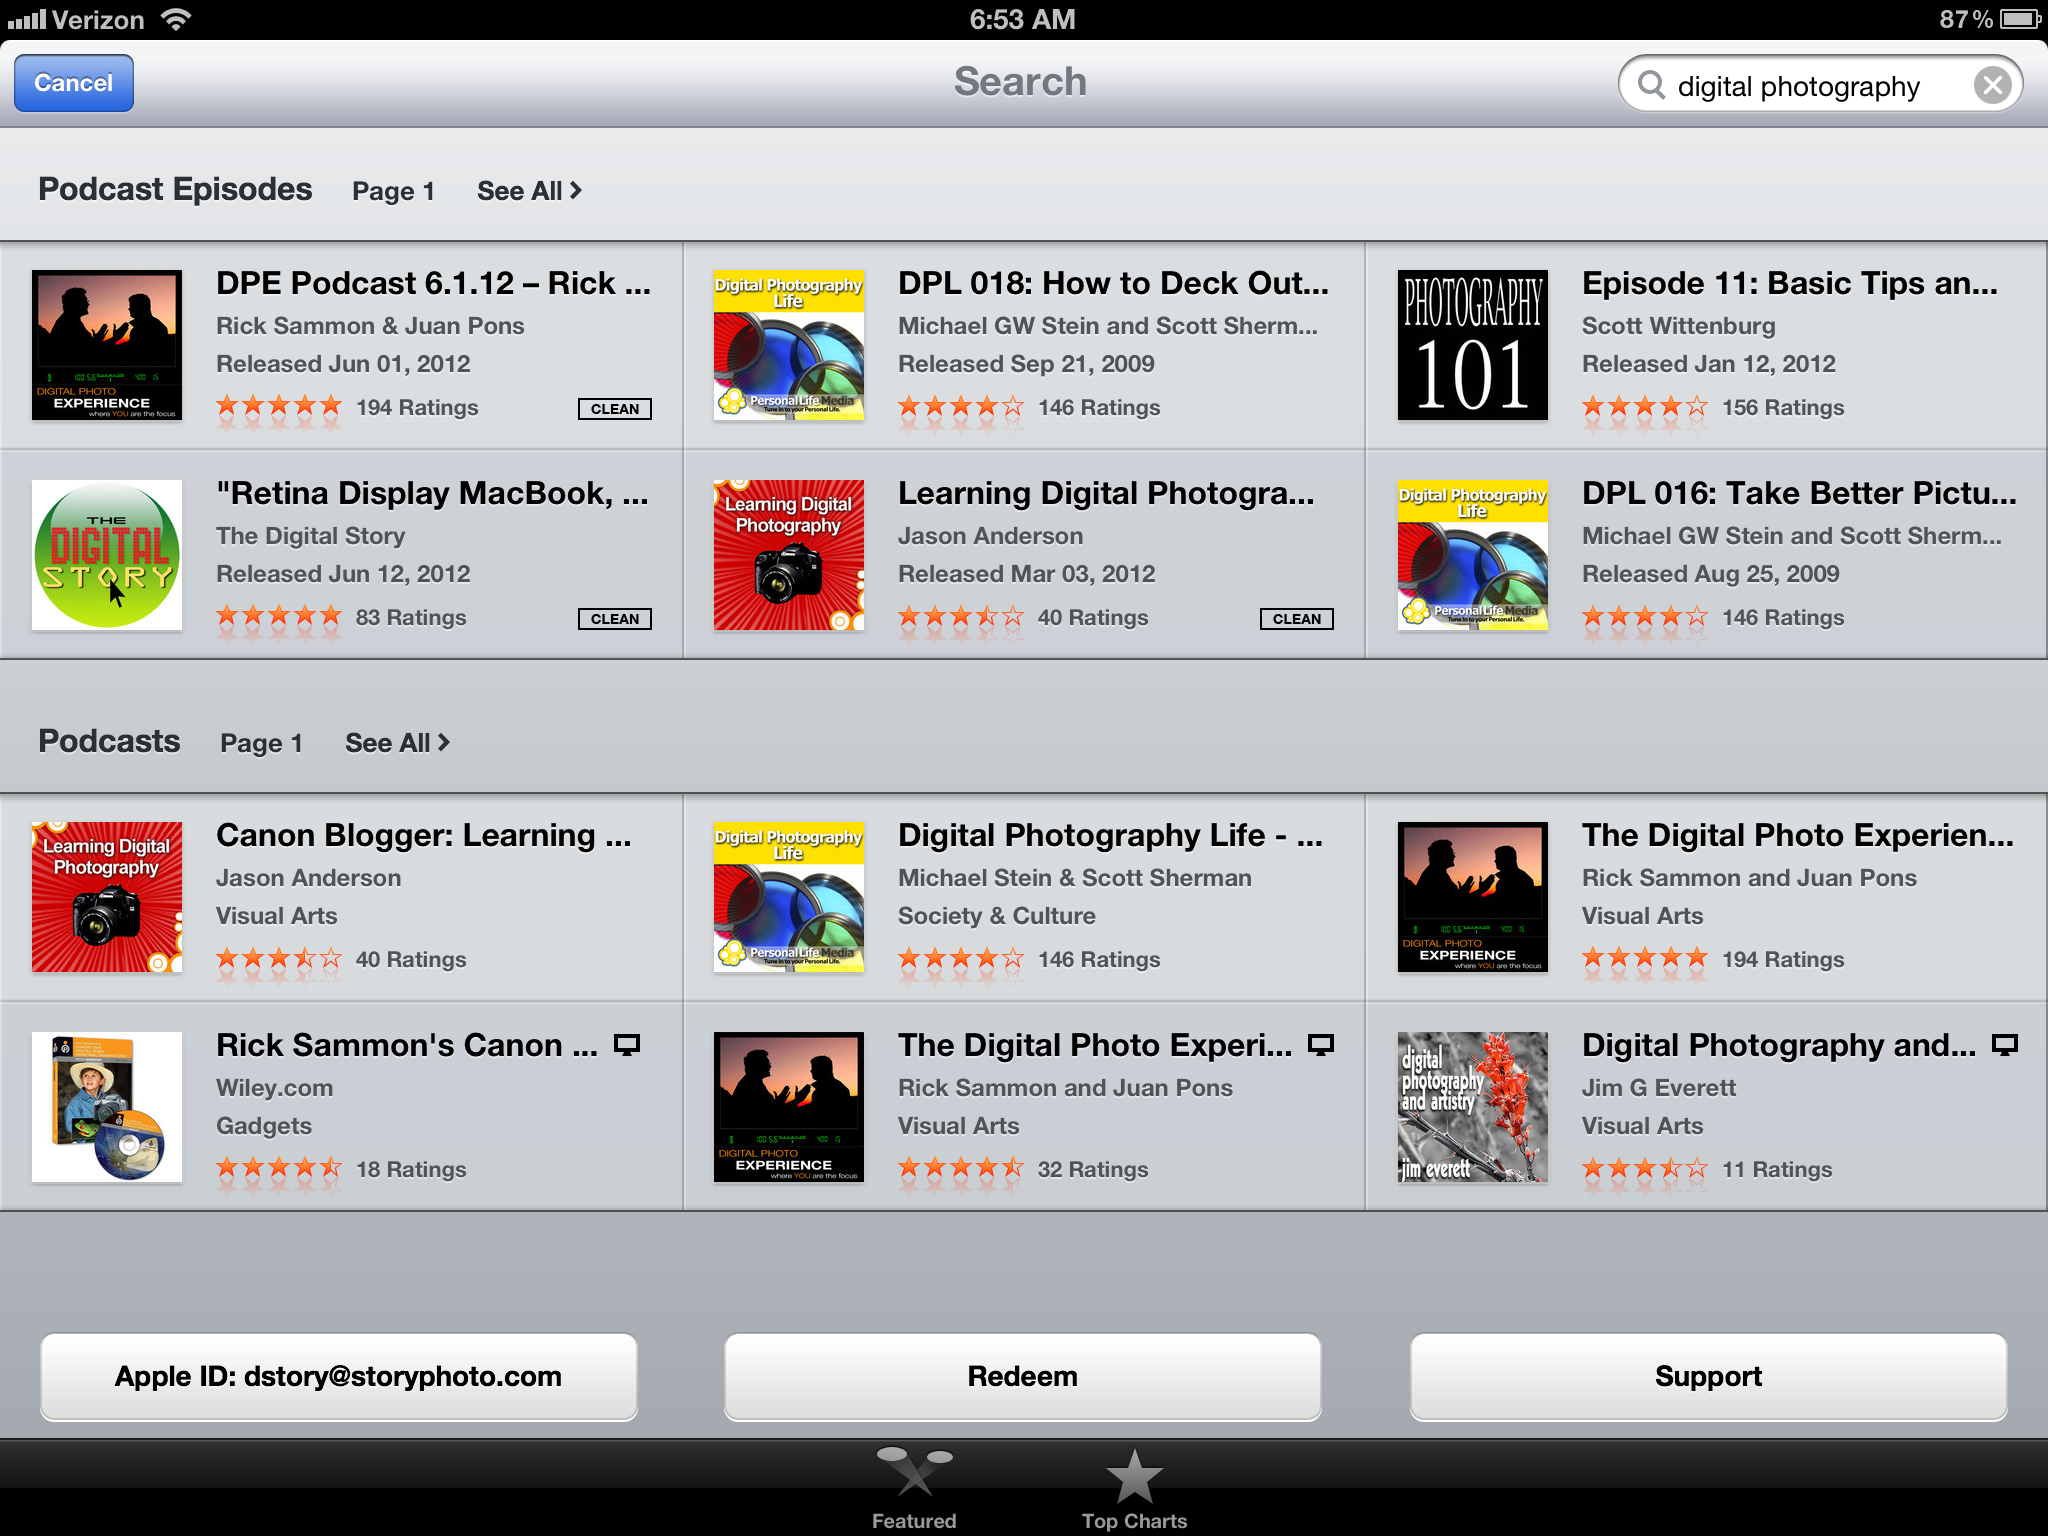
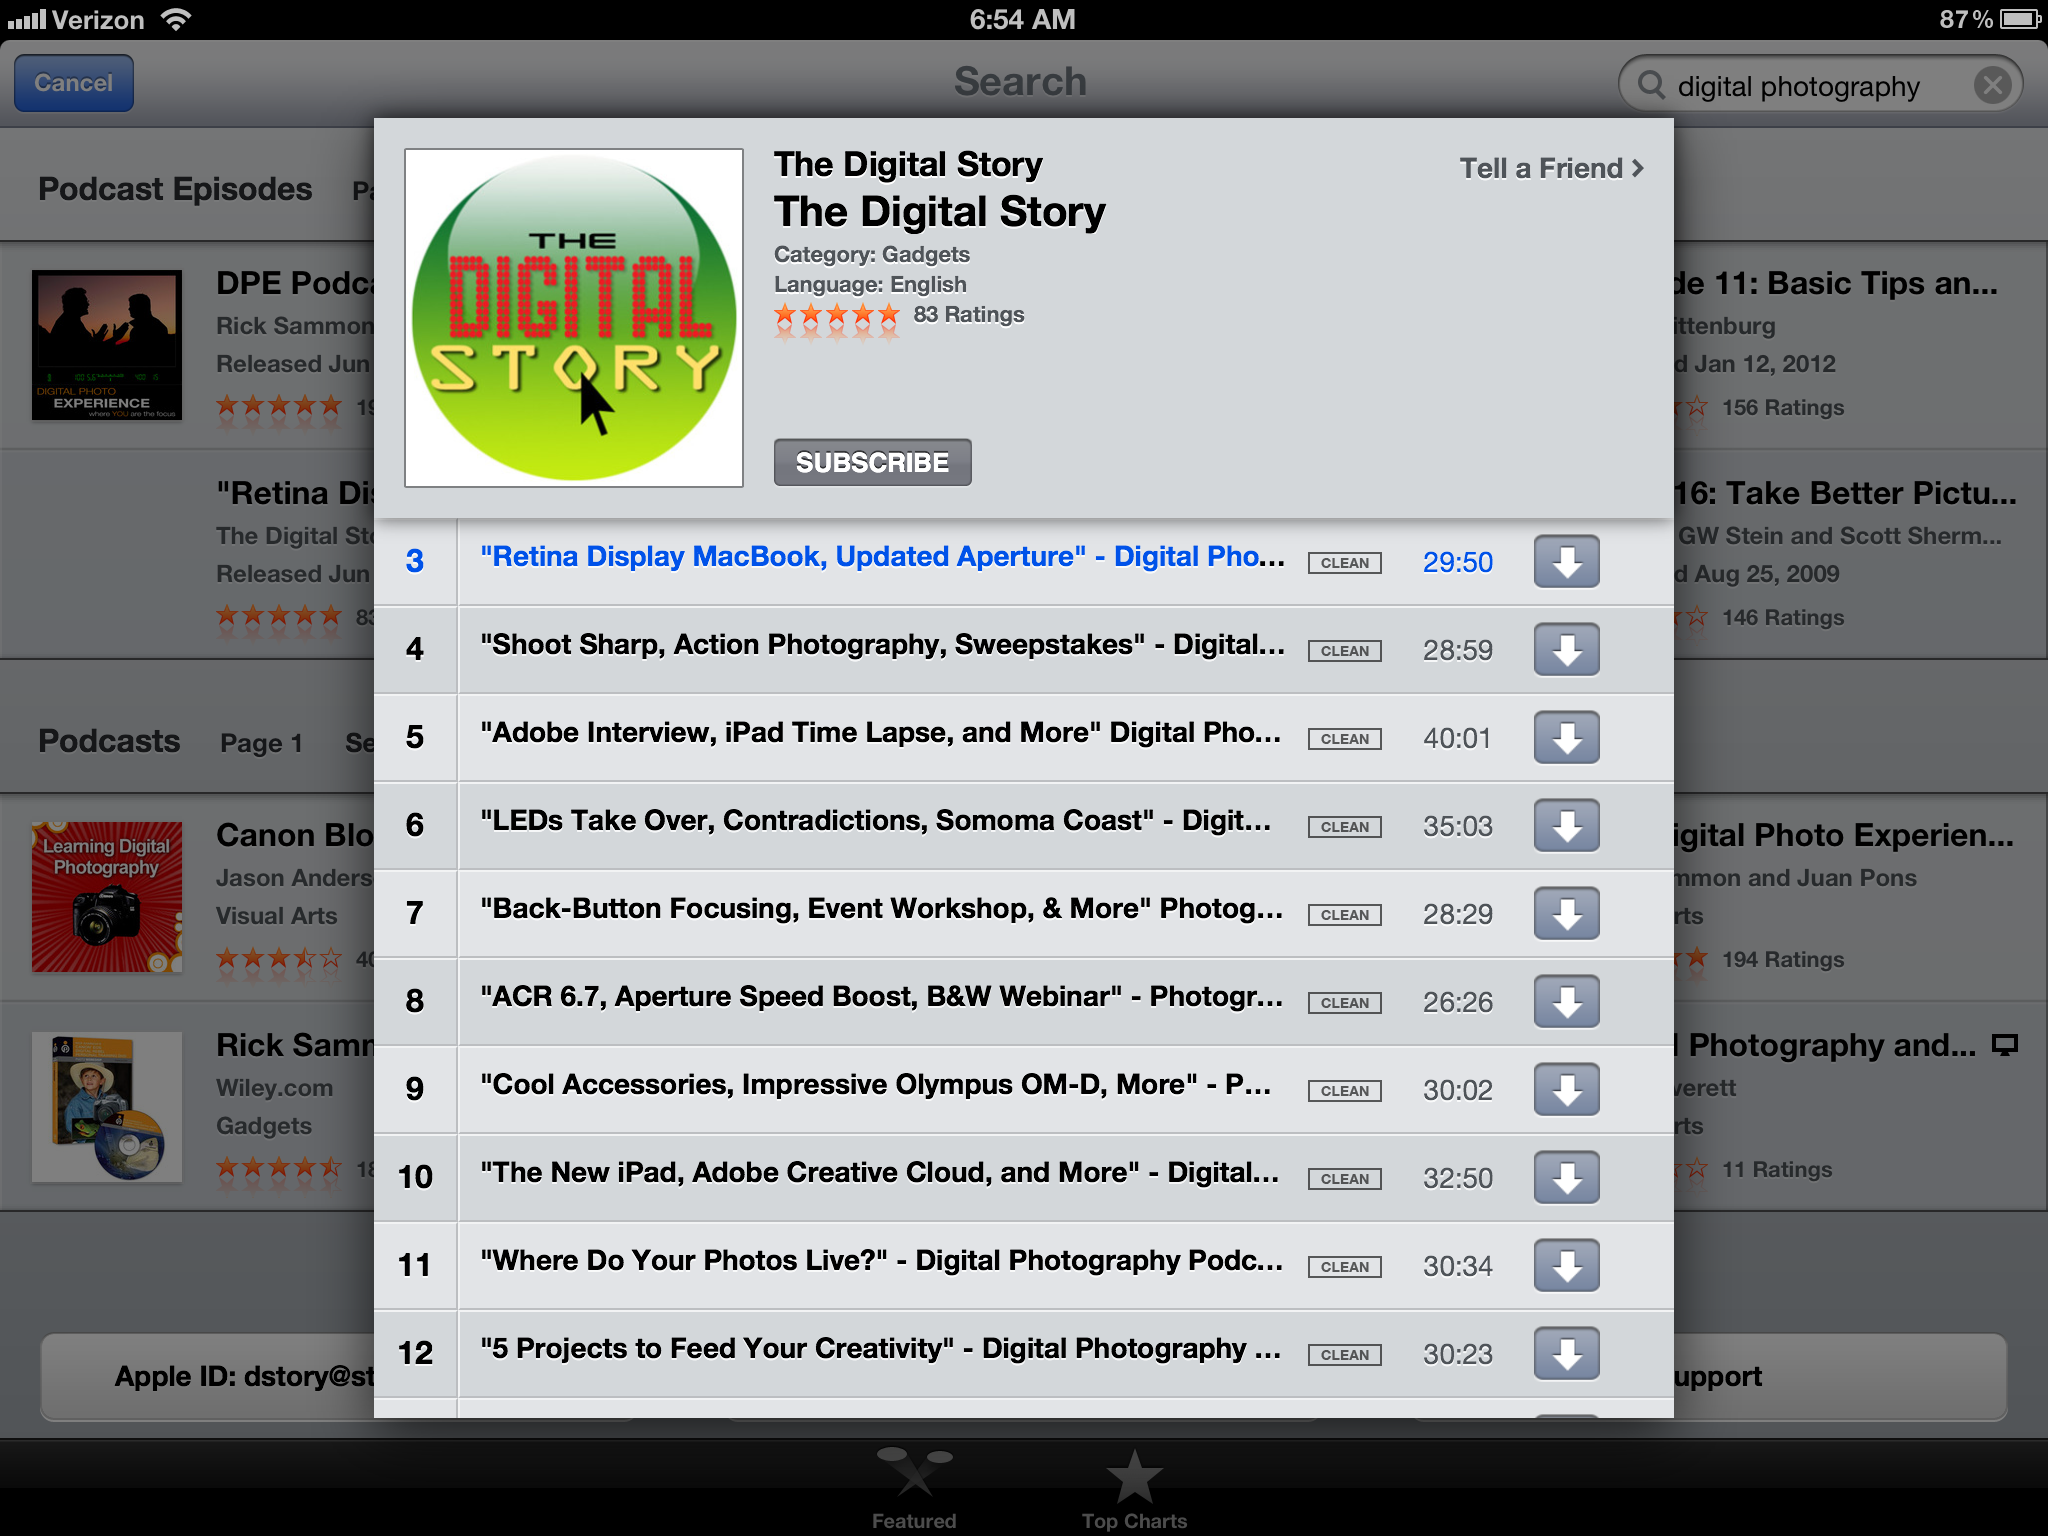
You can also download the podcast here (27 minutes). Or better yet, subscribe to the podcast in iTunes. You can support this podcast by purchasing the TDS iPhone App for only $2.99 from the Apple App Store.
Monthly Photo Assignment
Hot is the July 2012 Photo Assignment. You can read more about how to submit on our Member Participation page. Deadline for entry is July 31, 2012.
More Ways to Participate
Want to share photos and talk with other members in our virtual camera club? Check out our Flickr Public Group. And from those images, I choose the TDS Member Photo of the Day.
Podcast Sponsors
Red River Paper -- The $7.99 Sample Kit is back! And with free shipping.
Make Your Photos Sizzle with Color! -- SizzlPix is like High Definition TV for your photography. Get a 20% discount during July by adding "TDS" in the comment field of your order.
Need a New Photo Bag? Check out the Lowepro Specialty Store on The Digital Story and use discount code LP20 to saven 20% at check out.
Technorati Tags:
digital photography, podcast, technique, Technology, The Digital Story, tips