This week on The Digital Story Photography Podcast: Hands On with the Yongnuo 35mm f-2.0 lens for Canon, Olympus Camera Grip ECG-2 with Built-In Arca Swiss Plate, SF Street Shooting Workshop Notes, Compositing Photos on a Tablet - All of this and more on today's show with Derrick Story.
Weekly Update - "Ricoh unveils Pentax K-3 II with Pixel Shift Resolution mode" - It uses an improved image stabilization system that drives a new Pixel Shift Resolution feature, designed to reduce false color. Retaining its predecessor's 24MP sensor, 27-point AF system, and durable construction, the K-3 II offers sensor-shift IS with a claimed 4.5 stops of shake reduction. Also included are built-in GPS, an improved AF algorithm, gyro-sensor-based panning detection and automatic horizon correction. Something that's no longer included is a built-in flash. The Pentax K-3 II will be available in May for $1099.95. (Source: DP Review)
In other news... "American Photo Magazine Stops Publishing, Readers Switched to Pop Photo" Pop Photo editor-in-chief Miriam Leuchter writes that American Photo has discontinued publication effective immediately, and that existing subscribers will automatically be receiving copies of Popular Photography instead. If the reader is already subscribed to Pop Photo, their two subscriptions will be combined into one longer subscription. In 2015 that American Photo had a total print circulation of 100,000 and audience of 1,092,000. The brand will now live on solely through the American Photo website, which Bonnier says has an average monthly readership of 100,000. (Source: PetaPixel)
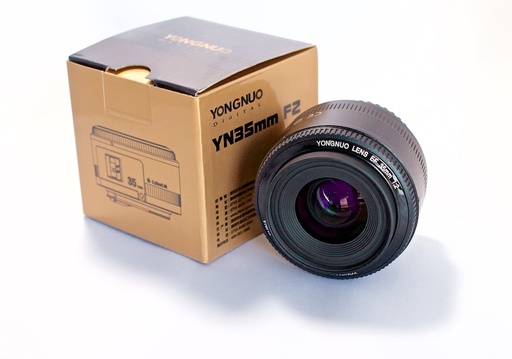
Story #1 - "Hands On with the Yongnuo 35mm f/2.0 lens for Canon" - It's about the size of the Canon 50mm f/1.8, and it was selling on Amazon for $122 (that's what I paid). But when I went to check the Yongnuo 35mm f/2.0 catalog page, it said that it's currently out of stock and "We don't know when or if this item will be back in stock." And on eBay, it's now selling for $280. I provide my hands-on review of this suddenly rare lens in today's first story. 
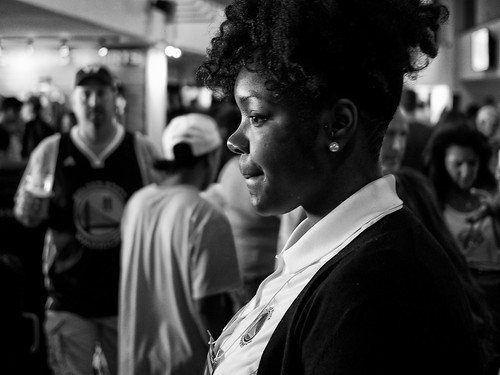
Story #2 - "SF Street Shooting Workshop Notes" I just returned from spending a few days in San Francisco with 8 fantastic photographers. Here are a few of the takeaways from the experience.
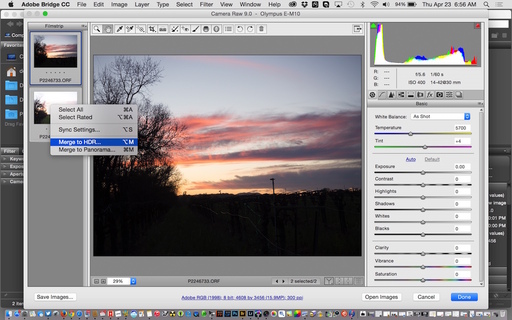
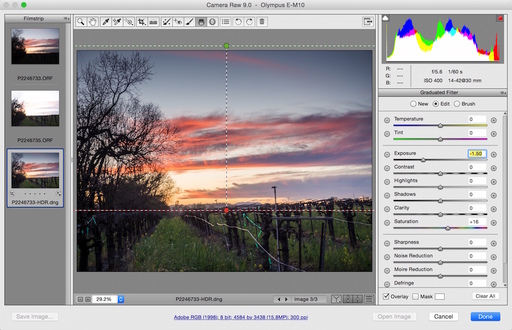
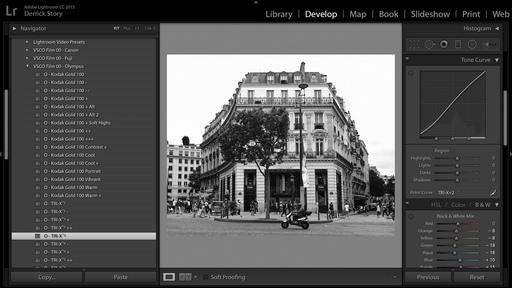
Story #3 - From the Screening Room - Creating Photo Composites on Smartphones and Tablets with Seán Duggan. Sean uses a variety of apps, including Photoshop Touch.
You can watch Sean in action by visiting the TDS Screening Room at lynda.com. While you're there, you can start your 7 day free trial to watch all of Sean's movies, plus every other title in the library (including over 20 by yours truly).
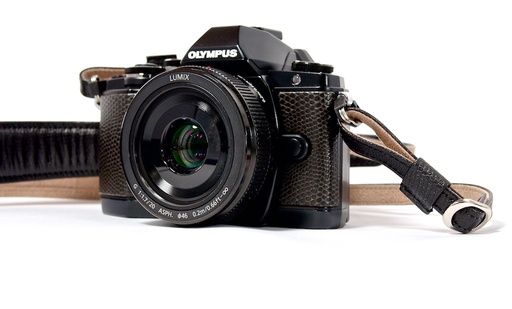
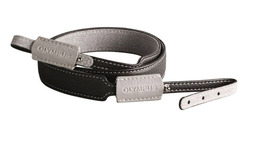
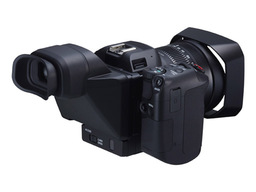
Story #4 Hands on with the Olympus External Metal Grip ECG-2 for the OM-D E-M5 Mark II. This handsome all-metal grip also serves as an Arca Swiss adapter plate. Plus you have access to the battery compartment without removing the ECG-2.
Virtual Camera Club News
News from SizzlPix: For April, We'll make it easy to delight your friends and relatives with SizzlPix of your or their favorite photographs with a Digital Story exclusive! Take a 20 percent discount; 25 percent on 2 or more shipped together. Just put "TDS April" in the comments space on the SizzlPix.com ordering page.
Thanks to everyone who recently reviewed the TDS Podcast in iTunes!
BTW: If you're ordering through B&H or Amazon, please click on the respective ad tile under the Products header in the box half way down the 2nd column on thedigitalstory.com. That helps support the site.
Download the Show
In addition to subscribing in iTunes, you can also download the podcast file here (34 minutes). You can support this podcast by purchasing the TDS iPhone App for only $2.99 from the Apple App Store.
More Ways to Participate
Want to share photos and talk with other members in our virtual camera club? Check out our Flickr Public Group. And from those images, I choose the TDS Member Photo of the Day.
Podcast Sponsors
lynda.com - Learn lighting, portraiture, Photoshop skills, and more from expert-taught videos at lynda.com/thedigitalstory.
Red River Paper -- Keep up with the world of inkjet printing, and win free paper, by liking Red River Paper on Facebook.
SizzlPix! - High resolution output for your photography. You've never seen your imagery look so good. SizzlPix.com. SizzlPix! now is qualified for PayPal "Bill Me Later," No payments, No interest for up to 6 months, which means, have your SizzlPix! now, and pay nothing until May!
Want to Comment on this Post?
You can share your thoughts at the TDS Facebook page, where I'll post this story for discussion.