This is The Digital Story Podcast #624, Feb. 27, 2018. Today's theme is "Canon, Fuji, and Pentax Make Big News" I'm Derrick Story.
Opening Monologue
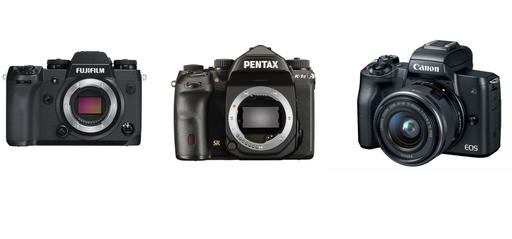
The Canon EOS M50, Pentax K-1 Mark II, and Fujifilm X-H1 are all very different cameras. But the one thing they have in common is that they are all recent announcements. Can we speculate about where the camera industry is going by examining these? We take a closer look in today's TDS Podcast.
Canon EOS M50
The Canon EOS M50 will sell for $899 with kit lens and will be available on March 26, 2018.
The Canon EOS M50 is an entry-level mirrorless camera that features an electronic viewfinder, fully articulating touchscreen, single control dial and a 24MP APS-C sensor - the same used by its M-series siblings. It has Canon's latest DIGIC 8 processor and offers expanded Dual Pixel AF coverage, 4K/24p video capture (1.6x crop) as well as Wi-Fi, Bluetooth and NFC.
- 24MP APS-C CMOS sensor
- Dual Pixel autofocus for stills and video
- DIGIC 8 processor
- 2.36M-dot OLED EVF
- 1.04M-dot vari-angle LCD
- 7.4 fps burst in AF-C (10 fps in AF-S)
- 4K/24p UHD video (1.6 x crop)
- 1080/60p and 720/120p HD video
- Wi-Fi and NFC with Bluetooth
- 235 shot-per-charge battery live (via CIPA)
Source: DP Review.
I think the biggest appeal is for photographers already shooting Canon being able to use existing lenses with an adapter.
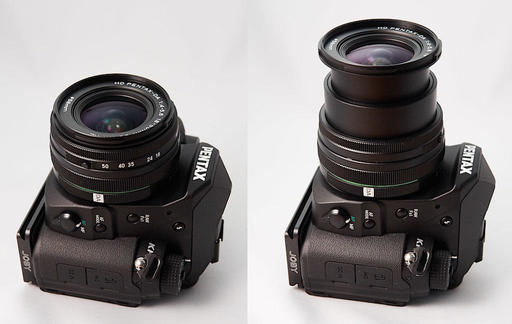
Pentax K-1 Mark II
The Pentax K-1 Mark II will sell for $1,996 is will be available on March 11, 2018.
The K-1 II's main addition is an 'accelerator unit,' which is a pre-processor that sits between the 36MP CMOS sensor and the PRIME IV image processor. Ricoh says that this pre-processor increases the signal-to-noise ratio, thus reducing noise, which implies it's a a noise reduction process. Ricoh told us that the accelerator unit, which was found on other Pentax models like the K-70, was not ready for the K-1 when it launched.
Thus, the company has increased the top ISO to 819,200 - a big jump from 209,400 on the original model. We'd be shocked if anything near that ISO is usable, seeing how the K-1 looked at 209,400 (hint: poor, like all cameras in its class), but we'll find out soon enough.
The K-1 Mark II can, of course, still use the Pentax DA lenses designed for the company's APS-C cameras. By default the camera will use a 15MP APS-C-sized crop of the sensor if a DA lens is mounted but can be made to use its full sensor region, if you'd prefer. Ricoh has published a list of those lenses that will produce relatively useable results in full frame mode, if the aperture is stopped down.
- 36.4MP Full-Frame CMOS Sensor
- PRIME IV Image Processor
- 3.2" Cross-Tilt LCD Monitor
- Full HD 1080p30 Video Recording
- SAFOX 12 33-Point AF Sensor
- Native ISO 819200; 4.4 fps Shooting
- Pixel Shift Resolution II
- 5-Axis In-Body Shake Reduction
- Built-In Wi-Fi & GPS; Dual SD Card Slots
- Weather-Sealed Magnesium-Alloy Body
For a limited time this summer, current Pentax K-1 owners will be able to send their cameras in for service, essentially upgrading them to a Mark II. The service will include a main circuit board swap, and the 'SR' logo on the front of the camera will be replaced with a Mark II logo. The upgraded circuit board will add all of the features introduced in the Mark II, such as shooting at up to ISO 819,200 and an updated Pixel Shift mode.
The K-1 upgrade service will cost $550 US / $690 CAD and will be offered from May 21, 2018 to September 30, 2018.
The upgrade will be available for the same period in Europe at a cost of �450 in the UK and �500 across the rest of Europe.
Source: DP Review.
The Fujifilm X-H1
The Fujifilm X-H1 will sell for $1,899 and will be available on March 1, 2018.
The X-T2 offers 4K video, but the X-H1 takes things to a different level. Virtually every aspect of the X-H1's video feature set is upgraded compared to the X-T2. Thanks to its larger internal volume it can shoot 4K for longer (15 mins compared to 10), and while the two cameras both impose a modest 1.17X crop, the X-H1 boasts a maximum bitrate of 200Mbps and the option to shoot F-Log internally.
The X-H1's new 'Eterna' film simulation preset is intended to provide a quick and easy way to shoot gradeable, wide dynamic range video footage. For the first time, you can apply dynamic range 'DR' expansion settings in video mode on the X-H1, too. When combined with the DR400%, setting, Fujifilm says that footage shot using the Eterna preset should deliver a total of 12EV of dynamic range.
While it uses the same 24MP APS-C X-Trans sensor as the X-T2, the X-H1's on-sensor phase-detection autofocus system has been seriously upgraded. The most obvious improvements are to low-light sensitivity and focus tracking. The X-H1 can now focus down to -1EV (compared to the X-T2's limit of 0.5EV) and phase-detection AF should work even at effective apertures as small as F11 - i.e. when shooting at the long end of the XF100-400mm F4.5-5.6 zoom, when combined with a 2X tele-converter
Source: DP Review.
- 24.3MP APS-C X-Trans CMOS III Sensor
X-Processor Pro Engine
- 5-Axis In-Body Image Stabilization
- Internal DCI 4K Video and F-Log Gamma
- 0.75x 3.69m-Dot Electronic Viewfinder
- 3" 1.04m-Dot 3-Way Tilt LCD Touchscreen
- 325-Point Intelligent Hybrid AF System
- 1080p at 120 fps; Flicker Reduction Mode
- 1.28" Sub-LCD Top Screen
- Weather-Sealed Body; 2 UHS-II SD Slots/
- Same sized battery as the X-T2
I really like the top deck LCD. I think it looks great and is truly useful.
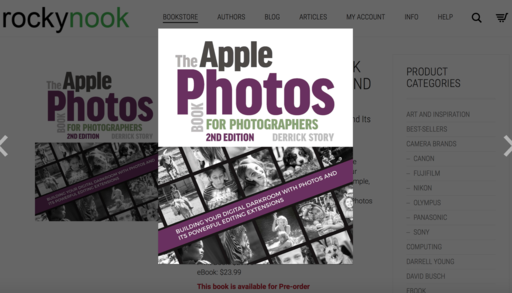
Coming Up: Build Your Digital Darkroom with Photos (And Get a Free Signed Copy of My New Book)
Our next Nimble Classroom is on March 10, Build Your Digital Darkroom with Photos. Here's why you might want to attend.
Come Join me at the Skylum Photography Public Group
I'm now moderating the Skylum Photography Public Group, and I would love to have interested members from our audience join me there.
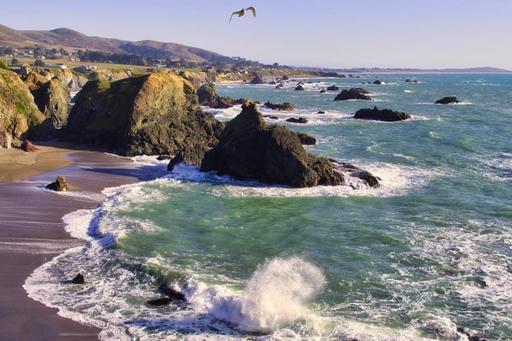
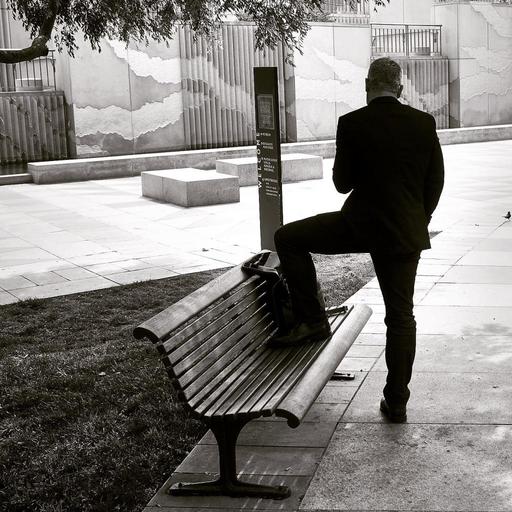
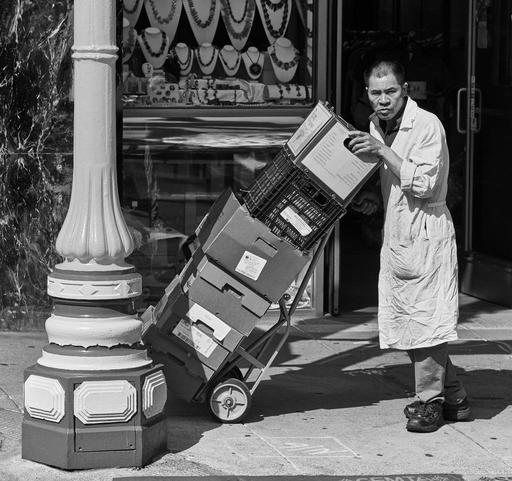
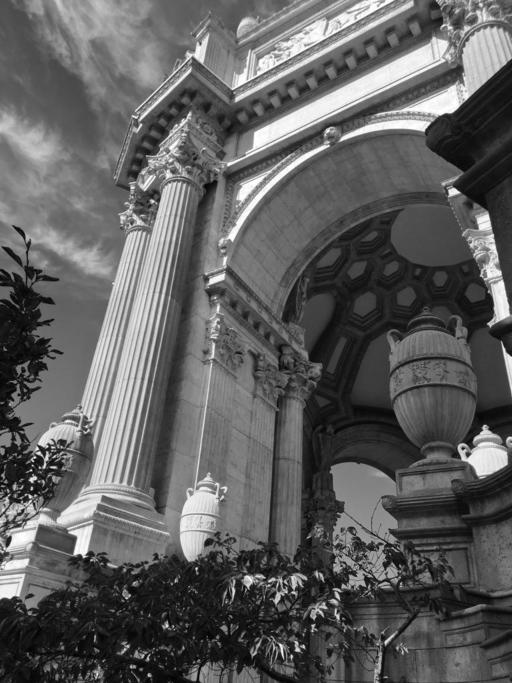
The San Francisco Street Photography Workshop Update
I've published an informative article on the San Francisco Street Photography Workshop that you may want to take a look at.
San Francisco Street Photography - April 26-28, 2018 - We'll work entirely on location in San Francisco. Our hotel in picturesque Union Square will serve as our headquarters during the event. No rental car will be necessary. We'll explore the City's hidden treasures and capture them through our lenses. As always, we're adding new shooting locations again this year, including twilight assignments. This is San Francisco like you've never seen it before. And as a bonus, Olympus Visionary Mike Boening will be joining the teaching staff and leading sessions on street shooting and night photography. Two instructors, three days, and all for just $695. (That's right, it's 3 full days in one of the most photogenic cities in the U.S.)
New! TheFilmCameraProject on Instagram
I've started a new Instagram feed just for film camera lovers. It's called TheFilmCameraProject, and it's for those who appreciate the beauty of analog SLRs.
And to celebrate the launch, I'm giving away one Pentax SLR and lens to one lucky follower of TheFilmCameraProject. All you have to do is follow the feed by Feb. 28, 2018. I'll then do a random drawing and announce the winner on the March 6 podcast. Join in the fun, and get to admire some really beautiful camera along the way.
Updates and Such
I now have the dates for the Sonoma Country Hot Air Balloon and Drone Photography Workshop, June 8-10, 2018. We're combining two very fun aerial activities into one workshop. Be sure to get on the Reserve List for this one!
You can become a member of our Inner Circle by clicking on this link or by clicking on the Patreon tile that's on every page of The Digital Story.
B&H and Amazon tiles on www.thedigitalstory. If you click on them first, you're helping to support this podcast. And speaking of supporting this show, and big thanks to our Patreon Inner Circle members:
And finally, be sure to visit our friends at Red River Paper for all of your inkjet supply needs.
See you next week!
More Ways to Participate
Want to share photos and talk with other members in our virtual camera club? Check out our Flickr Public Group. And from those images, I choose the TDS Member Photo of the Day.
Podcast Sponsors
Videoblocks - Go to videoblocks.com/digitalstory to get all the stock video, audio, and images that you can imagine for just $149. Save on millions of studio-quality clips, tracks, and graphics.
Red River Paper - Keep up with the world of inkjet printing, and win free paper, by liking Red River Paper on Facebook.
The Nimbleosity Report
Do you want to keep up with the best content from The Digital Story and The Nimble Photographer? Sign up for The Nimbleosity Report, and receive highlights twice-a-month in a single page newsletter. Be a part of our community!
Want to Comment on this Post?
You can share your thoughts at the TDS Facebook page, where I'll post this story for discussion.